10 Things to Do When Feeling Down

There are many degrees and shades of not feeling good, from bad mood to serious depression. The latter requires professional treatment, but there are many things to do when feeling down in the ‘common’ way, and considerably improve one’s state of mind. This article explores a variety of ways to come out of those low states.
Explore a Variety of Techniques
We are all different and that’s why I have selected a range of different techniques and approaches, so you can choose a technique that resonates with you. I would recommend exploring all the techniques, comparing their effectiveness, and decide what works for you best. I use a mixture of all these techniques, according to a specific situation.
Feeling Depressed for No Reason?
It’s hard to count how many times in the past I asked myself: “Why do I feel depressed for no reason?” Generally, I perceive myself as a joyful person with almost childlike curiosity about life and fascination by the beauty of creation, but because I can reach such internal highs, feeling truly ecstatic, I can also get seriously down, to the point of self-destructive thoughts. And often there is no clear reason for such states.
I have long acknowledged and accepted this fact about myself, but I have also decided to work on it. I’ve made myself a promise that if I find myself feeling low, I won’t feel guilty for having these emotions, but I will make an effort not to stay in such states for long. I want to systematically work on strengthening my emotional resilience. That’s why I have researched many different ways that would help me spring back from the dark places very fast, and which I could then share with others.
Below is a list of ten techniques or concepts that I have found helpful, and which I frequently use to feel good and keep the low states of mind at bay. I hope that you will find some of them helpful too.
Affiliate Disclosure: As an Amazon Associate I earn from qualifying purchases. If you make a purchase through my links, I will earn a small commission at no extra cost to you. The full disclosure can be accessed here.

1) Change Your Physical State
There are many ways to improve our emotional state by changing our physical state. In this section, I will describe four different approaches.
When I feel generally low and demotivated for no obvious reason, I follow the techniques that the ‘motivational guru’ Tony Robbins often uses during his talks and seminars.
These techniques are meant to change your physical state, alter your brain chemistry, and consequently improve the way you feel. You’ll basically trick your brain into thinking that you’re happy when you feel the very opposite. Your brain will then release some feel-good chemicals, which will result in improving your mood, and your day may be saved from being a near-failure into a day with a new perspective, filled with inspired, meaningful action and sense of connection with everyone.

Tony Robbins
It takes some will to get yourself to do anything when you’re miserable, but there’s nothing more rewarding than knowing you’ve overcome your worst self and conquered your own mind. Just like The Buddha said –
“It is better to conquer yourself than to win a thousand battles.”

Strike Some Power Poses
Our posture and body language affect how others perceive us, but – and much more importantly – it also affects how we perceive ourselves. Tony Robbins believes that assuming a confident posture even when we don’t feel confident can increase feelings of confidence in the present moment, while in the long run it positively impacts our chances for success.
To sum up:
Our physiology can change our minds.
Our minds can change our behavior.
Our behavior can change our outcomes.
These points have been a subject of many studies, including a Harvard University study conducted by Dr. Amy Cuddy, whom Tony Robbins often quotes during his talks and events.
The following two simple techniques that Tony Robbins shows in the video further down are known as ‘Power Poses’. They’ve also been explored in Dr. Cuddy’s academic paper published in Psychological Science.
The first Power Pose is done by standing straight with your shoulders back, and placing your hands on your hips, and remaining in this resolute, ‘Wonder Woman’ posture, for up to two minutes.
This should help you feel more clear-minded and decisive.

The second technique is based on the theory that making an expansive posture helps people (and animals!) feel more powerful. Expand and raise your arms upwards as is you were shouting “Hooray!”

In fact, saying “Hooray” to yourself can make the technique even more effective. (Even if you start with a genuinely sour, resentful face!)
Do this three times and notice how you feel afterwards.
This is one of my favourite techniques, because if I’m feeling low or grumpy and try to do this, the sheer absurdity of it makes me laugh, and I know I’m on my way from my misery.
You can check one of Tony Robbin’s motivating mini-lessons on breaking your negative thinking here:
You can also visit his website and glance through all his personal and professional development programs here: https://naturegrooves.com/tony-robbins-programs.
Vigorously Move Your Body
A very simple and effective way to improve your state of mind is to move your body. This will change your physical state instantly. Dancing is one of the best ways to trigger joyful, liberating feelings and diminish the bad ones.
Whenever I think of dance as a way of freeing the mind from all troubles, it makes me remember several poignant scenes from Zorba the Greek. However, for most people, it’s impossible to force themself to dance when they’re feeling low (unlike Zorba, who was able to transform any misfortune, deep grief included, into a wild dance).
If dancing is the last thing you’d think of when you’re in a miserable place, I’d highly recommend getting a rebounder and try some jumping instead. I find it incredibly helpful when I feel down; the flying movement, without having to develop much effort, always lifts my mood.
Or, if I feel angry, jumping helps me to get rid of excessive energy. It feels as if I am literally shaking all the bad thoughts off. After all, we are made of energy, and emotions are just various forms of energy. Energy sometimes over-accumulates or gets stuck, making us feel out of sorts, but fortunately we can influence energy by movement. (Hooray!)
Jumping on a rebounder gets the lymph moving, which helps remove toxins from the body, toxic thoughts included.

Have a ‘Spinal Flush’
Spinal Flush is a simple, but very effective massage technique that I’ve learned from Donna Eden, the renowned energy medicine practitioner and teacher. It is based on pressing the areas about an inch outward from your spine, in a downward movement.
Massaging your body can considerably improve both your physical and emotional state, and Spinal Flush reduces a large amount of your accumulated stress and emotional tension by ‘flushing’ the built-up toxins away.
This technique can be a very welcome treat for women experiencing PMS, and for anyone who feels down in the dumps or is simply tired. I can guarantee that after several rounds of Spinal Flush you will feel considerably relaxed and rejuvenated.
I have described the Spinal Flush in more detail in the article Two Simple Techniques for Deep Relaxation, where you can also watch a video of the charming Donna Eden and her husband David Feinstein demonstrate this technique. It’s very well worth learning if you want to give your partner or friend a big treat!

Donna Eden and David Feinstein
Hold the Neurovascular Points on Your Forehead
You can change your physical state and shift your emotions with the following simple technique, also taught by Donna Eden. It involves holding the two frontal eminences on your forehead. They are known as the neurovascular points.
When you are stressed, a large amount of blood flows into your muscles to help you ‘flee the enemy’. Your brain doesn’t know it is only a stressful thought. Holding your neurovascular points will cause the blood flow back to your head and restore calm.
The technique is simple: Put your one hand over your forehead and the other hand over the back of your head, while thinking of something that bothers you.
By doing this, you will be redirecting the blood flow back to your brain, because the electromagnetic fields of your hands can influence your blood flow and draw it towards them. Bringing the blood back to the head will teach the ‘fight or flight’ system of your brain to respond in a calm way, rather than perceiving your every stressful thought as an emergency-trigger.
You can watch a video of Donna Eden showing this technique in my article How to Relieve Stress and Anxiety. You may also try the fun kinesiology-based experiment with lifting the kettle, described in the article. Children love this experiment!

2) Internalise That You Are Enough
When I notice that my confidence and self-esteem are plummeting, and my mind is haunted by images from my youth when I felt bullied or belittled by some of my peers, I listen to the renowned British psychotherapist Marisa Peer (pun purely coincidental). She has developed a unique method partially based on autosuggestion and hypnotherapy, which can ‘rewire’ your mind to free you from old patterns of self-sabotage and negative thinking.
In her talks and workshops, Marisa Peer highlights the following three points:
1) The common denominator of all our emotional issues is that we don’t feel good enough, smart enough, pretty enough, wealthy enough, talented enough…in short: We don’t feel we are enough.
2) The major cause of depression are the harsh, hurtful words you say to yourself.
3) Your own praise is more effective than praise from anyone else.
The main aim of Marisa’s work is to us fully implement the belief that we are enough. Under her guidance, many people have experienced deep healing from the grip of their subconscious mind and limiting beliefs.
If you’d like to learn more about her method, you can watch her free masterclass.
3) Observe The Voice in Your Head
I often notice that there’s a voice in my head which is making a list of all the things I should worry about. However, the very fact that I manage to notice it is good news. In the past, I would not actively notice the voice; I used to think that I was the voice – and that had caused me to feel bad far too often.
As soon as you learn to recognize the anxious, negative self-talk, you are on your way to freeing yourself from it. You will be able to savour the present moment and become a much more content person.
This concept forms a large part of the teachings of the spiritual teacher Eckhart Tolle, the author of The Power of Now, which has been crucial for helping me gain better control over my thoughts and emotions.
His teachings, closely related to Zen Buddhist philosophy, are based on realizing that the constant voice in our head, which is often negative and criticising, doesn’t have to control the way we feel. He teaches how to recognize this ‘background noise’, observe it, and act from the point of conscious presence and stillness, so the judgmental, self-criticising inner banter no longer controls your emotional states.
Eckhart often talks about the liberating power of the present moment. When we are fully present, we cannot be really worried, stressed or anxious because these emotions are caused by ‘too much future’ in our heads. Likewise, when we are fully in the Now, we can’t be wallowing in guilt, regret, past grievances and resentments.
Realising this has been groundbreaking for me. Whenever I feel overcome by worries, I read a few paragraphs from his book, or listen to his talks.
Here are a few of my favourite qutoes from Eckhart’s teachings:
“Focus your attention on the Now and tell me what problem you have at this moment.”
“Do not be concerned with the fruit of your action – just give attention to the action itself. The fruit will come on its own accord.”
“Negativity won’t survive in your conscious presence.”
“Anything you accept fully will take you into peace.”
“You cannot have an argument with a fully conscious person.”
You can find out more about Eckhart Tolle on the page Resources, where, along with his book The Power of Now, I list some of his teachings and talks, available as audio downloads. This includes Enlightened Relationships, Transmuting Suffering into Peace, The Joy of Being, or The Great Western Classics – Eckhart’s reflections of the writings of famous philosophers and mystics.
Remember: Try to not to lose yourself in the voice in your head. Instead, be aware of it, don’t feel bad about having it, just observe it like you would observe someone else. And from that position, have compassion towards ‘that person’, pause for a second and become aware of the stillness and space of the present moment.
If you practice this awareness and presence, you will start experiencing a sense of deep inner peace, and won’t be thrown by external circumstances as much as before. You’ll be building your internal foundations on a rock, and not on the sand, as described in the famous parable from the Gospels.

4) Take some ‘Kwik’ action
Whenever I feel that I need to improve my memory, think more clearly, or boost my overall productivity and motivation, I listen to podcasts of the ‘brain coach’ Jim Kwik. Jim is a memory expert, who has taught memory techniques and learning strategies to thousands of people, including top personalities in sports and entertainment, such as Will Smith, Jim Carrey, Oprah Winfrey, or Richard Branson.
Despite all his achievements, Jim remains a humble, incredibly nice person. I love his approach and warmth. I have attended several of Jim’s courses and coaching live calls, and every time I’ve done so, things have move forward in my life. This is because Jim motivated me to take the required action.
His personal story is very touching. As a child, he suffered a head injury which left him with learning difficulties, especially in the area of memory and reading. He was called by one of his teachers ‘The boy with the broken brain’.
However, because of his love of super-hero comic books, his ‘inner warrior’ didn’t allow him to waste his life away, wallowing in self-pity. He took his handicap as a challenge, and he decided to develop a learning method – not for what to learn, but how to learn.

Now Jim speaks in front of thousands, teaching memory-improving methods to learn and retain information. He can memorise over one hundred names or numbers and repeat them backward. He doesn’t do these ‘super-brain’ feats to show off, but to demonstrate that if a ‘boy with a broken brain’ can, then everyone else can radically improve their cognitive abilities.
Jim is discussing his learning methods and strategies in his book ‘Limitless’, which I highly recommend. The book is available from Amazon where you can read the first few chapters for free in the ‘Look Inside’ section. It includes the moving story of his childhood.
Learning New Skills Increases Happiness
Now back to the title of this section. By ‘taking Kwik action’ I mean several things that Jim recommends to make us feel better about ourselves, while improving our cognitive abilities. One of them is learning new skills, which creates new neurological connections in the brain.
Learning a new skill will naturally make you feel better about yourself. That’s why I’ve included this section in this post as one of the strategies to overcome low states.
One of Jim’s favourite activities to keep the brain sharp is learning to juggle. Absolutely anyone can do that – because even I have learned it. All it took was following a step-by-step tutorial and a bit of consistency.
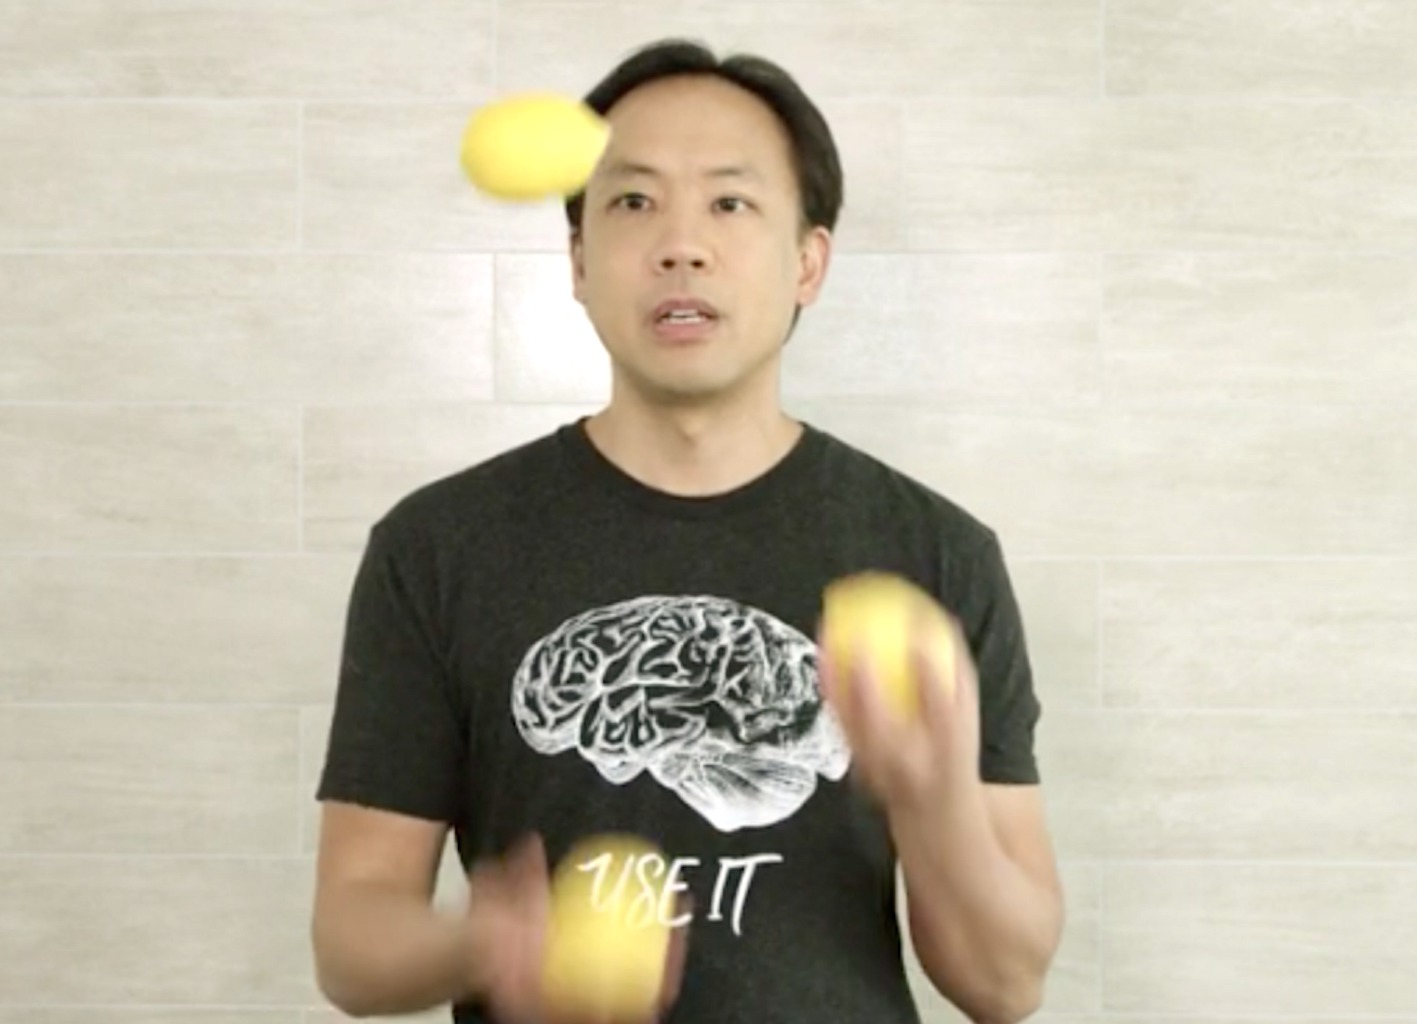
Jim Kwik
In my article ‘Learn to Juggle for Your Brain Health’, I’ve included a short video of my first juggling attempts (needless to say, rather laughable), but the same video shows a considerable improvement a few weeks later.
The article also includes a step-by-step video tutorial by a professional juggler Coach Bob. To me, it is one of the most comprehensible tutorials for beginners. I learned to juggle by following the video in about two to three weeks.
I highly recommend you give it a go – it’s so uplifting to realise how easy it is to learn something new if we practice just a little, but frequently. And, to get back to the main point of this article, when you fully focus on doing something, you can’t feel miserable at the same time!

5) Meditate
I used to view meditation as a practice for highly spiritually evolved people only. When I went to India as a volunteer in 2004, I tried it there, but I just couldn’t concentrate. I made the conclusion that my mind was too busy for this kind of thing, and forgot all about it.
Only years later I began to learn about the many benefits of meditation, such as slower process of aging, lower levels of cortisol, better sleep and needing fewer hours of sleep to feel fully rested, increased sense of well-being, becoming much less edgy and reactive…the list goes on.
After learning about all these benefits of meditation, I decided to give it a go again, and I am so glad I did! Meditation has been one of the best things I’ve ever committed to as a regular practice. I’d thoroughly recommend it to everyone.

Regular meditation practice can make measurable changes in our brains, resulting in greater emotional resilience and feeling of contentment and inner peace, even if our life circumstances are unstable or adverse.
Research has shown that deep meditation can cause our brains to release a number of highly pleasurable neurochemicals. One of them is anandamide, a neurotransmitter also known as ‘the bliss molecule’ because of its similar effects to THC – the active ingredient in cannabis.
As we keep cultivating these pleasurable states on a regular basis, they eventually become traits. We won’t just experience short term-happiness which is dependable on external circumstances, or other people making us feel good; the positive changes will be hard-wired into our brains, becoming stable and long-lasting.
You will find out that more people are drawn to you because your peaceful presence will make them feel good. And this can be seen as a gift to others – you are contributing to the world by spreading good vibes.
You can read more about meditation, and my own experience with it, in my article ‘The Physical and Psychological Benefits of Meditation’. It includes a description of how to meditate, and a video of a meditation teacher’s talk at Google’s headquarters. Yes, meditation is becoming a productivity tool as well, apart from just a ‘bliss-drug’!

6) Practice Visualisations
The founder of the online learning platform Mindvalley, Vishen Lakhiani, teaches a visualisation technique which is believed to increase our levels of happiness, and improve multiple areas in our lives. He speaks of six areas that are important to have, in order to live a balanced and happy life:
- Love and Compassion
- Gratitude
- Peace
- Vision
- Sense of control
- Feeling supported
Vishen has implemented all the six areas into a visualisation technique that he calls ‘The Six-Phase Meditation”.
I prefer to call it a visualisation rather than meditation, because the type of meditation that I practice is based on doing nothing with my mind, not engaging in any mental activity, including visualisations. This gives my body a deep, healing rest, and all the other benefits mentioned in my article about meditation.
However, I do practice Vishen’s visualization technique daily – usually after I’ve done my deep meditation. It is a powerful technique that is well worth trying and observing its effects during the day.
The visualisation reflects the six areas mentioned above, and is divided into six parts. The goal of the visualization is to enter a state of mind that allows you to clearly see and feel each area, such as gratitude or forgiveness. This should lead to improvement in multiple areas in your life, including better relationships, increased productivity, clearer goals, and gaining new insights that may help with manifesting your dreams.
The Six-Phase Visualisation comprises of:
- Compassion
- Gratitude
- Forgiveness
- Visualising our future
- Visualizing our day ahead
- Blessing
Let’s look at forgiveness as an example.
A famous quote says:
“Holding onto anger is like drinking poison and expecting the other person to die.”
Getting rid of negative charges you have inside you towards other people who may have wronged you is a highly important act to heal multiple areas in your life. It’s really like getting rid of the poison in your body. You may even experience physical healing after you have profoundly forgiven someone.
Vishen Lakhiani has studied, taught and successfully practiced the ‘Silva Method’, which is a technique developed to get your brain into an Alpha state, and which is said to improve your performance and productivity. Vishen claims that when he used to work as a salesman, that after actively practicing the Silva method, his sales had doubled.
I have not tried the Silva method yet, but I believe that by practicing the 6-Phase Meditation (or visualisation) you can also enter an Alpha state.
I fully recommend watching Vishen’s interesting and witty talk he gave in Dublin. It’s called ‘A 15 Minute Mind-Hack to Massively Enhance Your Brain Power and Emotional State’, and in this talk, he addresses the whole Six-Phase Meditation in detail. You can watch it here:
7) Try EFT Tapping
EFT is an abbreviation for Emotional Freedom Techniques. It is also known as Tapping, or ‘acupressure for the emotions’. In clinical use, it is referred to as ‘energy psychology’.
Tapping can often rapidly release the emotional impact of stressful or traumatic life events. It has been used by a considerable number of clinical psychologists and therapists who apply this method when treating war veterans and people with various kinds of trauma or phobias.
Although EFT is still an unknown method for many, it has been successfully used by a huge number of people all over the world, and it is perceived by many as one of the most successful psychology self-help techniques ever. Thousands of people have shared how EFT has helped them with issues like stress, anxiety, fear, anger, depression, trauma, or even physical pain.
The process of EFT is done by tapping your fingertips on specific pressure points on the body which are connected to the meridian lines (energy pathways). This sends signals to the part of the brain that controls stress, and leads to restoring emotional balance.
Three EFT Experts to Learn From
One of the best researchers in this field is Dawson Church, Ph.D., the author of The EFT Manual. The book is based on Clinical EFT, a method validated in dozens of scientific studies. More than 100 clinical trials of EFT have been published in peer-reviewed medical and psychology journals.
You can read a free sample of the EFT Manual in Amazon’s ‘Look Inside’ section.
The clinical psychologist David Feinstein, Ph.D. (who you might have noticed in Point 1 with Donna Eden) is another therapist who has been using EFT for years. He is the author of The Healing Power of EFT & Energy Psychology, co-written with Donna Eden and Gary Craig, the actual founder of EFT.
The third EFT specialist worth mentioning is Nick Ortner from the ‘The Tapping Solution’. He and his sister Jessica are the presenters of the ‘The Tapping World Summit’, an annual online event where they interview dozens of EFT experts, neuroscientists, and holistic healing practitioners.
Nick Ortner is the author of the book The Tapping Solution for Pain Relief, which got endorsed by Tony Robbins, Dr Christiane Northrup, De Wayne Dyer, Jack Canfield, and many more.
I have devoted a whole section to EFT tapping for pain relief in my article ‘How to Relieve Chronic Back Pain’, which includes a video of Nick Ortner demonstrating the tapping process. If you suffer from any physical pain, I do recommend watching the video and give tapping a try.
Apart from helping people relieve their physical pain, Nick Ortner has also developed special tapping programs dealing with specific areas of life that are often the major cause of feeling down or depressed, such as a bad financial situation or problems with weight.
You can download Nick Ortner’s eBooks dealing with these topics and try the tapping process yourself.
If you’d like some guidance with removing limiting beliefs about money and success, and experience how tapping works at the same time, download Nick Ortner’s eBook and try it out:
103 Disempowering Beliefs About Money and Success and How to Eliminate Them – Free eBook
Or, for tapping for weight loss and body confidence, which is an area governed by a whole scale of emotions, you can try the following guide:
8) Use Essential Oils
Apart from their well-known abilities such as decongesting respiratory system, cleaning and nourishing complexion and hair, or even repelling insects, essential oils can have a noticeably uplifting or calming effect on your state of mind.
This is because our sense of smell, known as an olfactory system, is closely linked to the part of our brain that regulates emotions.
Lavender is known for its calming, relaxing effect, rosemary improves concentration and sharpens the mind (it is great for studying or writing articles!) and frankincense can act as a mild antidepressant.
For a large range of 100% pure, therapeutic-grade essential oils, you can visit Ellia’s Essential Oils, where you will find single note essential oils, essential oil blends, carrier oils, roll-ons, aroma diffusers and more.
You can search for your ideal oil by its characteristic – e.g. calming, comforting, energising, grounding, motivating, etc. Or by scent – e.g. citrus, mint, floral, or herb & spice.
Learn About The Ayurvedic Use of Essential Oils
If you would like to gain a deeper understanding of how your olfactory system works on your mind, emotions, and biorhythms, you can attend a free 60-minute online workshop with a renowned botanical expert, David Crow.
In his free video event, David talks about essential oil healing methods based on Ayurvedic principles.
You’ll learn about the different Ayurvedic energy types, and how to determine the best essential oils for your body type.
You’ll also learn about specific ancient recipes for enhancing and relaxing your mood, as well as strengthening your immune system and help with skin problems or respiratory issues by decreasing inflammation.

9) Balanced Diet – Eating Well, And Enjoying it!
Being happy with your body leads to good self-esteem and feeling good in general. Having a balanced diet with sufficient nutrients fuelling our body is crucial for the way we feel. I don’t know anyone who would fuel their car with the wrong type of fuel, but I know quite a few people who regularly do this to their bodies, which backfires on them by having low energy and excessive weight. Many of them try to lose weight with all sorts of diets, only to regain it all soon after the diet’s end.
I’m not a fan of this approach. I am happy with my body, and I never feel I am restricting myself in my diet. In fact, I can get quite indulgent while still keeping my ideal weight.
I’ve recently come across an interesting weight loss and nutrition program with a fun name ‘Losers Welcome’. Their approach resonates with me, because it represents my own approach to food: Include high-quality nutrients in my meals and make them fully enjoyable at the same time.
What’s interesting about ‘Losers Welcome’ is that their meal plans are inspired by technology derived from NASA. Check out their welcome video where the fitness trainer Victor Costa explains the following: In order to be happy with your body and reach the desired weight, you don’t have to go on a drastic diet and forget about your favourite foods.
With Losers Welcome, you enter your favourite foods (even pizza or ice-cream!) and based on this information, the team will create a nutritionally balanced menu including your favourites. You’ll also get access to an online fitness training program, including yoga classes if you wish.
This non-restrictive approach really appeals to me, and if I start gaining more weight, I’ll definitely sign up with their program. If this is something that might interest you, visit Losers Welcome page for more information.
10) Give an Inspiring Gift
It may sound very simple, but it is a well known fact: The act of giving increases our levels of wellbeing. It helps us to defocus from our own issues and seeing someone else happy (especially because of us) will increase our own happiness.
Here are my favourite quotes about giving:
“No one has ever become poor by giving.” ―Anne Frank
“Remember that the happiest people are not those getting more, but those giving more.” ―H. Jackson Brown Jr.
“We make a living by what we get. We make a life by what we give.” ―Winston Churchill
“For it is in giving that we receive.” ―St. Francis of Assisi
Give an inspiring gift – to someone else but also to yourself – and you’ll notice that perspective of your day will be enhanced with new meaning. A ray of light will shine through your soul, and your inner colours will gain a warmer tint. (At least this is how I feel after giving a present!)

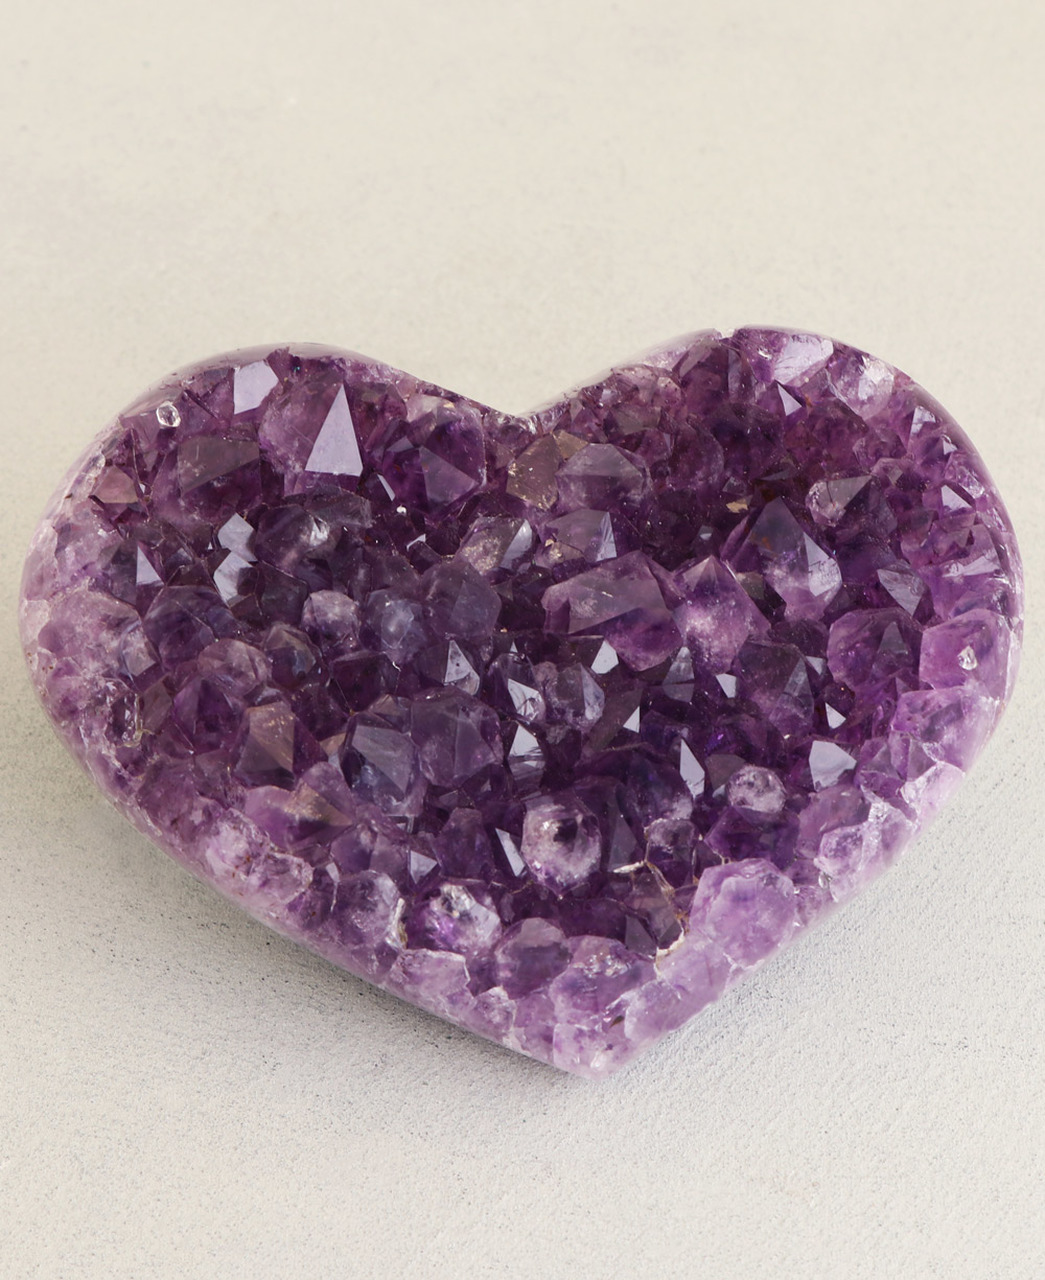
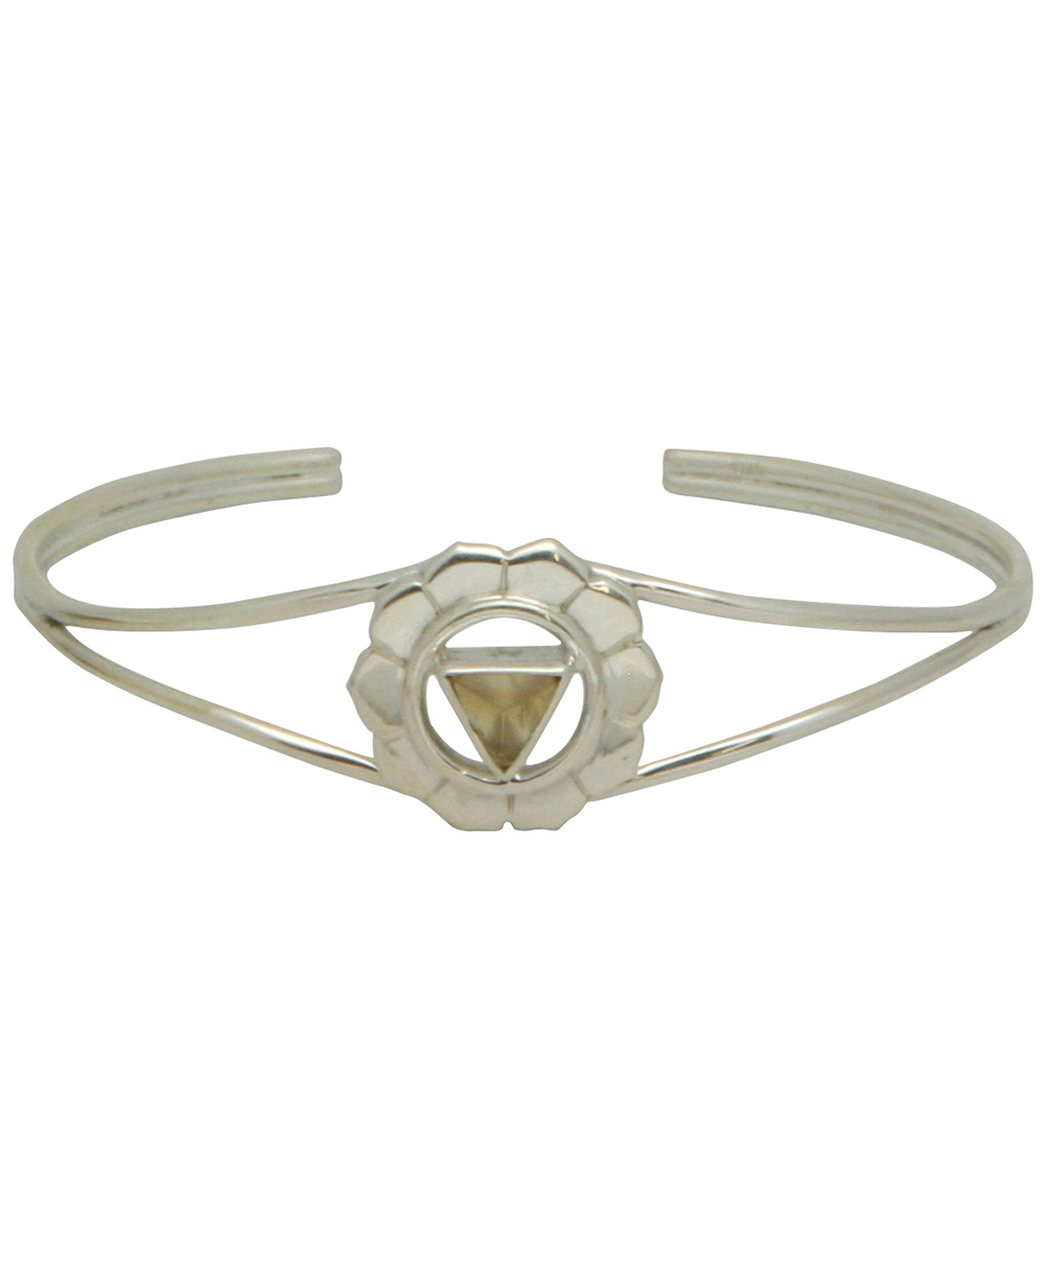
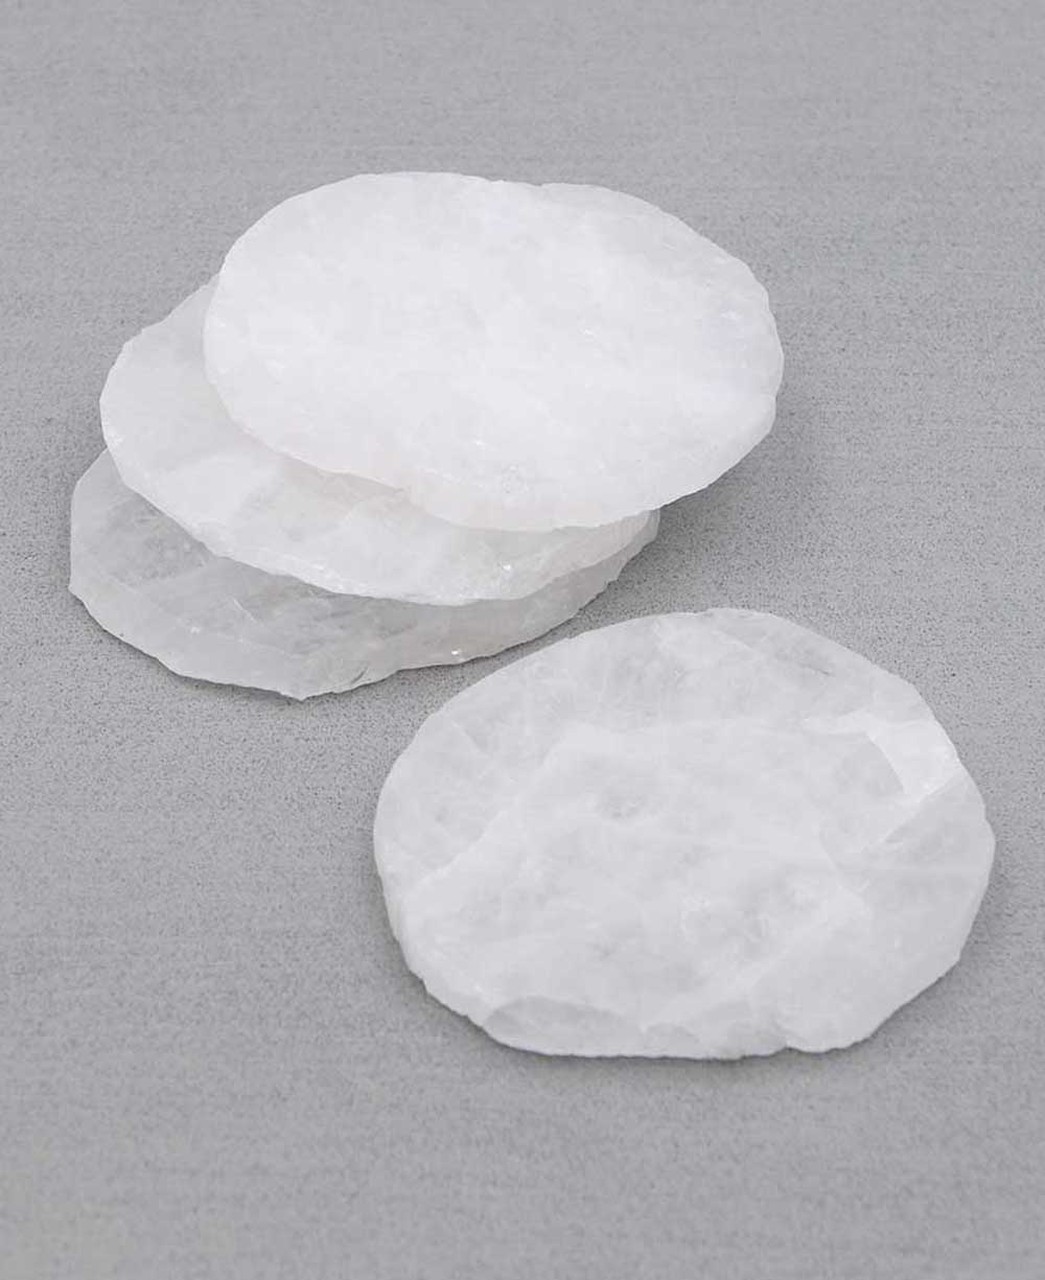
Buddha Groove Gift Store
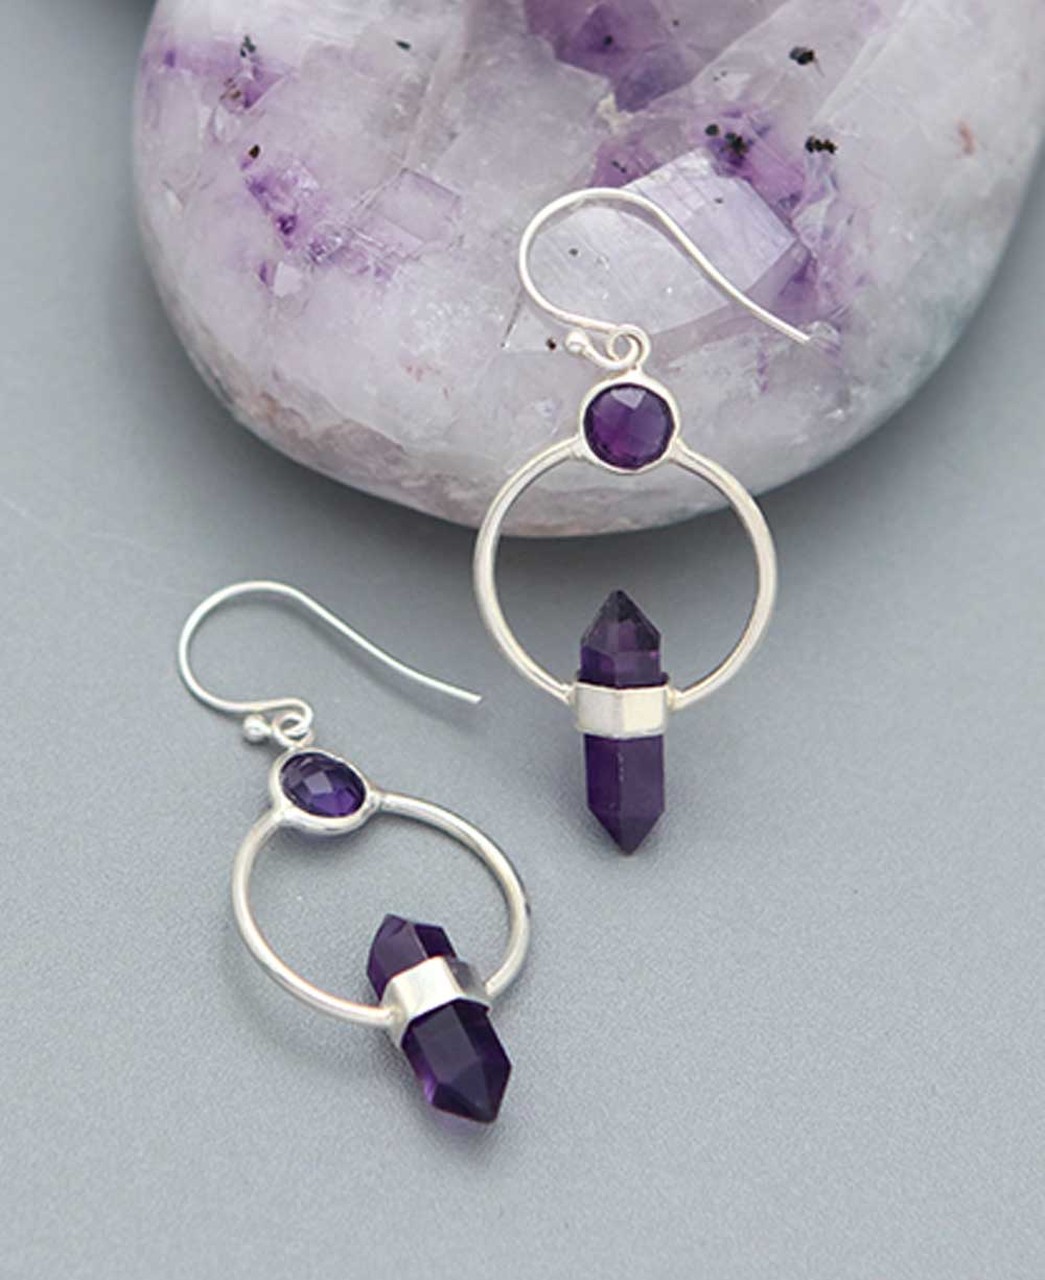
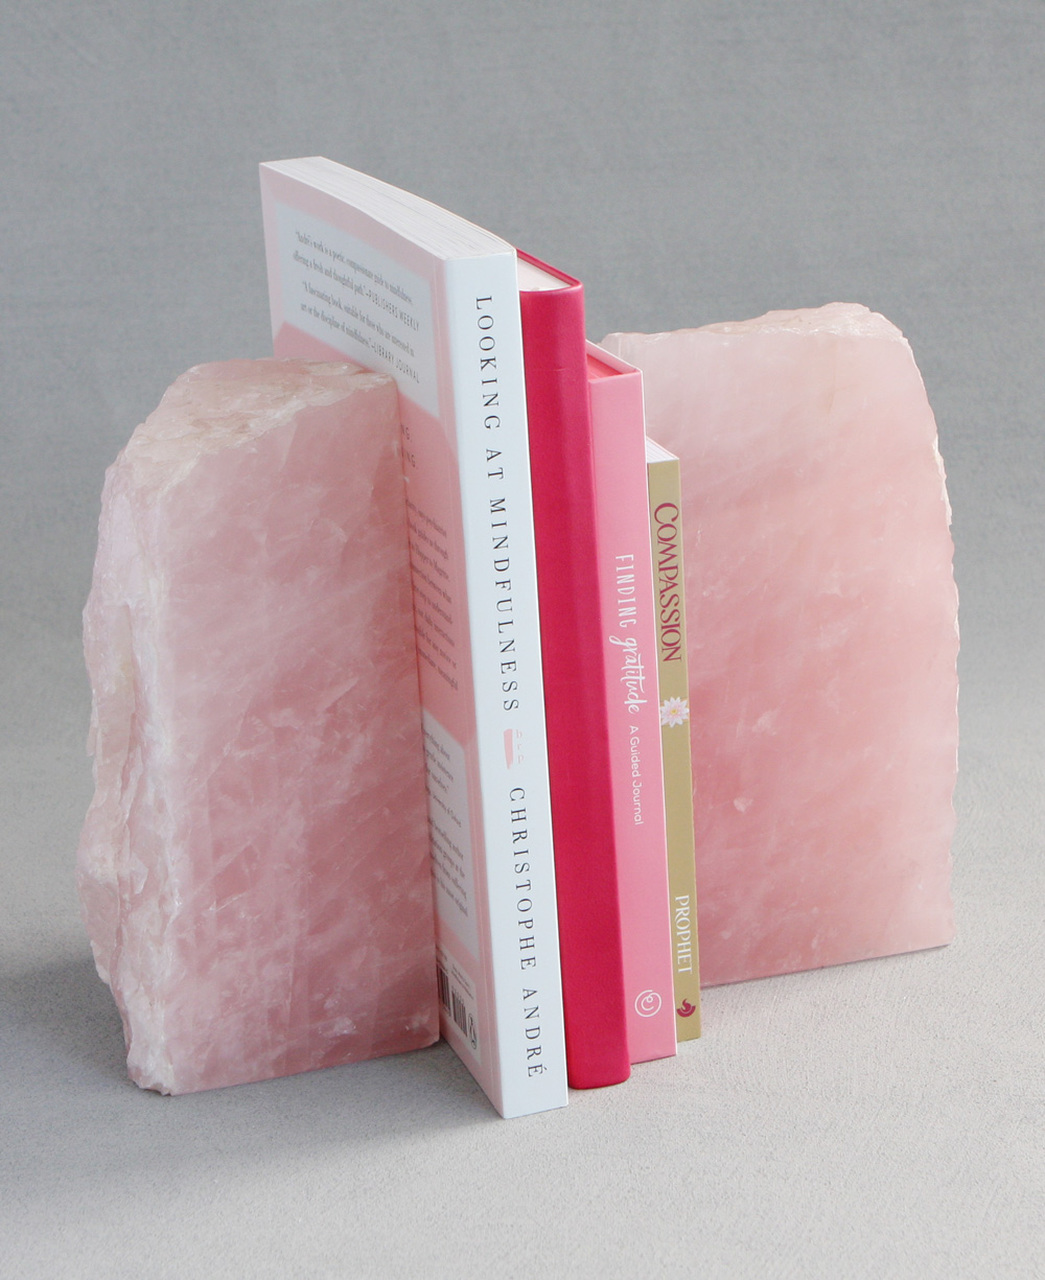
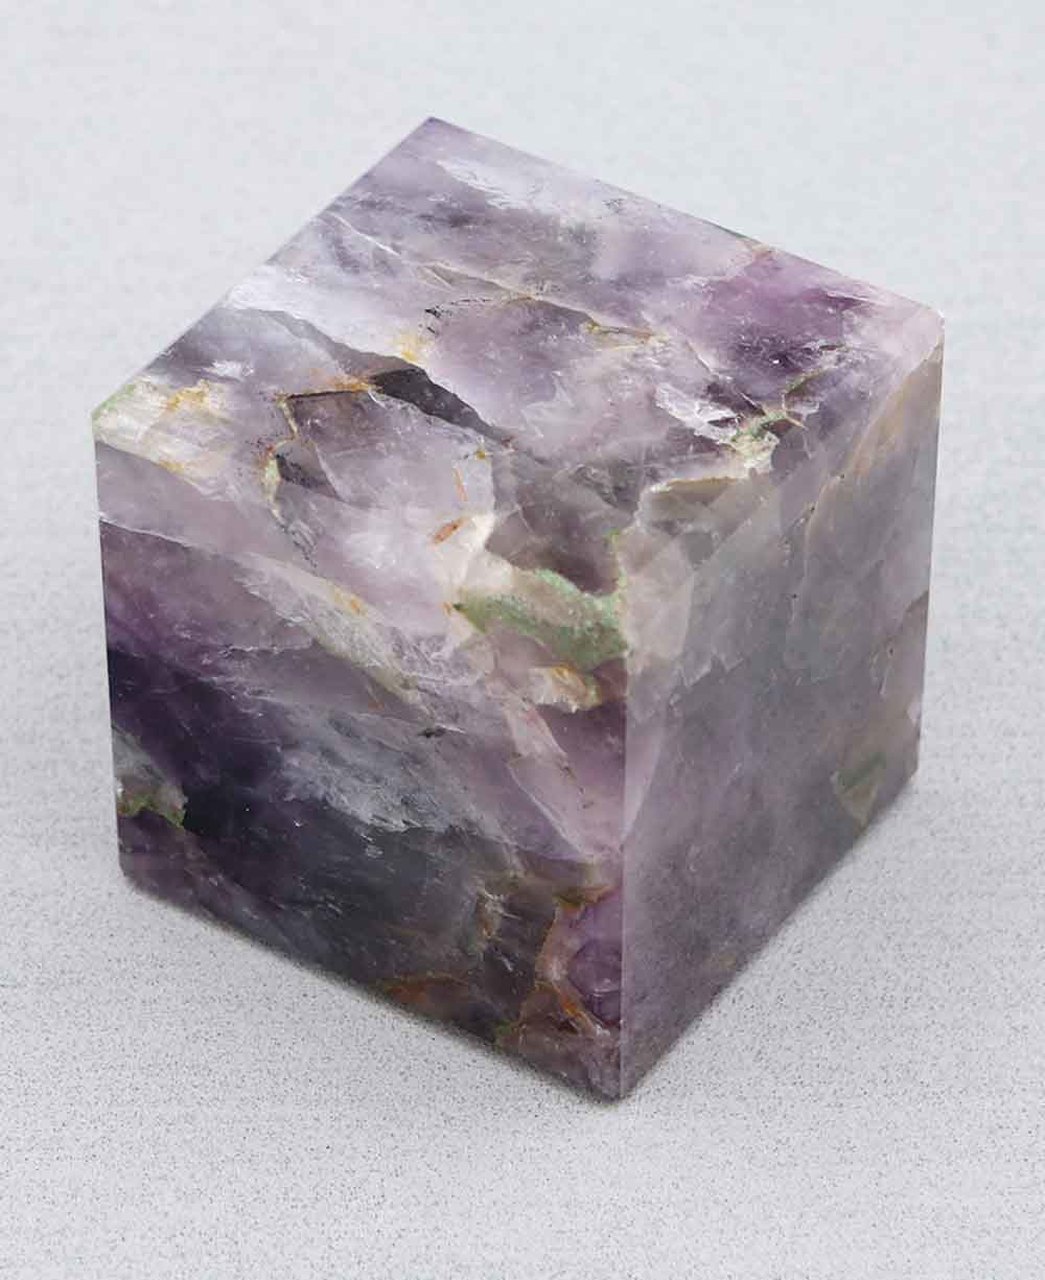
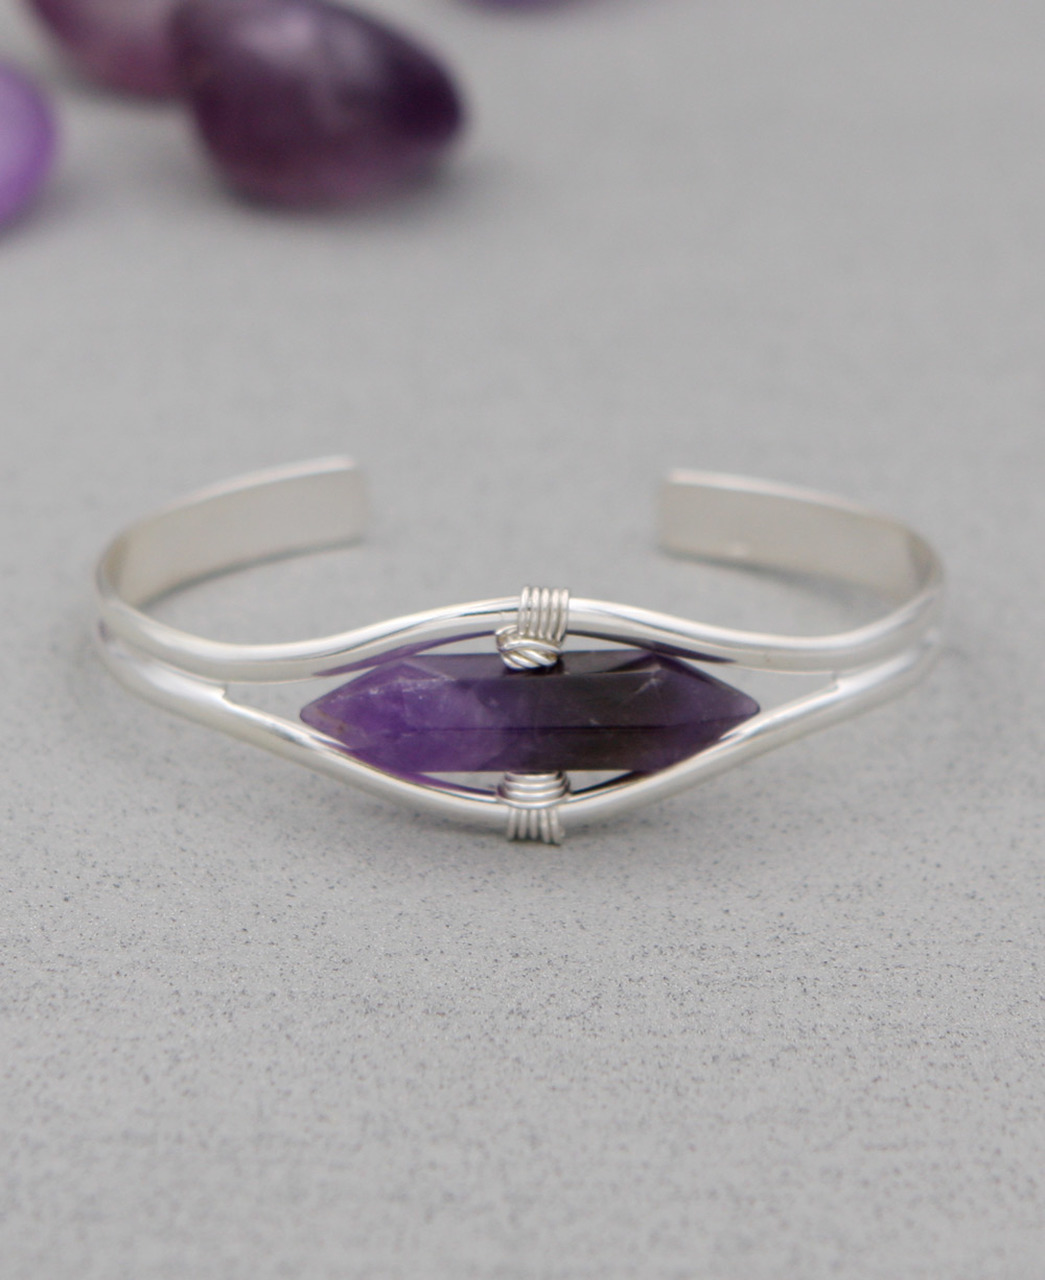
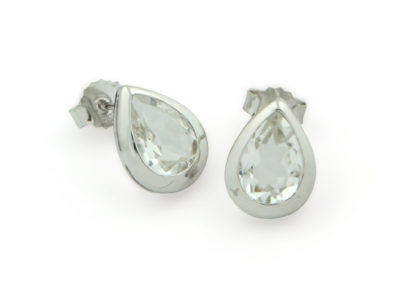
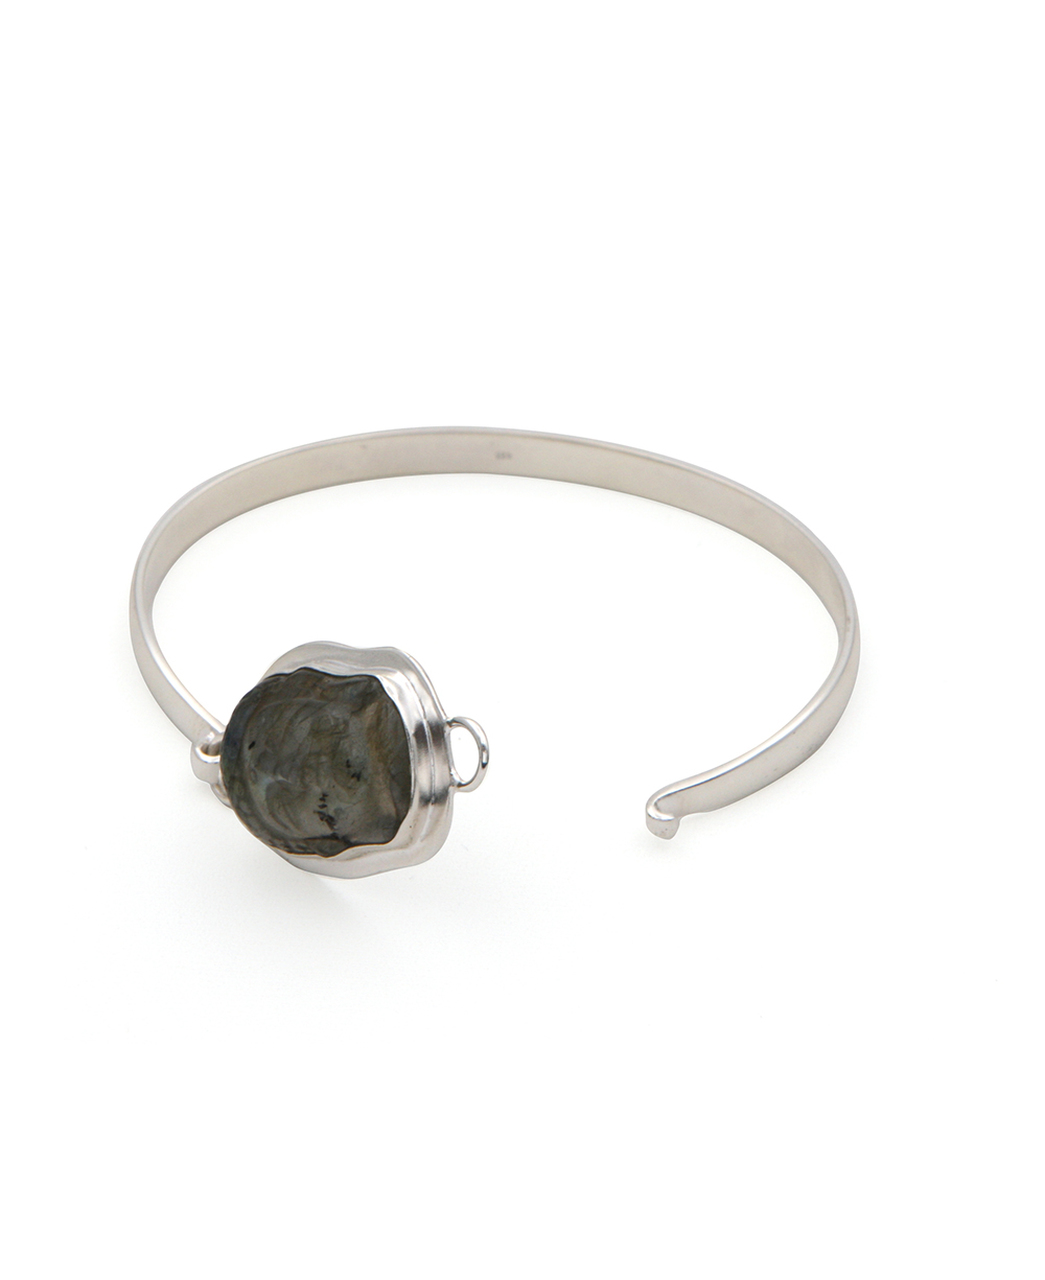
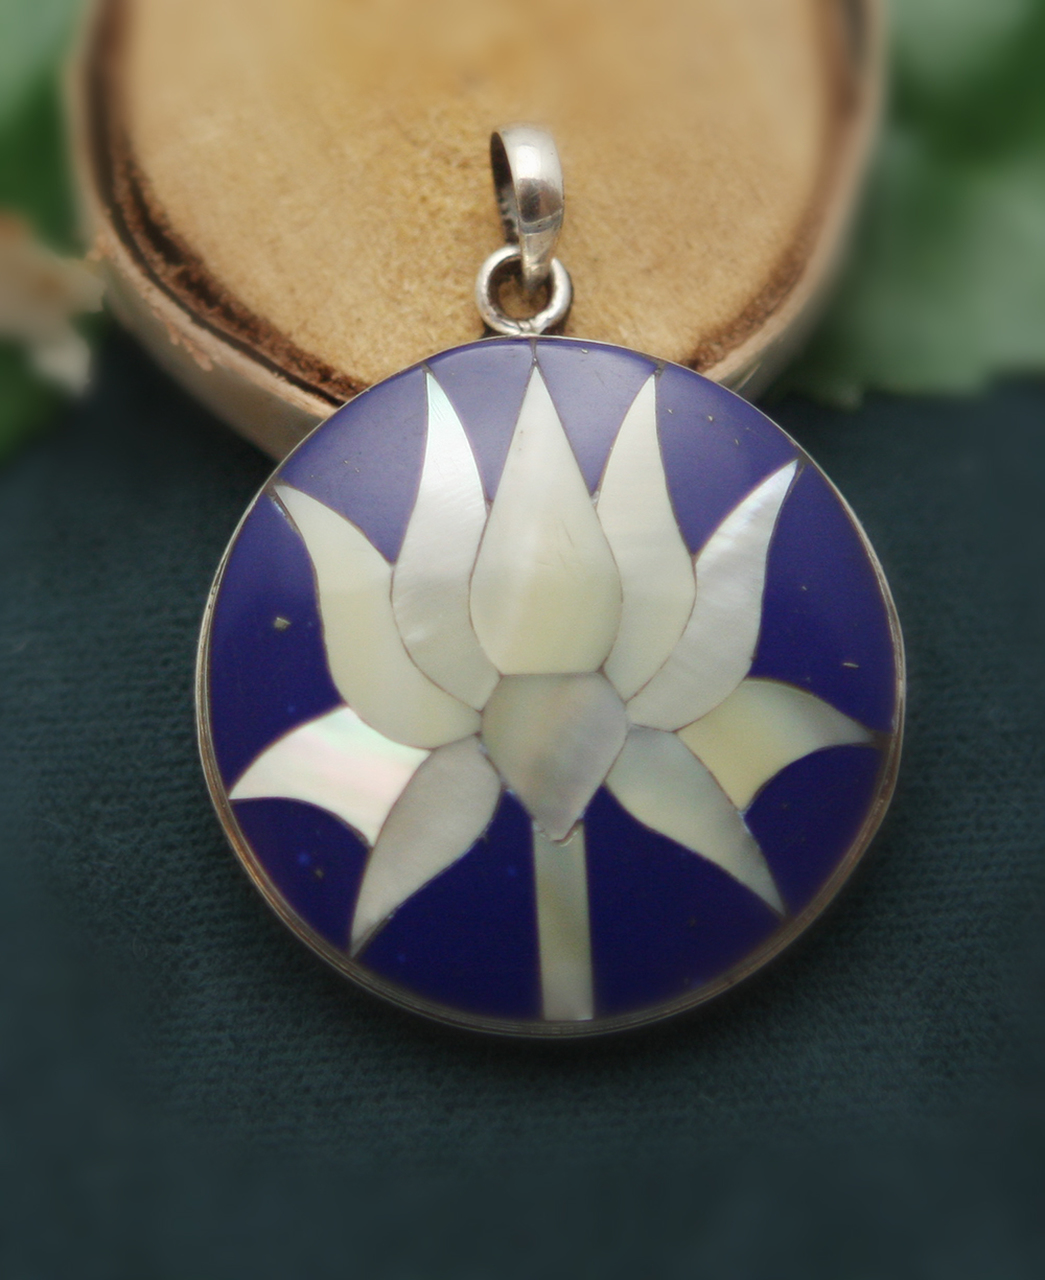
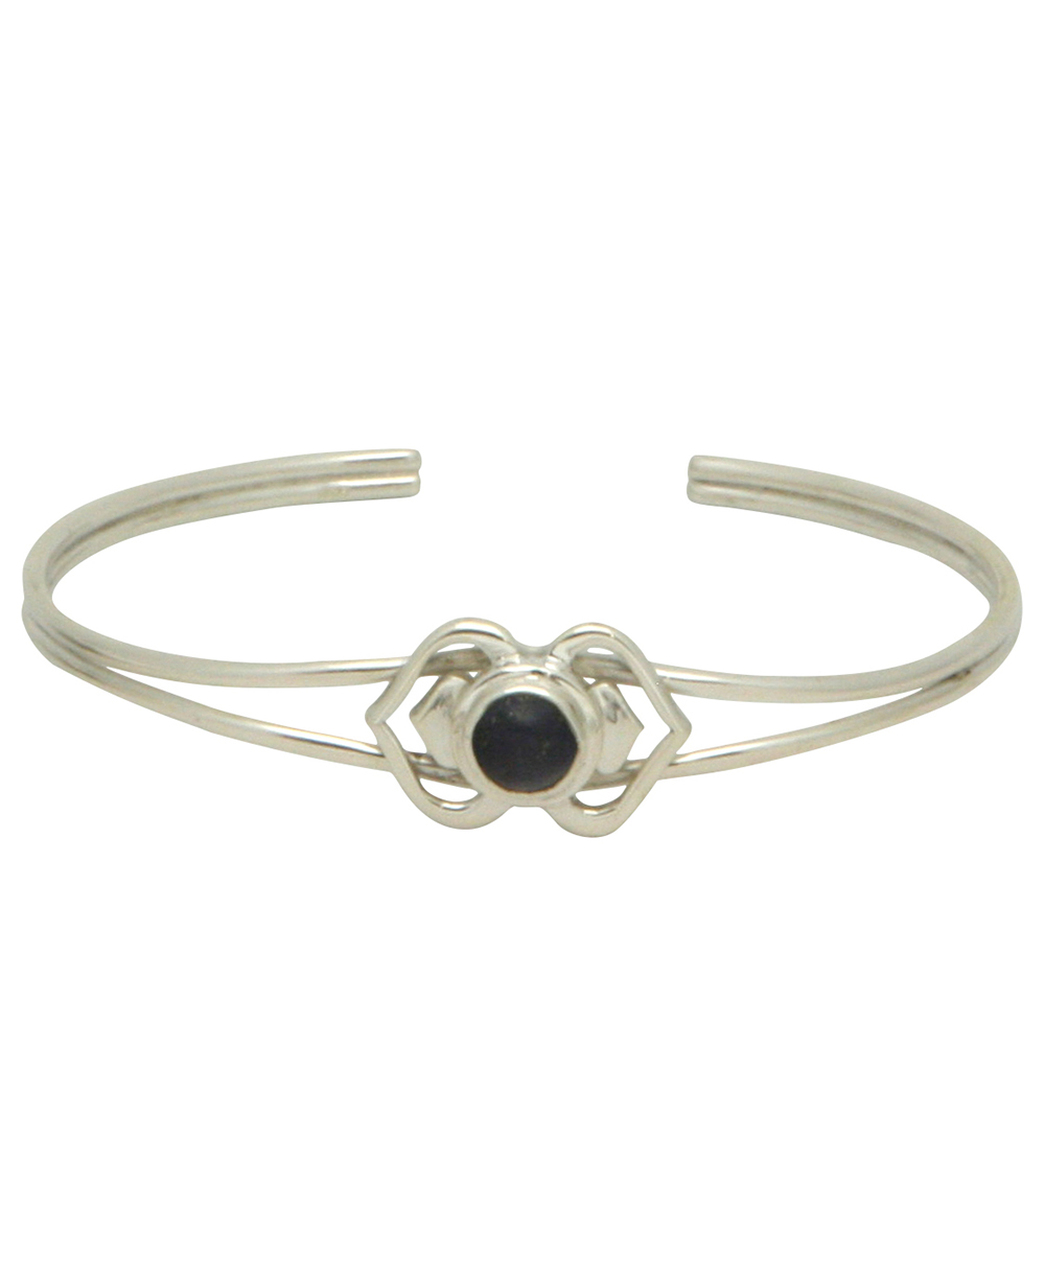
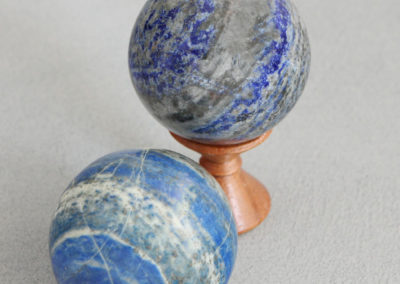
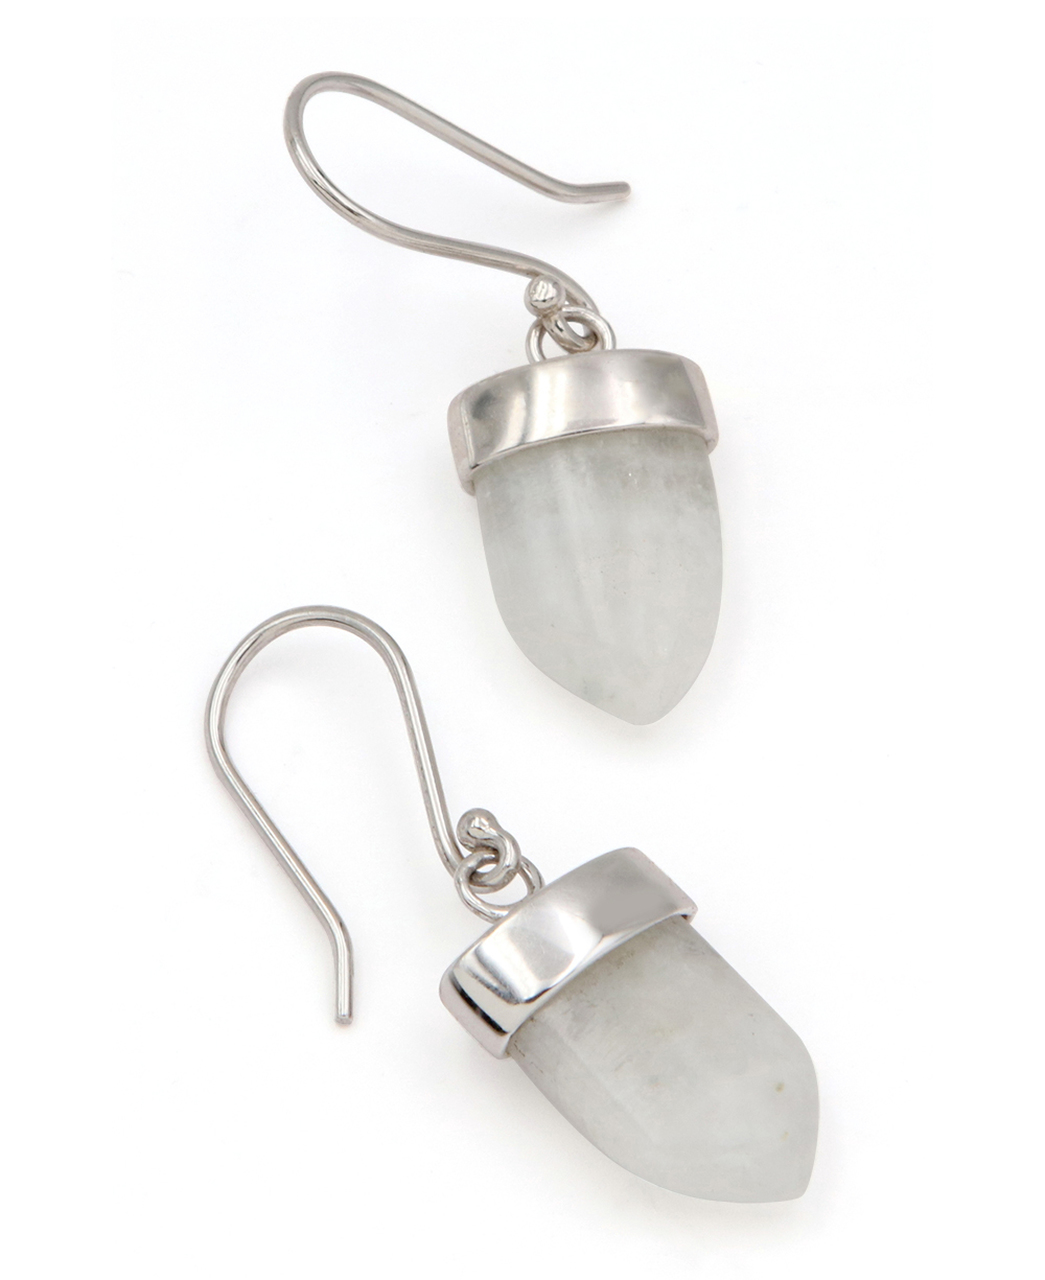
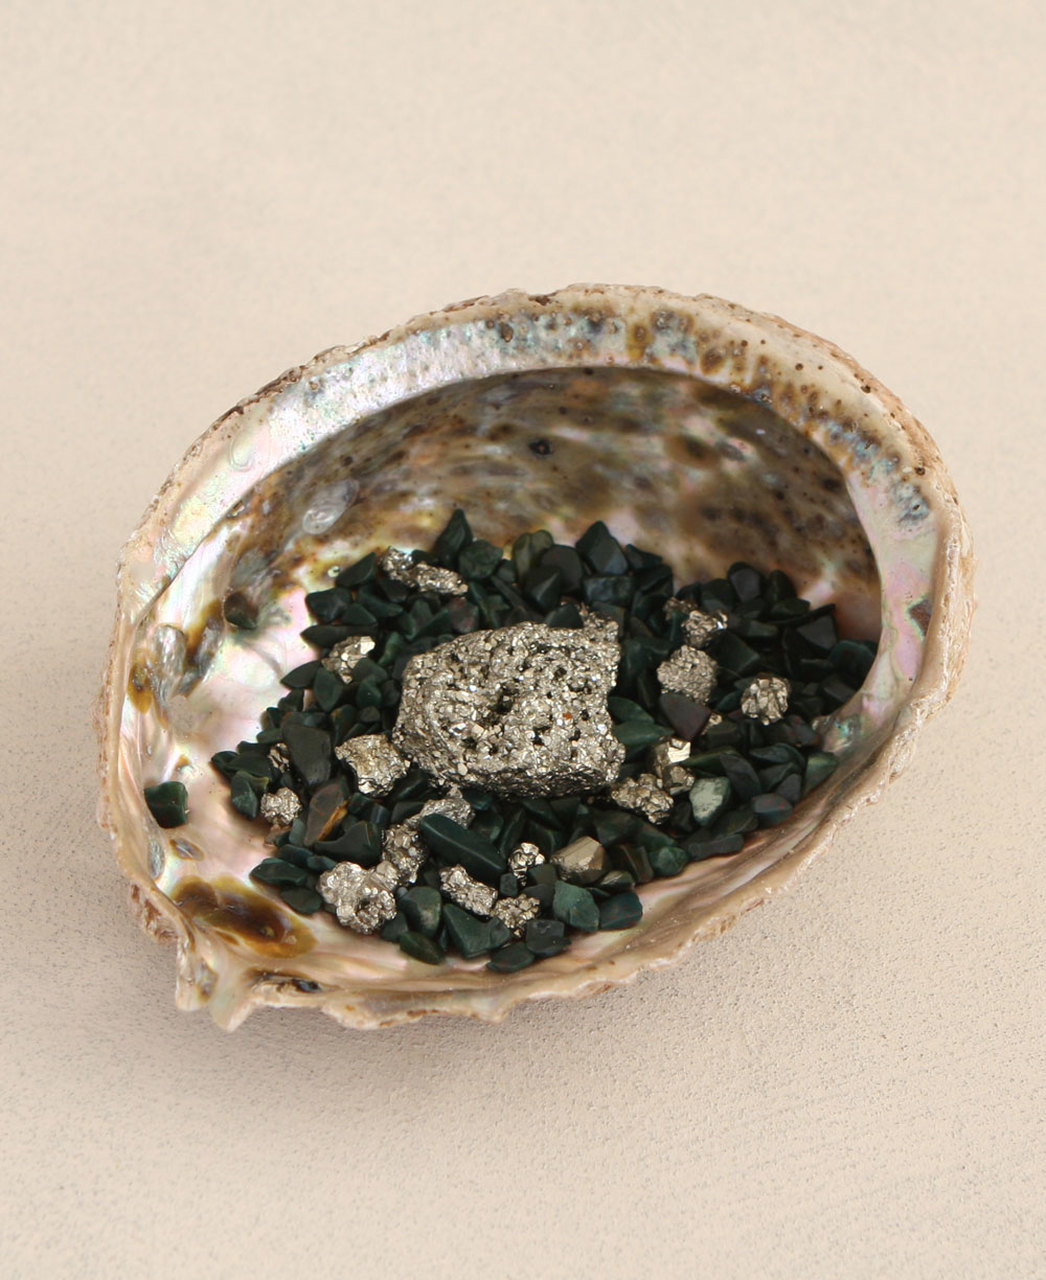
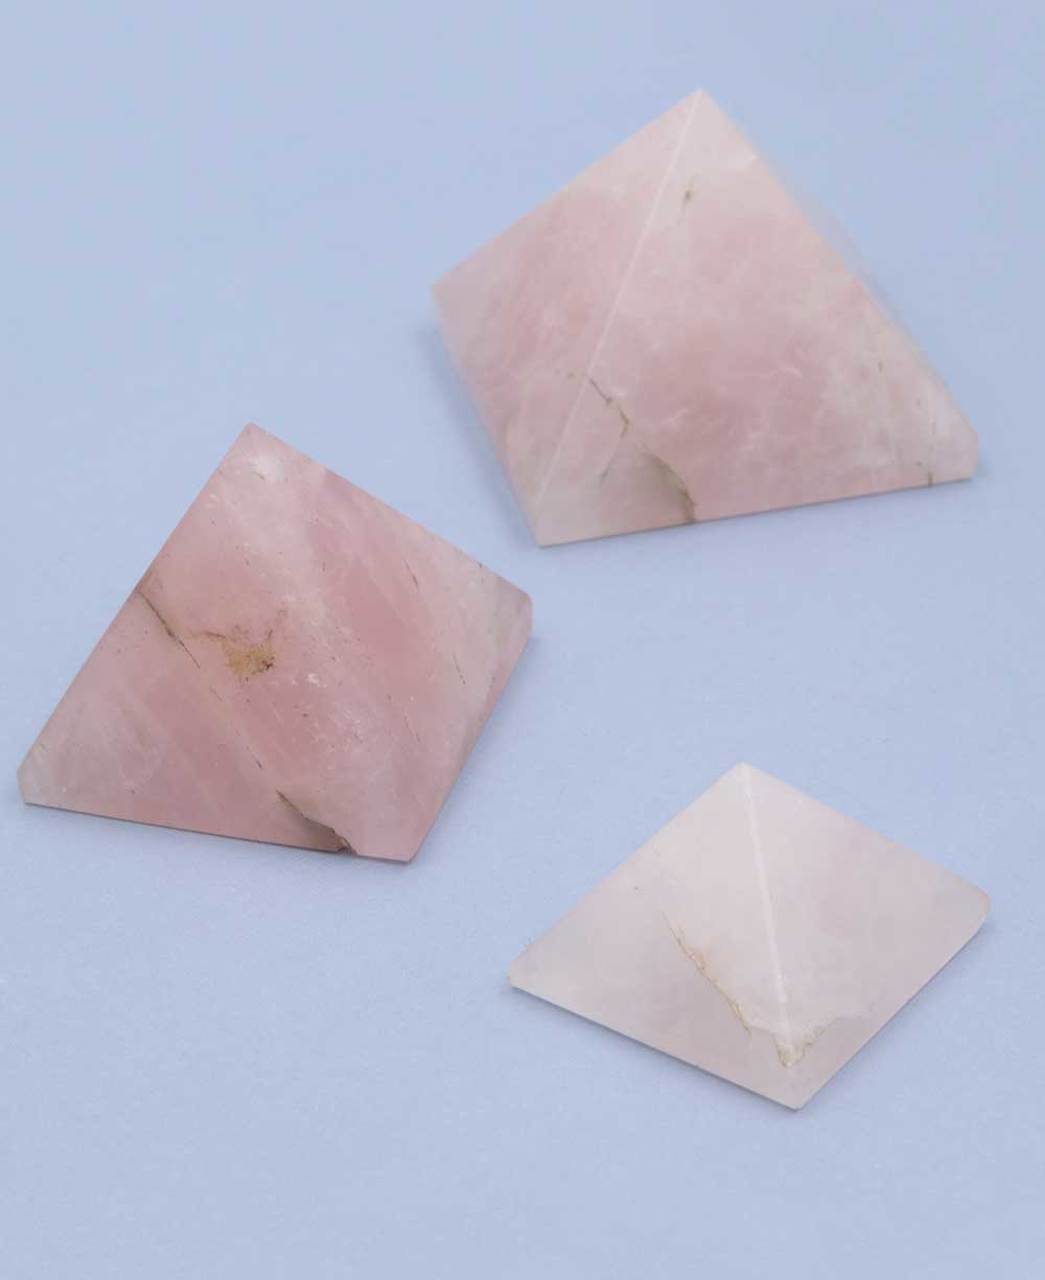
For inspiring gift ideas, you can visit my article about Buddha Groove, an online gift store with stunning gemstone jewellery and decor, home and garden accents, and many other soul-uplifting items such as Tibetan singing bowls. The page includes a 6-minute video from Nepal with a fascinating demonstration of the healing properties of singing bowls.
The cute meditating frog near the section about meditation (point number 5) also comes from Buddha Groove. A great smile-generator to be placed in the window!
Inspiring Books and Audio, Courses and Events
If you would like to give an inspiring book, CD, online event, or even a retreat, visit Sounds True, a multimedia publishing company whose mission is to spread spiritual wisdom. You can browse through their large store of books, eBooks, audio, video, courses, trainings, and even spiritual retreats. Amongst their authors are Michael Bernard Beckwith, Wayne Dyer, Donna Eden, Marianne Williamson, Eckhart Tolle, Pema Chödrön, Mooji, Caroline Myss, and more.
The topics include psychology, health and healing, yoga and movement, conscious parenting, mindfulness, meditation, or shamanism.
Another website worth visiting is BetterListen!, where you can browse through a large number of inspirational audio downloads divided into categories such as health, wellness, relationships, psychology, personal growth, philosophy, spirituality, or science.
Featured authors include Marianne Williamson, Mark Hyman, Thich Nhat Hanh, Ram Dass, Jon Kabat-Zinn, Bernie Siegel, Jack Canfield, Bob Proctor, etc.
Experiment and Share
Now you can explore these techniques, choose your favorite ones, and apply them according to your needs. I hope you will find some of them helpful and beneficial as I have done, and that you will share them with others.
Questions or Comments?
Should you wish to ask about anything in this post or contribute with any other tips, do leave a comment below. I’d love to hear about your experience with these techniques, and any others that have worked for you.

BY LUCIE DUN
This site has been built with DIVI, by Elegant Themes.
Disclaimer: This page contains affiliate links. This means that if you decide to make a purchase through my links, I will earn a small commission at no extra cost to you. (The full Affiliate Disclosure can be read here.) If you’d like to learn more about affiliate marketing, e.g. how to earn extra income from blogging and promoting products you like and would recommend to others, which is what I do, check out Wealthy Affiliate, my favourite platform for online marketers. You can create a free account, which will enable you to make your own website in a few simple steps, and host it with them – free of charge – for as long as you like. You can test it right now by trying their free website builder SiteRubix. Thank you for visiting!


