CellPower vs Evolv: Best Molecular Hydrogen Bottles Compared for Wellness & Performance (2025
Why Hydrogen‑Rich Water?
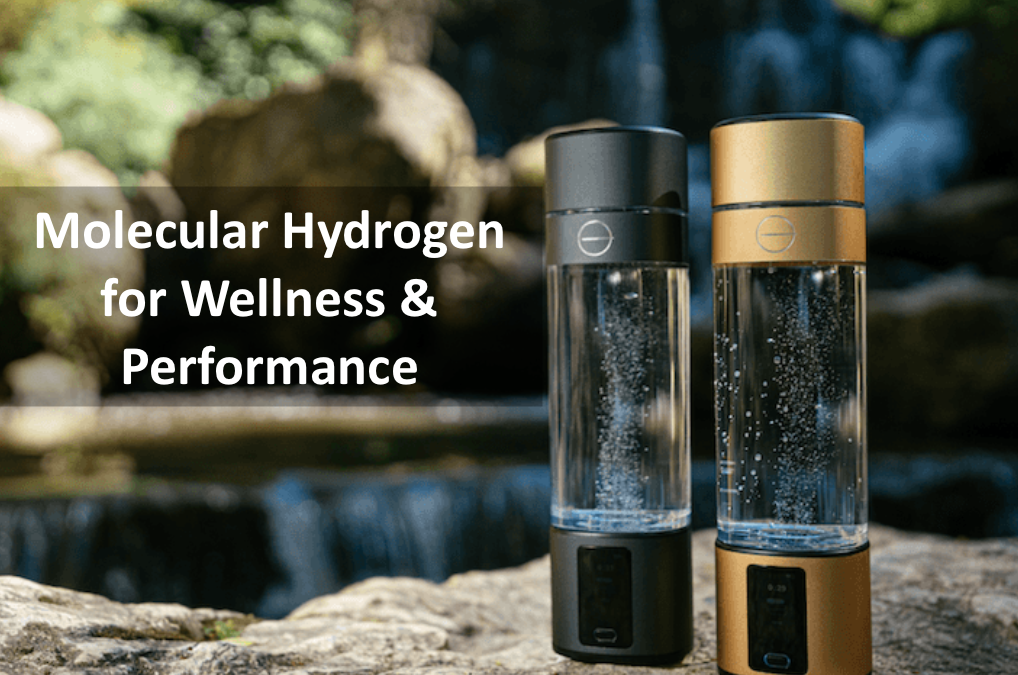
Molecular hydrogen (H₂) is a gentle antioxidant that may help with cellular protection, reduce inflammation, improve energy, and promote better hydration. More and more peer-reviewed research is emerging, and many people report noticeable benefits for recovery, mood, and overall wellness.
In this short video, I explain how you can get more energy by drinking hydrogen-rich water:
With credible backers like Tyler LeBaron, founder of the Molecular Hydrogen Institute (MHI), or Tywon Hubbard (H2Hubb), the science is getting stronger and clearer. Molecular hydrogen is recognized as a gas with potential therapeutic effects, and scientific research indicates benefits for a vast number of health issues.
Some of the benefits of drinking hydrogen-rich water include antioxidant-like effects, anti-aging benefits, anti-inflammatory effects, increased cellular metabolism, anti-allergenic effects, and more efficient, deeper hydration.

THE IMPORTANCE OF DISCERNMENT WHEN BUYING A HYDROGEN BOTTLE
It is essential to be discerning when purchasing a hydrogen water bottle. Many inexpensive options lack the quality materials necessary for producing high-quality water and could be potentially harmful to your health.
When considering a hydrogen water bottle, it is vital to check:
- The origin and production source
- Authenticity and originality of the product
- Quality of materials used
- Testimonials and user experiences – you can read some of the testimonials in my post Testimonials About Hydrogen Water Benefits.
This page contains affiliate links – i.e. if you make a purchase through those links, you will help me to earn a commission at no extra cost to you. Thank you for your support!
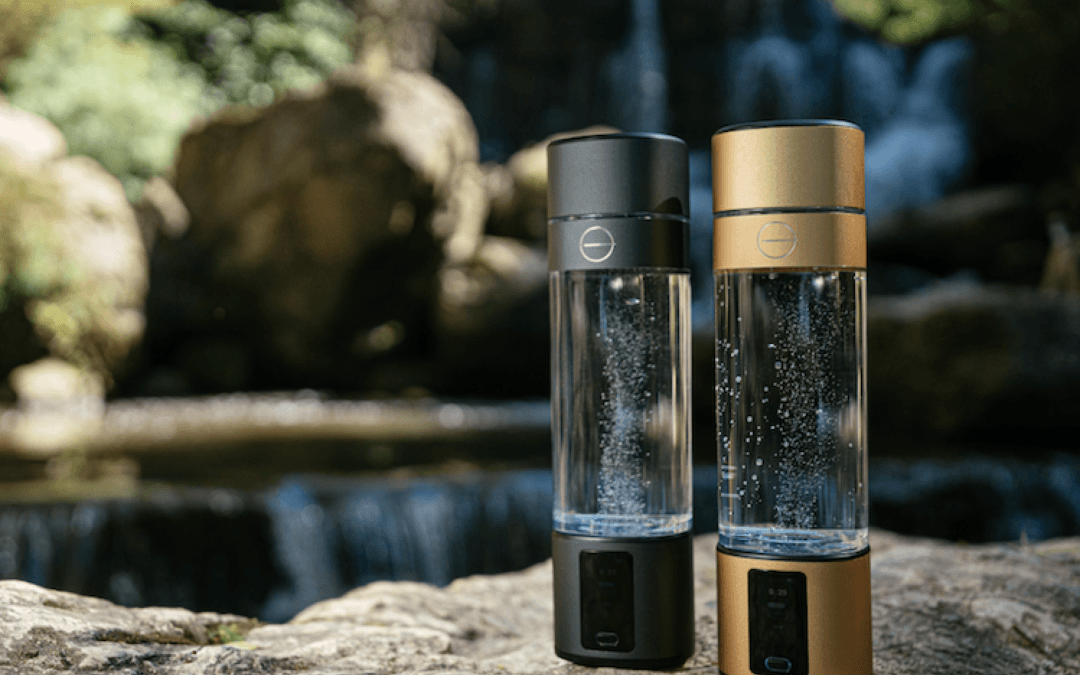
Let’s have a look at the top two molecular hydrogen-producing bottles on the market: The CellPower bottle by LumiVitae, and the H2Go by Evolv.
CellPower Bottle by LumiVitae – OVERVIEW
The CellPower Bottle is a premium hydrogen water generator designed to deliver molecular hydrogen in an easy-to-use format. Manufactured by LumiVitae, this bottle undergoes rigorous testing and is certified by H2 Analytics under the authority of the International Hydrogen Standards Association.

Pros of the CellPower Bottle
– Certified Performance: Backed by third-party testing from H2 Analytics, providing credibility and transparency.
– Portable and Rechargeable: Lightweight and USB-rechargeable, making it convenient for travel.
– Good Water Compatibility: Works well with filtered or low-mineral water within a pH range of 4.8 to 6.8.
– Durable Build: Designed with high-quality materials to ensure longevity.
– Balanced Hydrogen Production: While it produces less hydrogen than the Evolv Bottle, Nuno Nina states that lower hydrogen levels can still be beneficial.
– Affiliate Opportunity: LumiVitae offers an affiliate program, allowing users to earn commissions by sharing the benefits of the CellPower Bottle.
– Potential Health Benefits: Research suggests that hydrogen-rich water may help reduce oxidative stress, support mitochondrial function, and improve cellular energy production.
Cons of the CellPower Bottle
– Higher Price Point: Positioned as a premium product, it comes at a higher cost compared to some alternatives.
– Limited Water Type Compatibility: Not recommended for highly alkaline or mineral-heavy water sources.
– Lower Hydrogen Output: Compared to the Evolv Bottle, it generates a lower concentration of dissolved hydrogen.
Evolv Bottle (H2Go) – OVERVIEW
The Evolv Bottle is another popular hydrogen water generator that boasts innovative technology and accessibility. It is designed to be user-friendly while still providing beneficial hydrogen-infused water.

Pros of the Evolv Bottle
– Higher Hydrogen Concentration: Produces more hydrogen than the CellPower Bottle, potentially leading to stronger antioxidant effects.
– Certified and Lab-Tested: Backed by multiple certifications, including IHSA, EPA, H2 Analytics, H2HUBB, and SGS Water Quality Test, ensuring transparency and reliability.
– Affordable Alternative: Generally more budget-friendly compared to the CellPower Bottle.
– User-Friendly: Simple one-button operation and quick hydrogen production.
– Wider Water Compatibility: Works with a broader range of water sources, including slightly more alkaline water.
– Rechargeable and Portable: USB charging capability makes it convenient for daily use.
– Affiliate Opportunity: Evolv also provides an affiliate program, enabling users to earn commissions by recommending the bottle to others.
– Potential Health Benefits: Scientific studies indicate that higher concentrations of molecular hydrogen may enhance anti-inflammatory responses, improve muscle recovery, and support cardiovascular health.
Cons of the Evolv Bottle
– Less advanced features: Unlikely to offer frequency programs like CellPower.

Which Bottle is Best for You?
The choice between the CellPower Bottle and the Evolv Bottle depends on your priorities:
– If you want a certified bottle with high-quality materials and a balanced hydrogen output, the CellPower Bottle is an excellent investment.
– If you prefer a bottle with a higher hydrogen concentration and multiple certifications at a more affordable price, the Evolv Bottle is a strong contender.
Both bottles offer a great way to integrate hydrogen-rich water into your daily routine, helping to support hydration and overall wellness. Additionally, both companies offer affiliate programs, allowing users to generate income by promoting these innovative products.
No matter which one you choose, you’re taking a step toward better health with the power of molecular hydrogen.
Do you have experience with either bottle? Share your thoughts in the comments below!
If you’d like to ask any question, send me an email.
I look forward to offering you advice and connecting with you! ☺️