TIPS ON STRENGHTENING YOUR IMMUNE SYSTEM
We’ve all learned in the past few years how important is to keep our immune system strong. Over the past few years, I have been exploring various ways of strengthening the body’s resilience, especially those that could be easily implemented into my daily routine.
I’m happy to say that I found several tools and practices that caused a remarkable improvement in my health. I used to get colds at least every three months, but since I’ve started implementing these techniques, my immunity has become much stronger. There was a period when I hadn’t had a single cold for more than four years in a row!
In this post, I will mention my three favourite tools for a strong immune system.
1) ENERGY MEDICINE TECHNIQUES
Do the Daily Energy Routine (or parts of it) daily – it only takes a few minutes.
The Daily Energy Routine is a set of simple but powerful exercises by the legendary healer Donna Eden, the founder of Eden Energy Medicine. She was born with the ability to see energies and as she learned to work with her energy systems, she managed to heal herself from a number of serious conditions including Multiple Sclerosis. She has taught thousands of people how to empower themselves by using their own energy to heal themselves and stay healthy.
I met Donna Eden and her husband, clinical psychologist David Feinstein in 2019. I highly admire their work. In 2023 I completed the Eden Energy Medicine Certification program and I’d love everyone to learn about these incredible self-healing tools. The Daily Energy Routine is one of them.
Each of the exercises in the Daily Energy Routine is designed to balance and strengthen specific energetic systems in your body, leading to greater resilience, the ability to fight illness, and feeling better in general.
Follow the steps in Donna Eden’s video and see how you feel after going through the exercises!
Below is an outline of the main points from this video. It is best to watch the video first and use these points as a reference afterwards.
THE DAILY ENERGY ROUTINE:
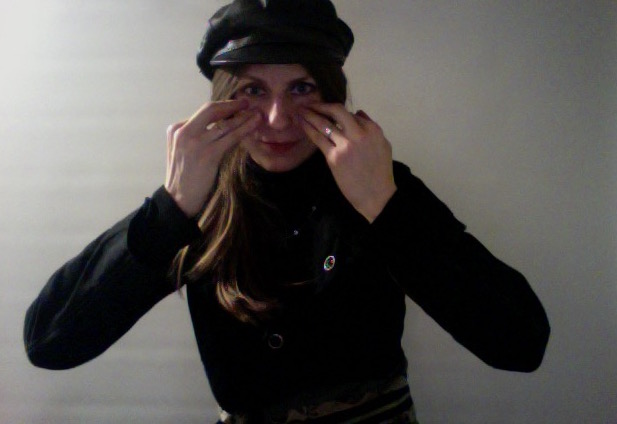
1. THE FOUR THUMPS:
i) Cheekbones – grounding
ii) Collarbone – vitality
iii) Thymus – immune system
iv) Ribcage under breasts – metabolizing
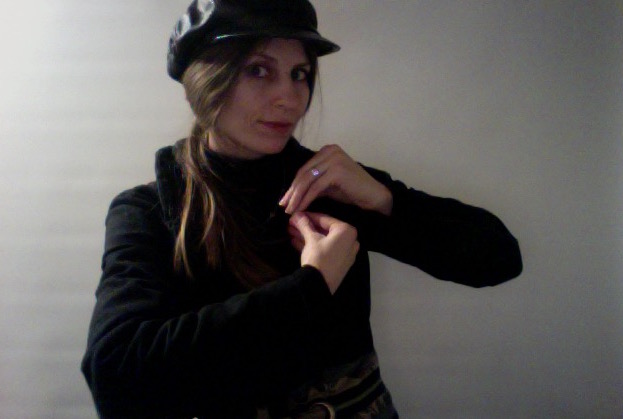
2. THE CROSSOVER SHOULDER PULL – gives you energy, clarity of mind, supports healing
3. THE CROSS CRAWL – harmonizes energy patterns, helps the brain to function better
4. THE WAYNE COOK POSTURE – helps to stabilise emotions and improves focus
5. THE CROWN PULL – supports the flow of the cerebrospinal fluid, brings fresh energy into your head, good against headaches
6. CONNECTING HEAVEN AND EARTH – sends healing energies through your body, sends out built-up toxins
7. THE ZIP UP – strengthens your energetic field, protects against negative energies
8. THE HOOK UP – connects the central and governing meridians (at the front and back of your body) which creates a strong force, sending spiraling energy around the body and positively affecting all your energy systems. This simple exercise can sometimes stop a seizure. (Energy Medicine by Donna Eden, pg 99)
Note: During each exercise breathe in through your nose and out through your mouth
MORE IMMUNITY BOOSTING TECHNIQUES
I also recommend trying some of the exercises that were shown by Donna Eden and David Feinstein during the Covid-19 pandemic. In the video, Donna and David present several powerful immunity-boosting tools that can be done anywhere. I remember following the exercises and feeling much better instantly. I use these techniques frequently, and tech them to my clients.
DONNA’S IMMUNITY BOOSTERS – PART 1
1. THUMP YOUR THYMUS – to boost your immunity
2. MASSAGE THE POINTS UNDER YOUR KNEES (the ‘Stomach 36’ acupressure points) to stimulate nurturing energy and strengthen your immunity
3. MASSAGE YOUR NEUROLYMPHATIC REFLEX POINTS to help the lymph flow and remove toxins. These points can be found at multiple locations:
– at the seams of your arms (to move toxins out of the body)
– all around your chest (to move congestion out of your lungs)
– on the sternum (to help overcome illnesses and give you vitality)
– under your breast (for the stomach and liver reflex points)
– under the ribcage (massaging your spleen reflex points is particularly beneficial for your immune system)
– under the ribcage (all along) – the small intestine reflex points are also very important for your immunity
– an inch above the belly button, and an inch to each side (adrenal reflex points, great against stress and too much adrenalin)
– the sides of your thigh (outside: Large intestine reflex points / Inside: Small intestine reflex points)
– go down the side of your spine and massage all the neurolymphatic points (‘The Spinal Flush’). This is extremely cleansing and rejuvenating.
4. THE HOOK UP – connects front and back meridians which strengthens your aura and protects you against negative energies.
5. HOLD SPLEEN MERIDIAN ACUPRESSURE POINTS (follow Donna’s instructions in the video)
First pair: 2-3 minutes (do this twice – first on one side of your body, then on the other)
Second pair: 1 – 2 minutes (again, hold the points on both sides of the body – with this pair, it’s is easy to hold both sides in one go)
Holding these points strengthens your immune system and can also generate more inner joy.
6. HOLD / MASSAGE THE ‘LOWER DANTIAN’ CALMING POINTS:
Drop two inches below your belly button and press all your fingers into the area. There is an energy center called the Lower Dantian, and holding it calms fear and panic.
Here is a follow-up on the immunity-boosting video above, with additional tips and exercises.
DONNA’S IMMUNITY BOOSTERS – PART 2
1. MASSAGE THE TRIPLE WARMER POINT (see instructions at 0:45) to mobilise the protective force of this meridian in the optimal way
2. MASSAGE NEUROLYMPATICREFLEX POINTS (Kidney 27 – under your collarbone corners – see 1:52) – to help kidneys function well, help all the other meridians flow in the right direction
3. ‘RAKE’ YOUR NEUROLYMPHATIC REFLEX POINTS around the lung area to help them work well
4. DO STRETCHING EXERCISES e.g. the Ileocecal and Houston valves (3:10) – to help valves in your body open and keep poisons moving out of your body
5. BREATHE DEEP (especially on the out-breah)
6. STRETCH YOUR MOUTH WITH STAINLESS STEEL SPOON – to activate important meridians (4:19)
7. KEEP TAKING VITAMIN C to keep your immune system strong.

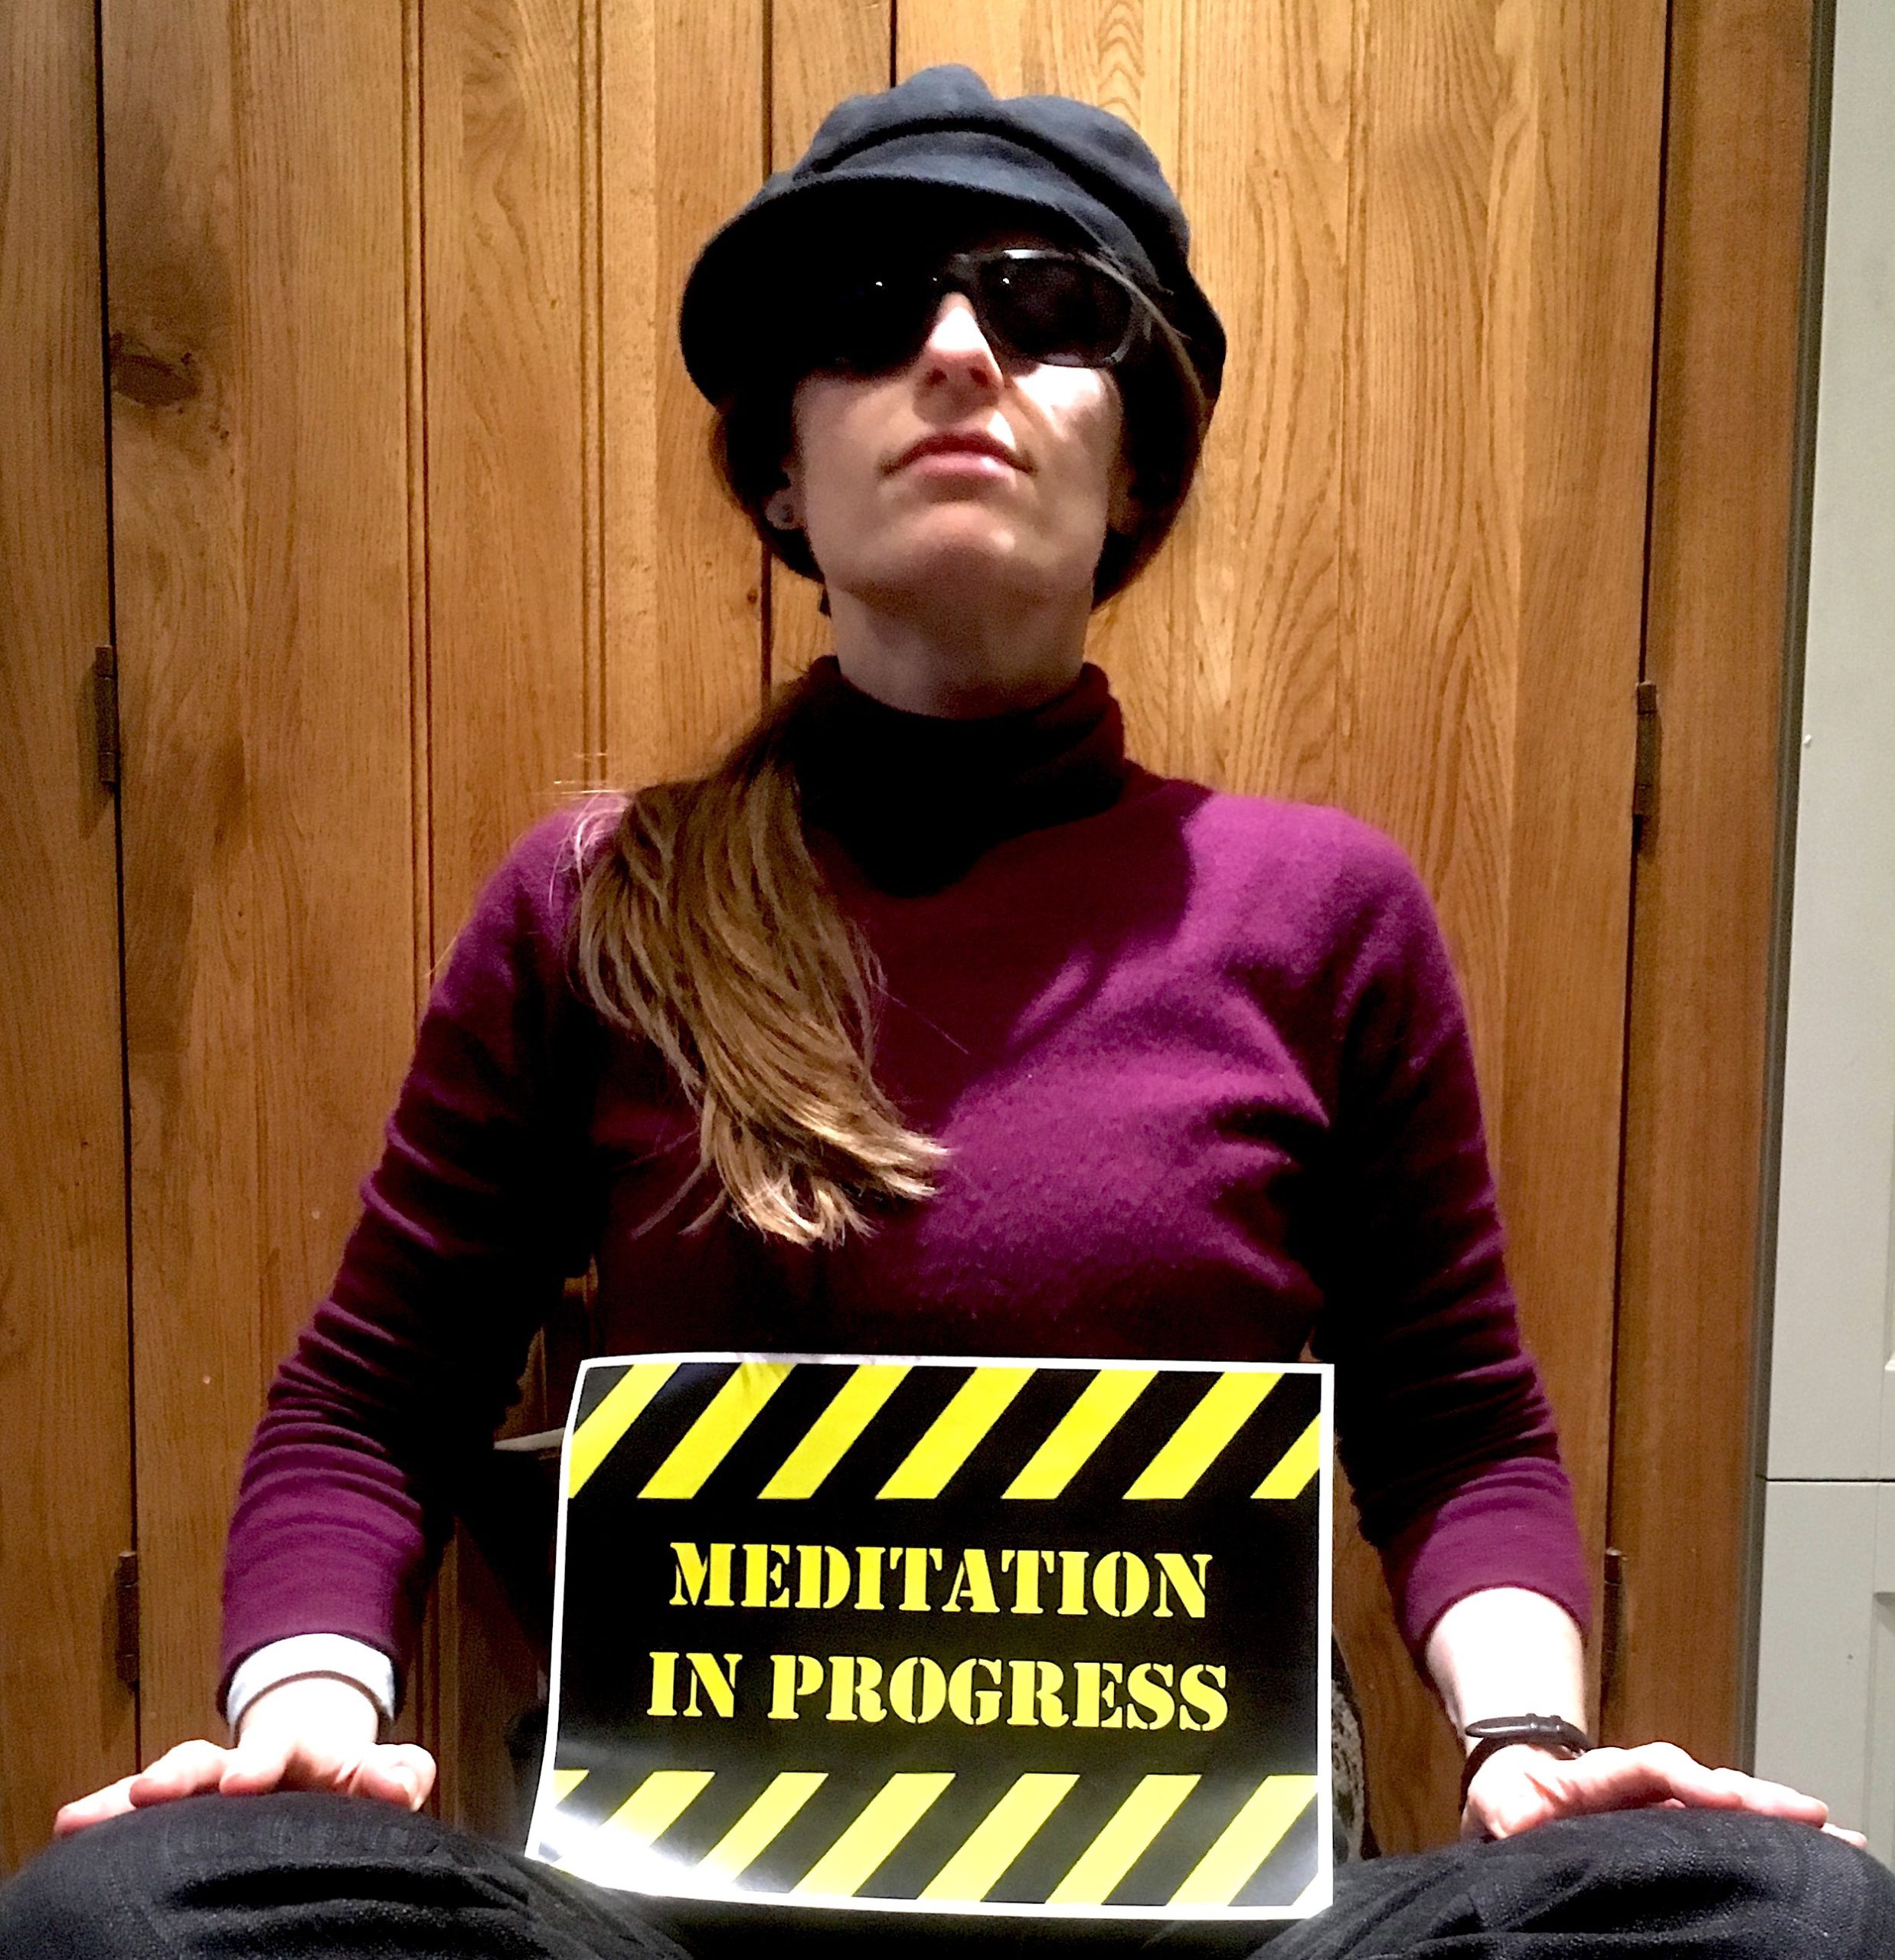
2) MEDITATION
Try meditation. I can’t recommend it enough. I was introduced to meditation (perhaps rather surprisingly) by ‘The God of Hell Fire’ Arthur Brown (a 60’s icon singer I used to play keyboards with).
If you’ve ever seen him on stage and wondered where he gets all that crazy energy, I can tell you – after my own experience – that this might well have something to do with it. Meditation is proven to give you more energy, strengthen your immunity, decrease your stress levels, improve your sleep, making you more creative, and much more.
See my article about the numerous benefits of meditation, where I share my own experience with regular meditation practice. If you are a busy person, it is exactly the right thing for you, because it will actually create more time in your day. You’ll find out for yourself as soon as you start practicing it regularly. Together with Donna Eden’s Daily Energy Routine, it’s one of the best things you could be doing for your immune system.
3) HYDROGEN WATER
Drink good quality (filtered or bottled) water infused with hydrogen. This smallest and lightest molecule in the whole cosmos has enormous potential and can power up your cells and provide numerous benefits to the body, from anti-inflammatory and antioxidant effects, to anti-allergic and anti-aging.
Molecular hydrogen influences metabolic pathways and upregulates the body’s own antioxidants, selectively targeting harmful radicals, thus protecting cells from damage and reducing oxidative stress, which is linked to aging and various diseases. It plays a key role in supporting the immune system.
For me, this has been one of the greatest discoveries ever. I drink hydrogen water daily and feel uplifted, energised and balanced.
Another positive consequence of drinking molecular hydrogen is that I stopped craving late-night snacks, which used to be my long-term bad habit.
You can find all the relevant information about molecular hydrogen on my Home page.

BY LUCIE DUN
This site has been built with DIVI, by Elegant Themes.


in alliance with
Transformational education to awaken your full potential

&

Disclaimer: Some pages on this website contain affiliate links. This means that if you decide to make a purchase through my links, I will earn a small commission at no extra cost to you. If you’d like to learn more about affiliate marketing, e.g. how to earn extra income from blogging and promoting products you like and would recommend to others, which is what I do, check out Wealthy Affiliate, my favourite platform for online marketers. You can create a free account, which will enable you to make your own website in a few simple steps, and host it with them – free of charge – for as long as you like. You can test it right now by trying their free website builder SiteRubix. Thank you for visiting!