Buddha Groove – Feed the Spirit, Inspire the Mind

I’ve always felt drawn to the mystical beauty and healing vibes of crystals and gemstones. Over the years I have collected a large number of semi-precious stones and they never stop fascinating me.
Not every town has a store with a large variety of gemstones, unless you happen to live near Covent Garden in London. When I used to live there, those ‘metaphysical hubs’ were my favourite places to spend my time after work, especially ‘The Astrology Shop’ in Neal Street, or a Buddhist store with an amusing name ‘Buddha on a Bicycle’ in Endell Street.


Apart from a mountain of healing crystals and some splendid gemstone jewellery, both shops offer a great variety of items for spiritual practice, Tibetan singing bowls, temple bells, Buddha statues, incense, essential oils, books, and all kinds of fair trade gifts. I could easily spend a whole afternoon between these two stores and rarely return home empty-handed.
The Online Garden of Earthly Delights
When I moved out of London, I was missing these places and everything they had to offer. Especially when I needed to choose a present for someone. To me, things like this make the best presents, being personal, meaningful and pleasing to the eye.
So I embarked on a search for online stores with a similar line of products, and I came across an online store called Buddha Groove. I have to say, it has superseded my expectations. The store has a remarkable range of tasteful products for meditation practice and Yoga lifestyle, and for anyone who simply seeks inspiration in beautiful items.
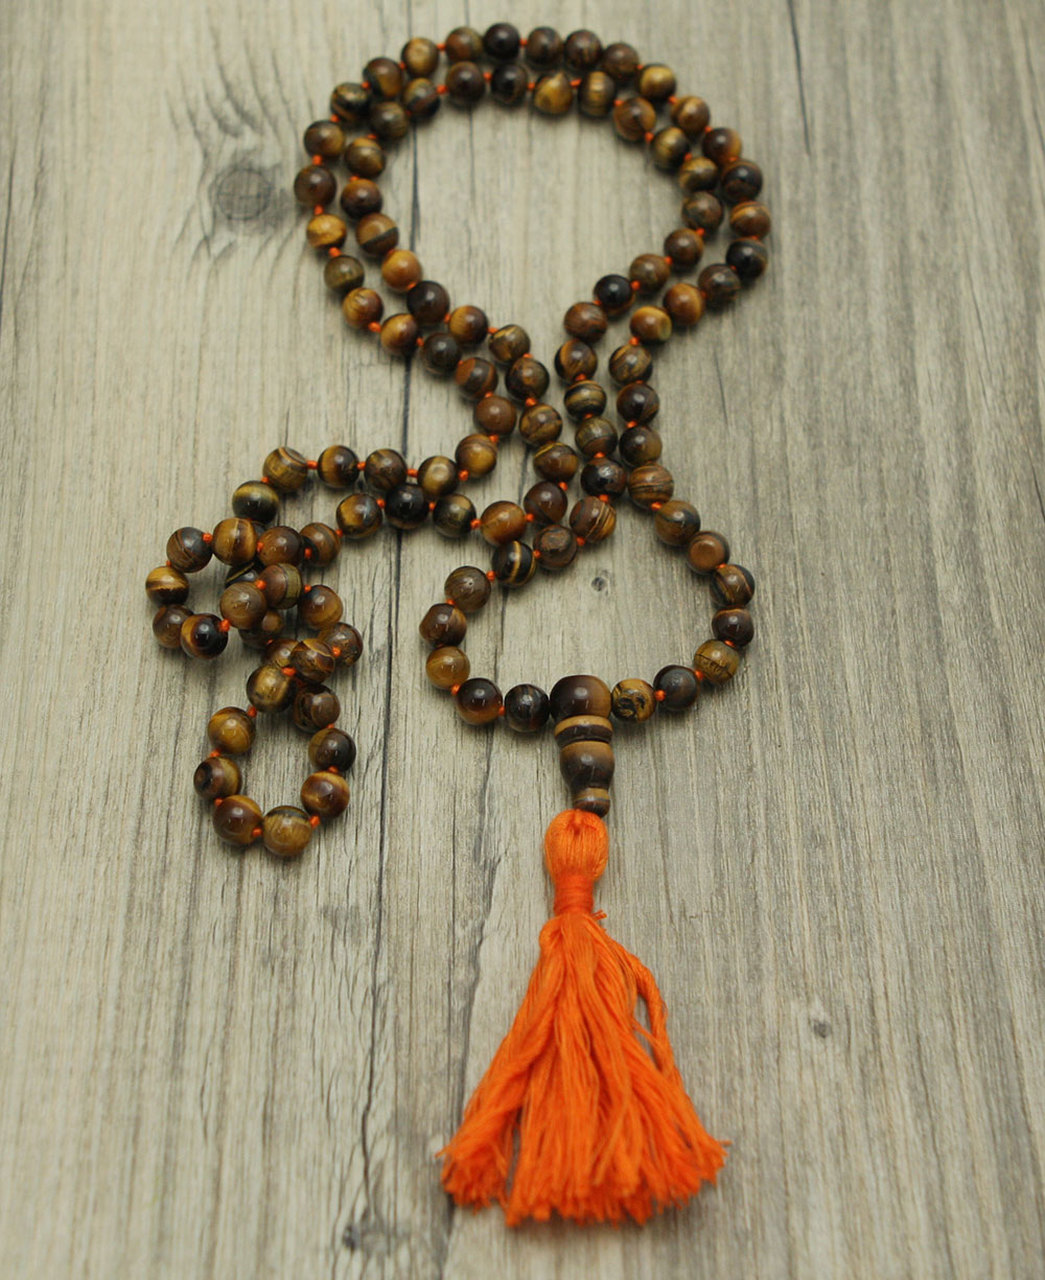
Spiritual Jewellery, Crystals & Gemstones, Singing Bowls, Tea Ceremony, Mala beads, Buddha statues…
I was hooked after just a few clicks through their site, because they had exactly the kind of things that used to be the object of my pilgrimages to Covent Garden. I went through their entire gemstone jewellery collection and kept discovering more and more sophisticated and dangerously inviting items of adornment.
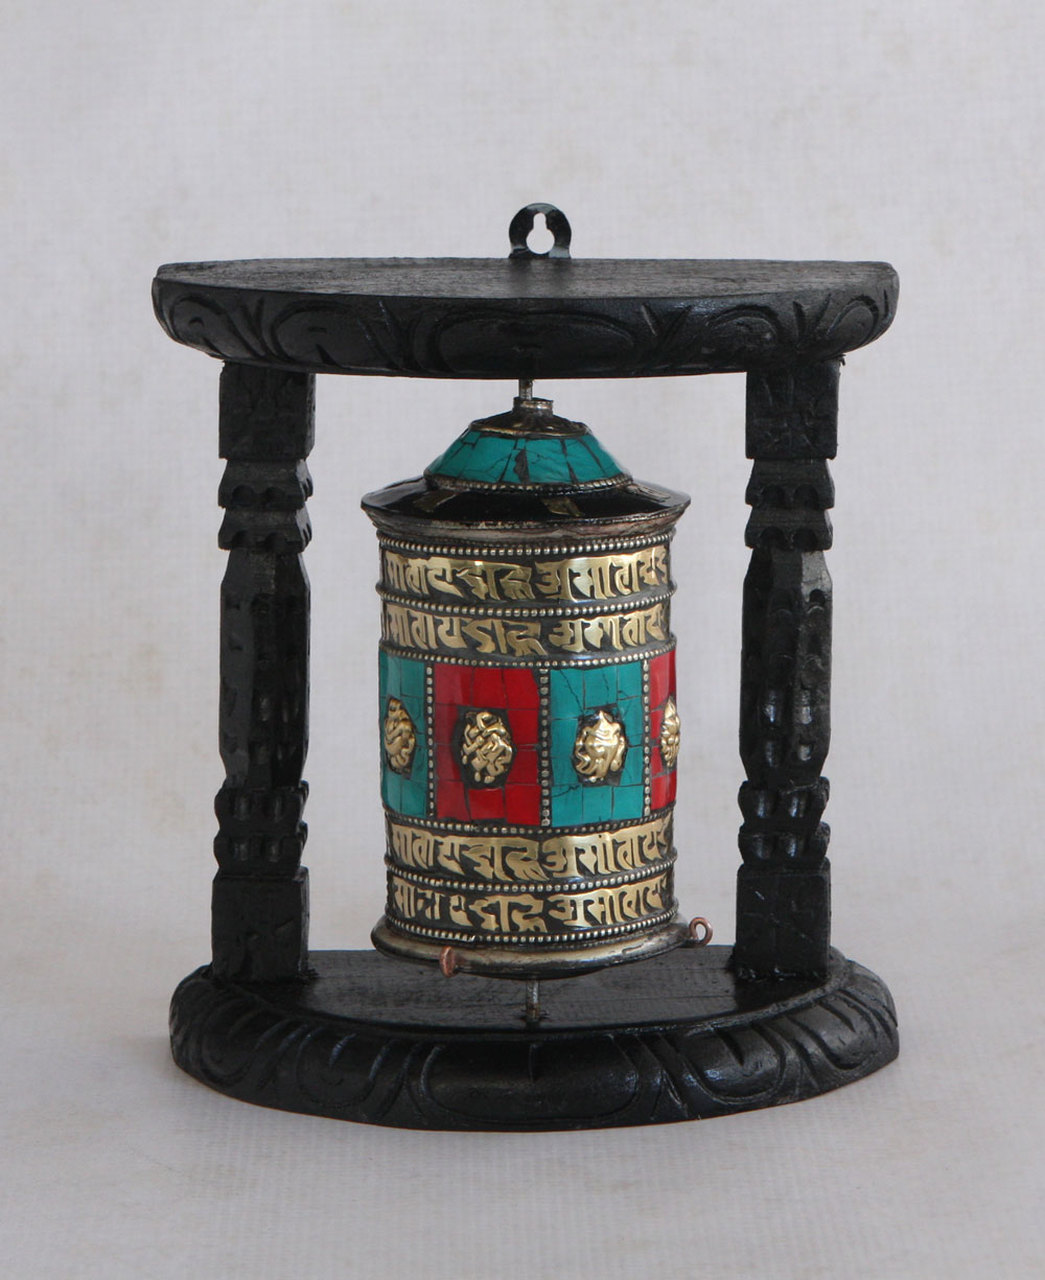
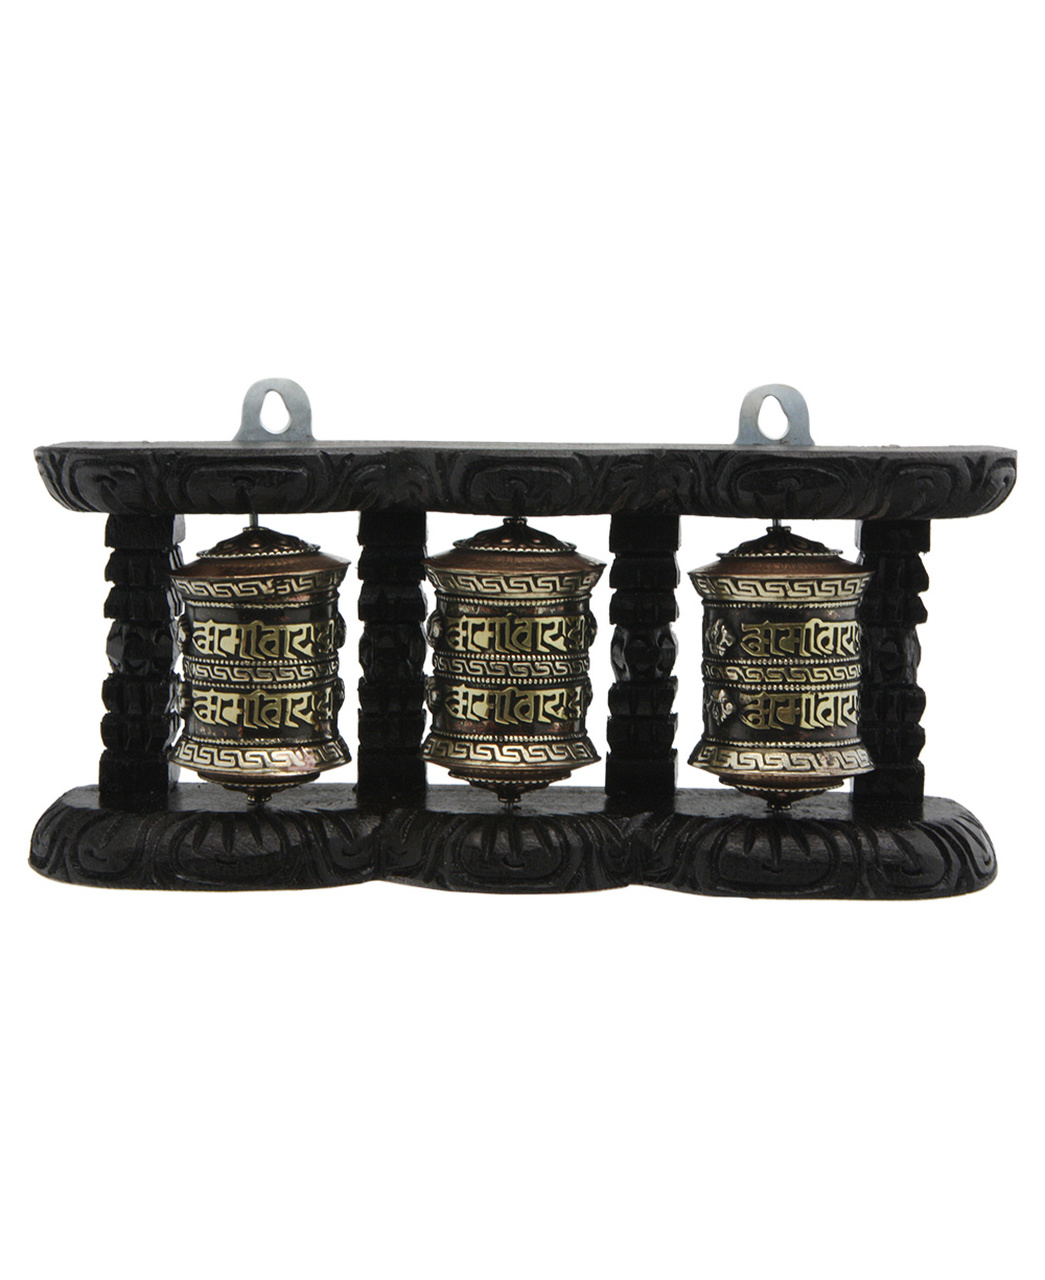
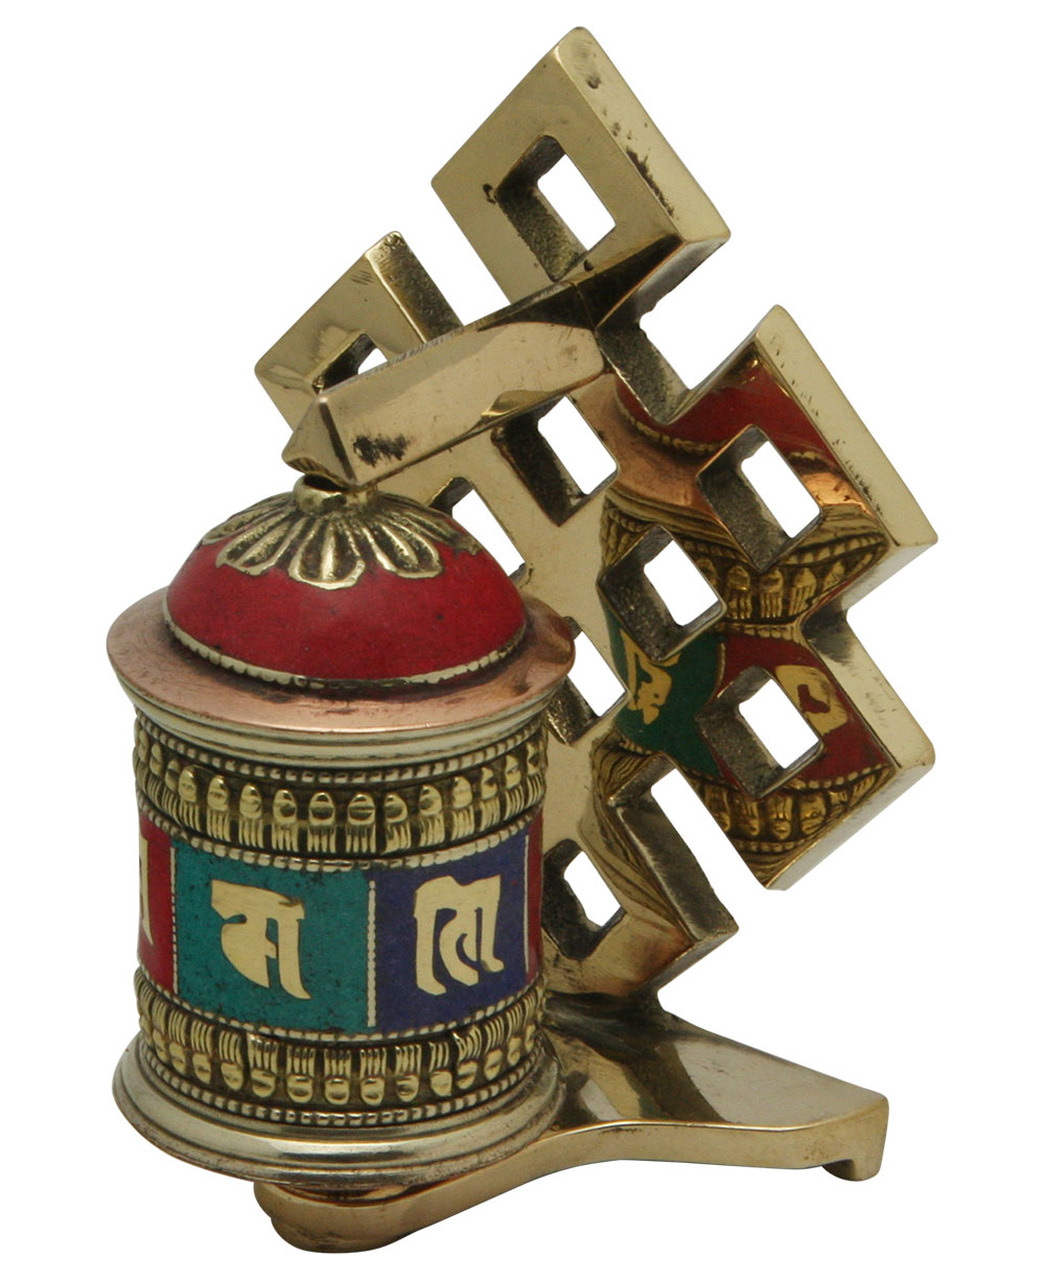
I also love the collection of Tibetan singing bowls, Tingsha bells, and Prayer Wheels. I’m seriously considering getting the ‘Three-in-One Hanging Brass Prayer Wheel’, which can be mounted on the wall (you can see it in the photo slider above).
There is also an intriguing collection of statues, ‘Zen garden’ items and home accents.
I had to stop browsing through their pages after a while because I caught myself visualising half of their stock in our house. Every other click would be accompanied by a gasp of amazement. I’ve already managed to compile a mile-long list of people and their matching gifts.
The only department which left me rather indifferent was the section ‘Inspirational jewellery’. Compared with the awe-inspiring sterling silver and gemstone collection, the pieces from this category seem less impressive to me. (This is obviously a matter of personal preference.) I’m a big fan of quotes and affirmations, but I don’t feel the need to wear pendants that say ‘I love yoga’, or ‘No mud no lotus’ – although I do find the latter witty, and I can see the wisdom behind these words.
Find Your Favourite Sections Easily
You can use this table of contents to find your favourite sections. My wish is that scrolling through this page will provide you with an uplifting, esthetic experience, similar to visiting a gallery. Once you’ve found a section of your interest, click on the gallery thumbnails to enlarge them, so you can fully appreciate the textures and shapes of the beautiful items, feeling fully present with their essence.
Gemstone Jewellery and Healing Crystals
Amethyst
Citrine
Clear Quartz
Labradorite
Lapis Lazuli
Moonstone
Pyrite
Rose Quartz
Sodalite
Sterling Silver Jewellery
Singing Bowls (including a video demonstration)
Tingshas, Cymbals, Bells and Chimes
Zen Home – Zen Garden
Prayer Wheels
Gifts
Clothes and Accessories
Recommended Sections
Gemstone Jewellery and Healing Crystals
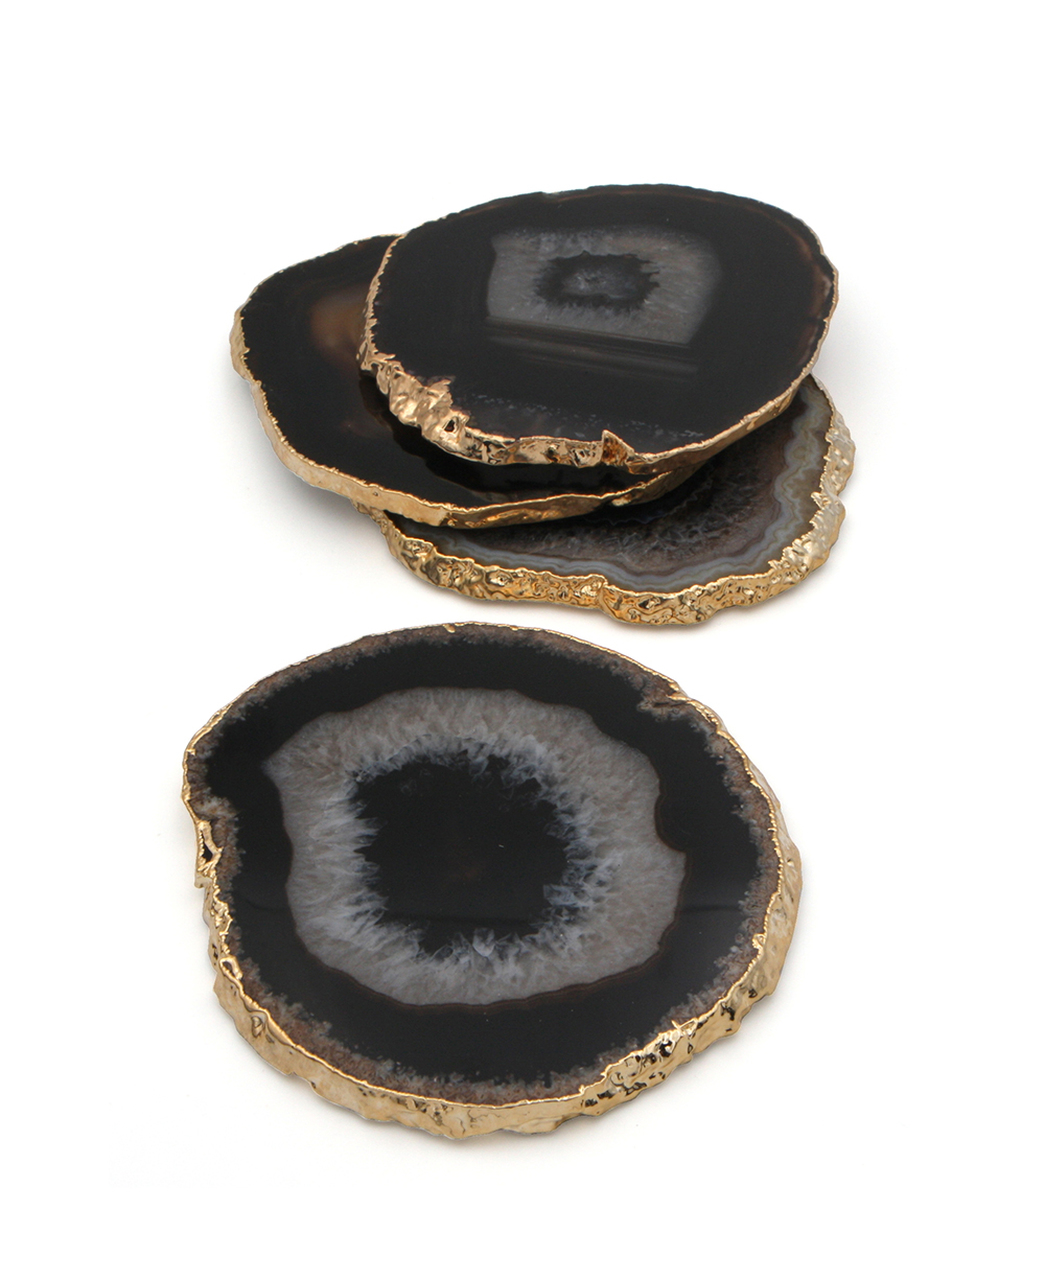
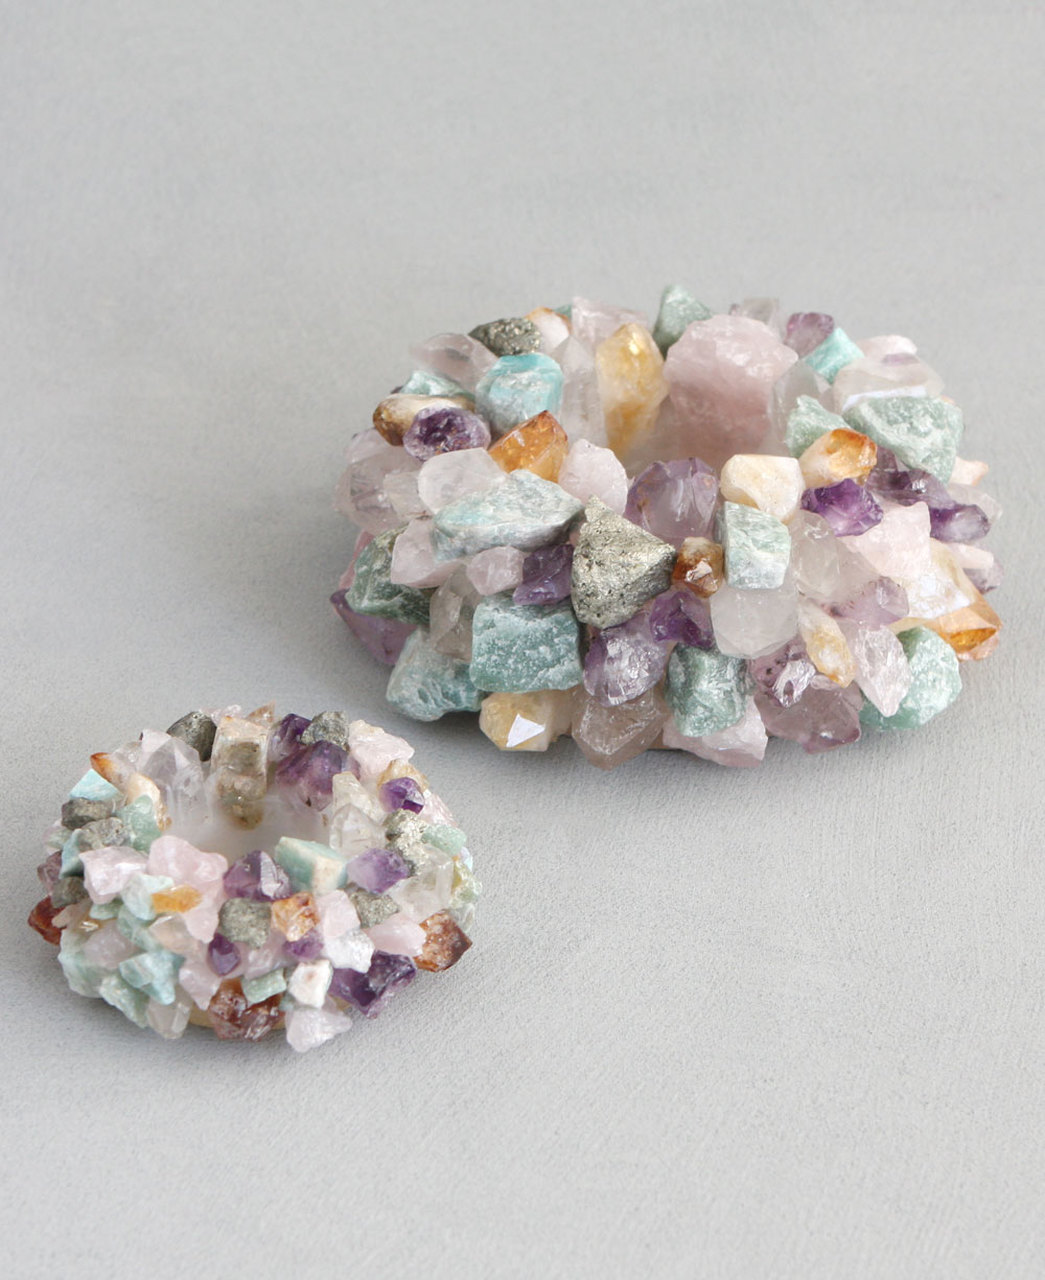
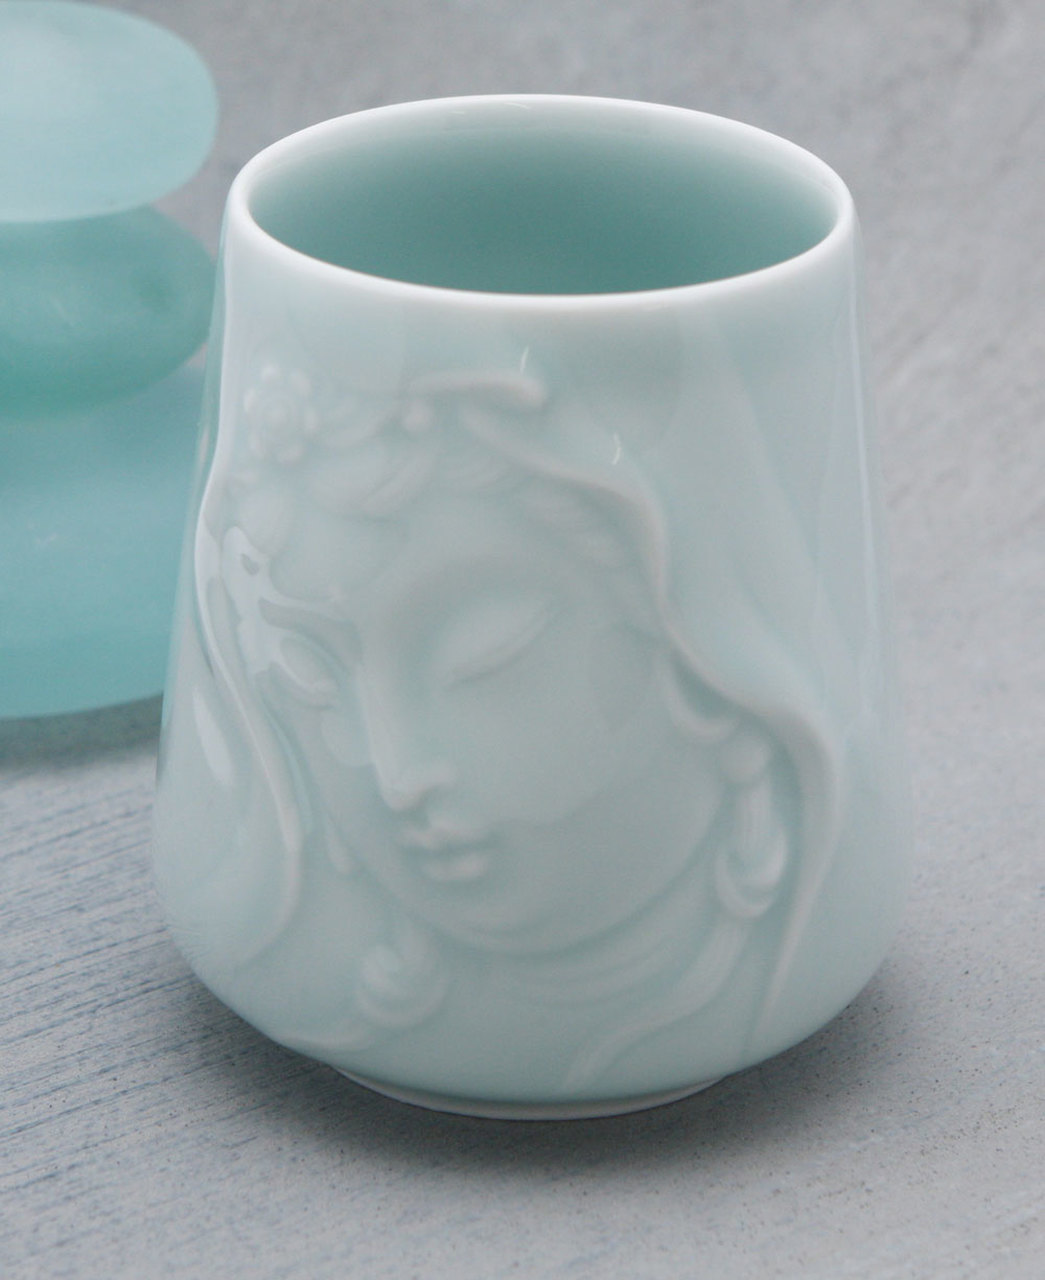
These are my favourite sections of Buddha Groove’s store. To me, browsing through the pages of such gems (literally) feels like walking through a mythological palace filled with treasures. I find the combination of beautiful shapes and proven healing properties of the gemstones truly spellbinding.
In the gallery below you’ll see a sample of Buddhagroove’s range of gemstone jewellery and decor. You can access all the listed items in Buddhagroove’s sections Gemstone Jewellery and Healing Crystals.


Before purchasing a piece of gemstone jewellery it is useful to know a little about a particular gemstone’s properties, to make sure it will resonate with you. Like us, and everything else in nature, gemstones emit electromagnetic fields of various frequencies, and some of them may fit us better than others – depending on where we find ourselves on our life’s journey, or what aspect of our life we’d like to improve.
It is similar to our favourite colours, especially the ones we wear. It’s not just the visual impact of a colour that makes us decide whether we want to wear it it or not; we get equally affected by the colour’s physical vibrations.
There was a time when I was wearing black only. I was also prone to feeling gloomy quite a lot in that period without any obvious reason. Then a friend – healer made me aware of the likelihood of the colour’s frequencies on my states of mind, and I noticed a considerable change as soon as I ‘lightened up’ my wardrobe.
Realising that colours can effect our emotions has helped me a lot. If I was holding a long-term negative charge towards some people, I would not only visualise forgiving them and sending them love, but I would also start wearing rose-quartz jewellery and carry rose-quartz crystals in my pockets, as this gemstone is known for supporting forgiveness and unconditional love.
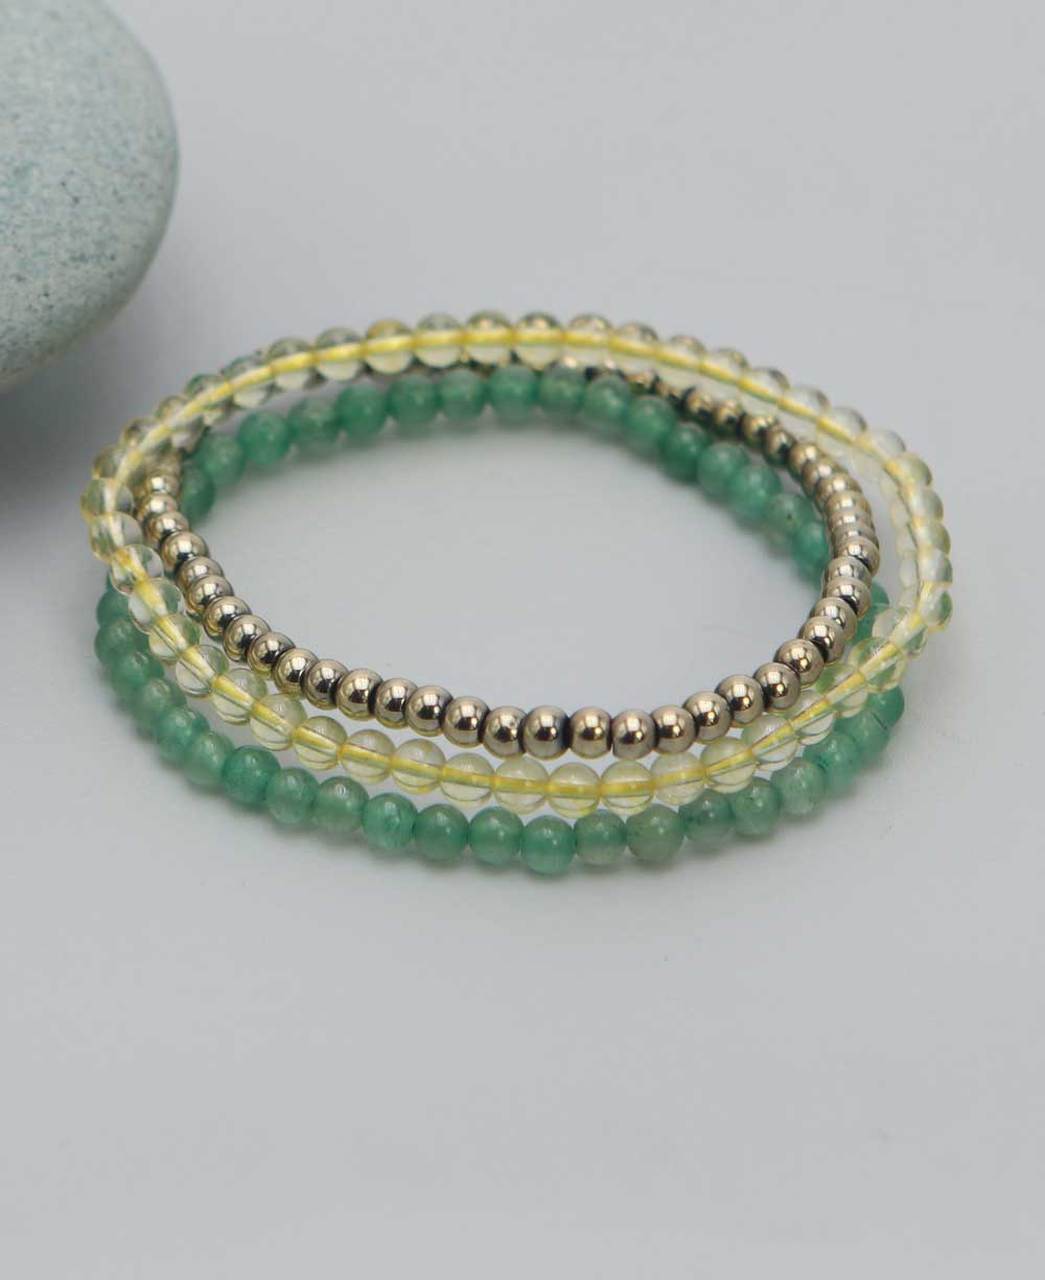
Similarly, when I have to tackle a big project and need to strengthen both my confidence and willpower to accomplish the task, I tend to surround myself with the golden-hued Pyrite.
Which Gemstone May Help You Right Now?
Below is a summary of the main properties of gemstones featured in this post. May it help you chose the right gemstone for yourself or someone you care about.

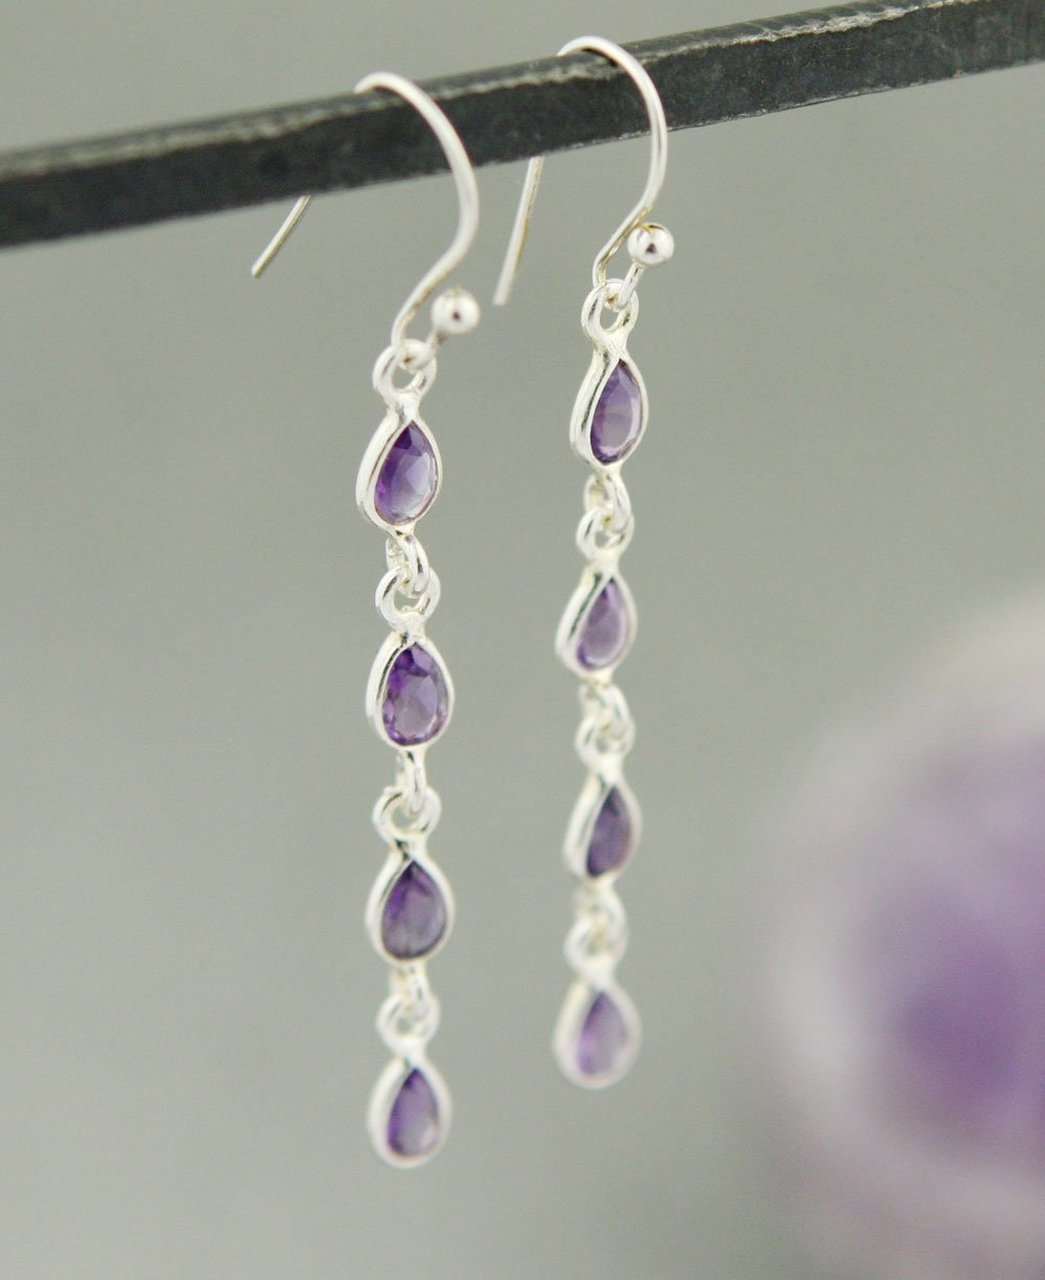
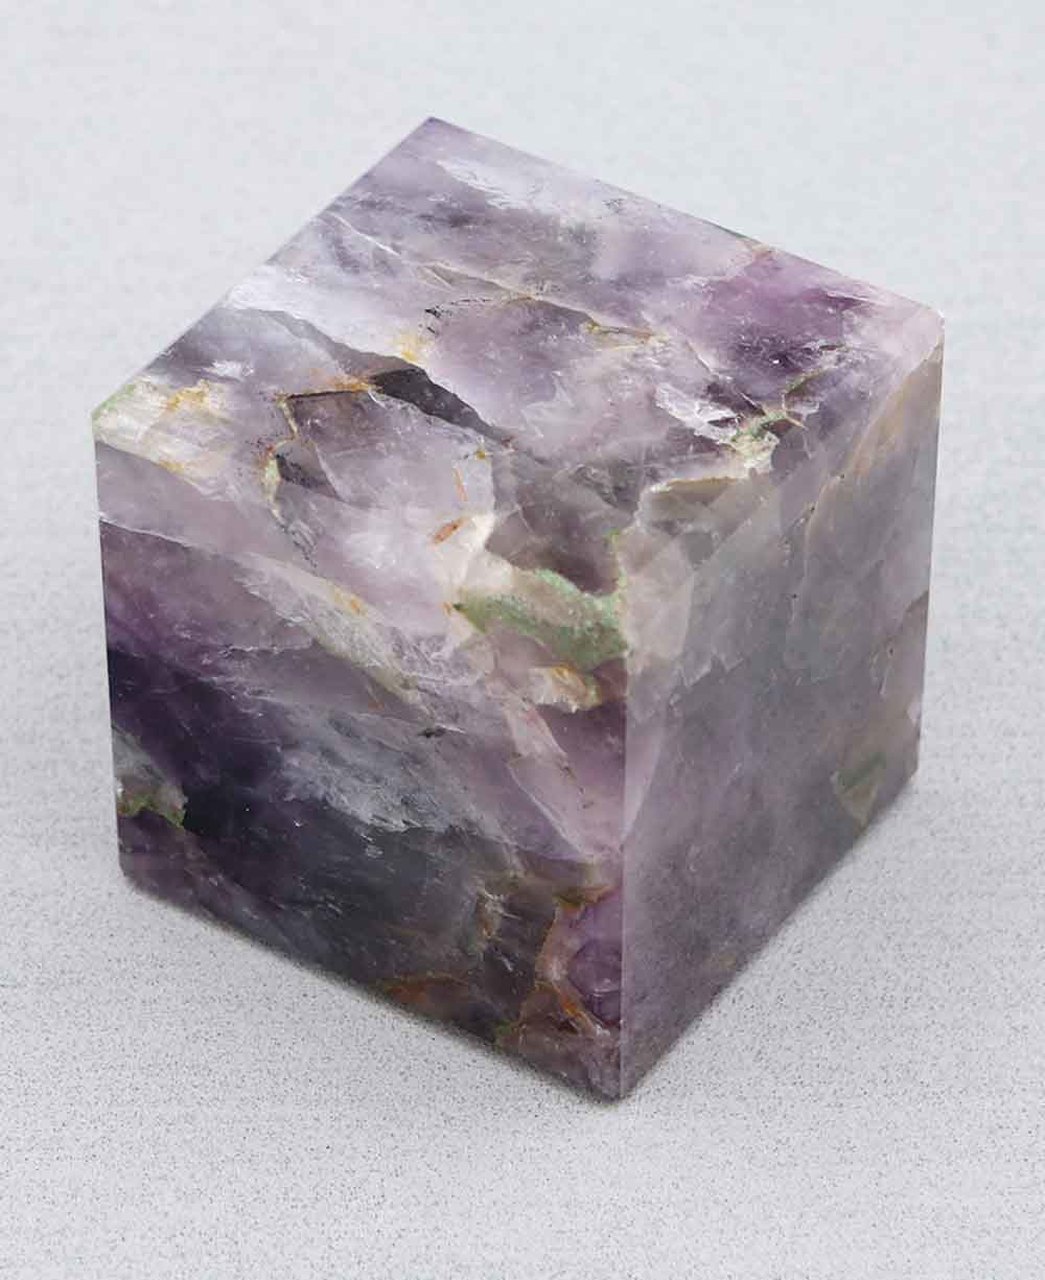
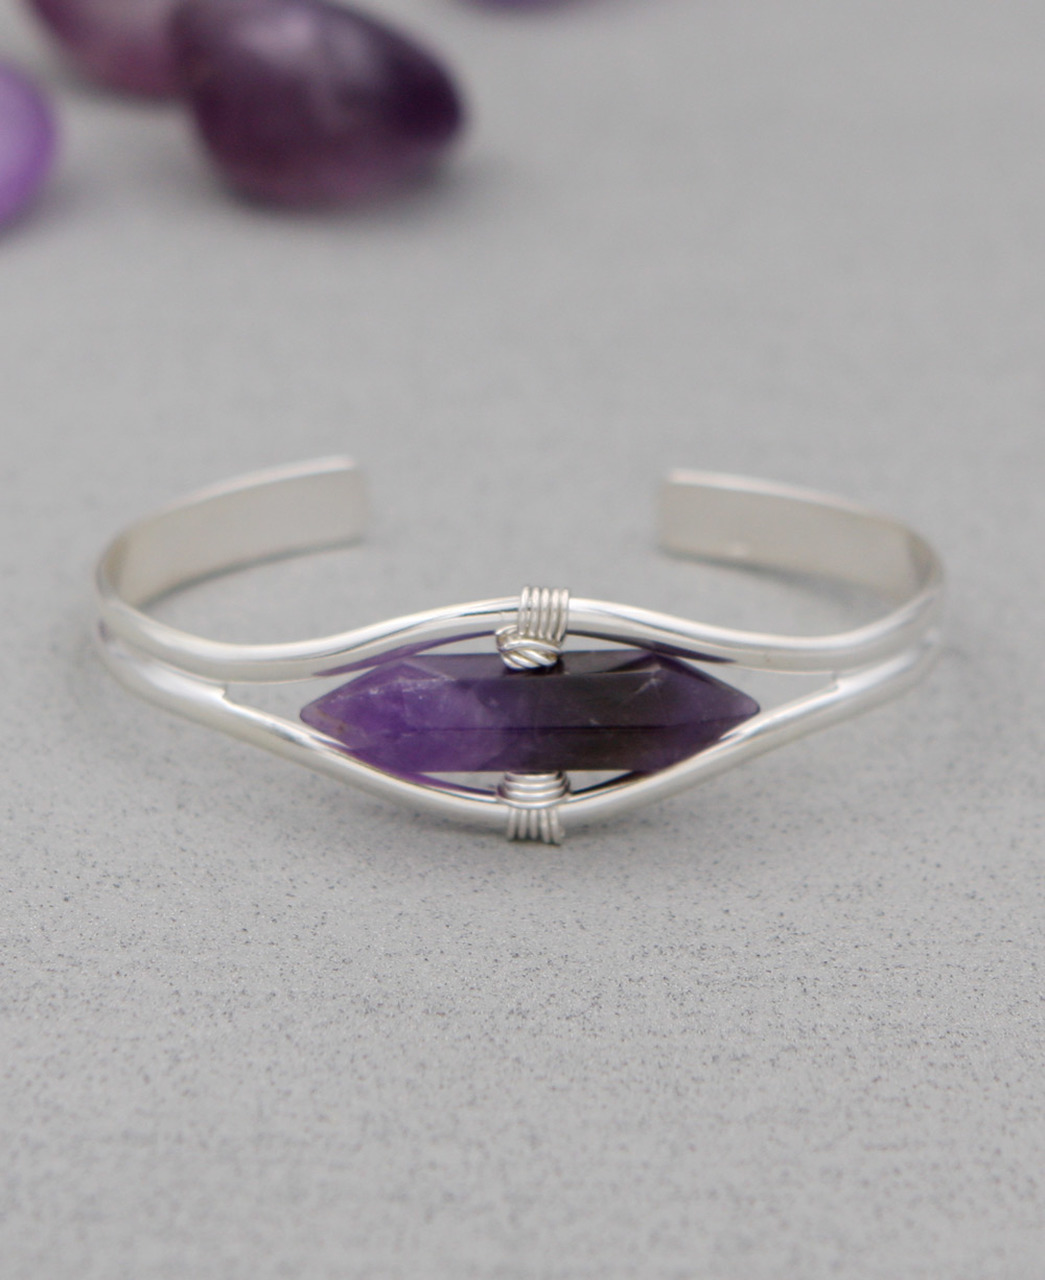
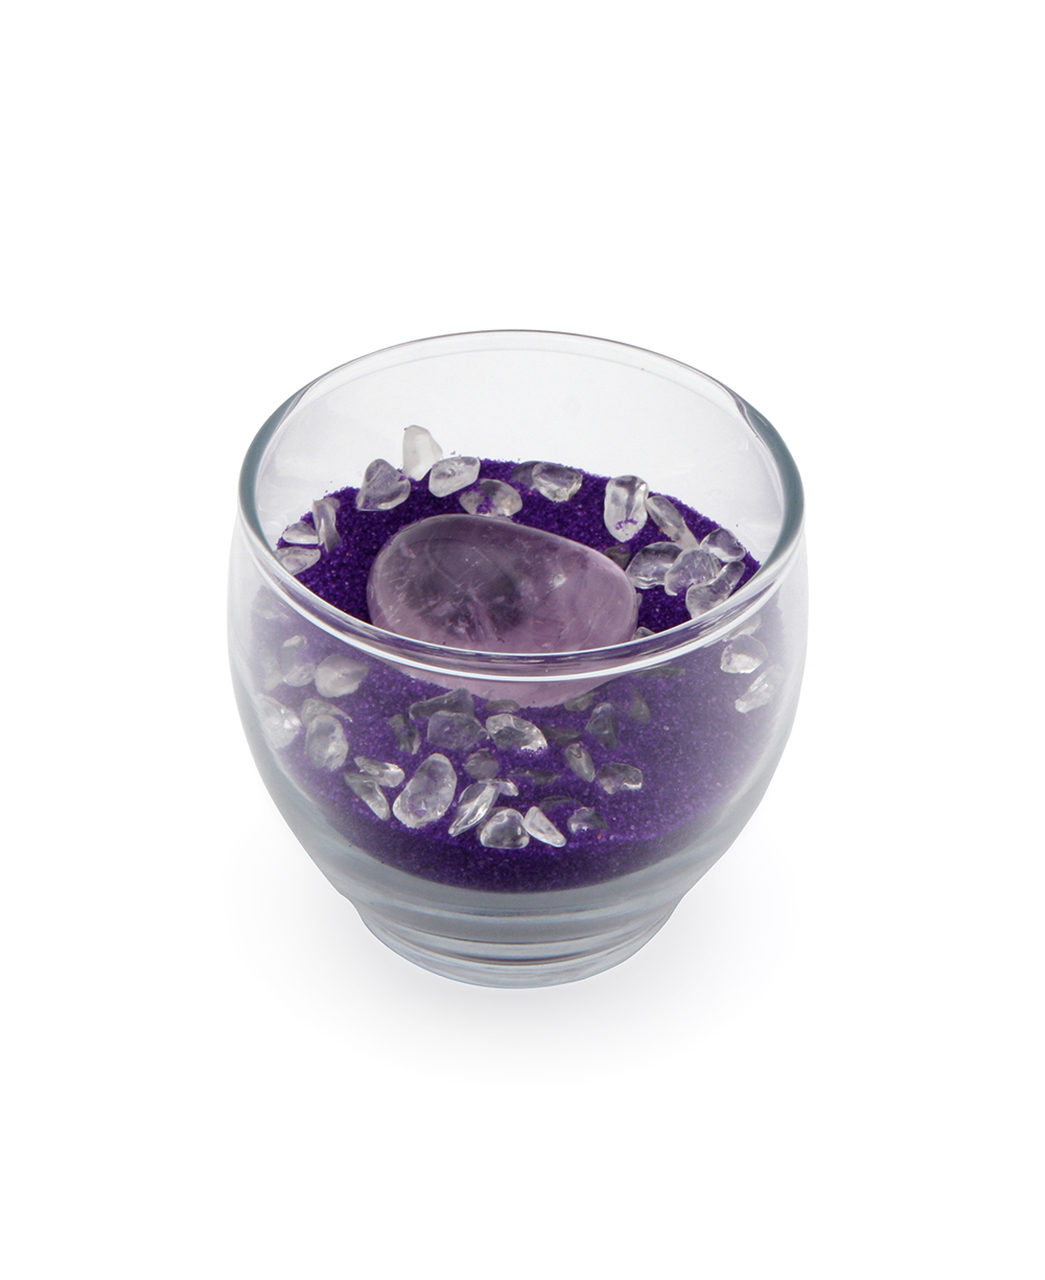
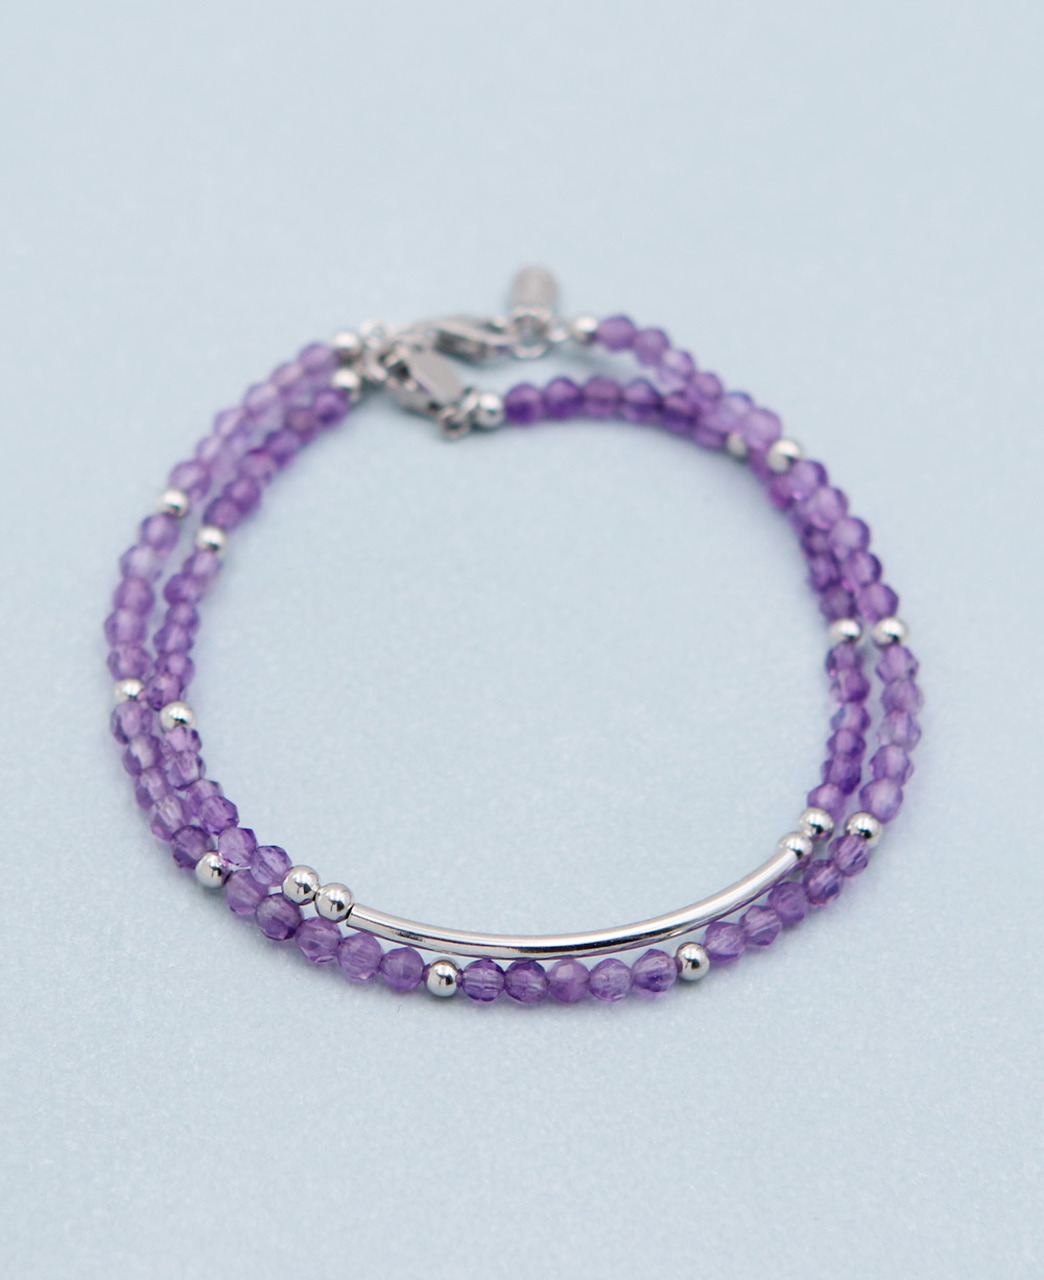
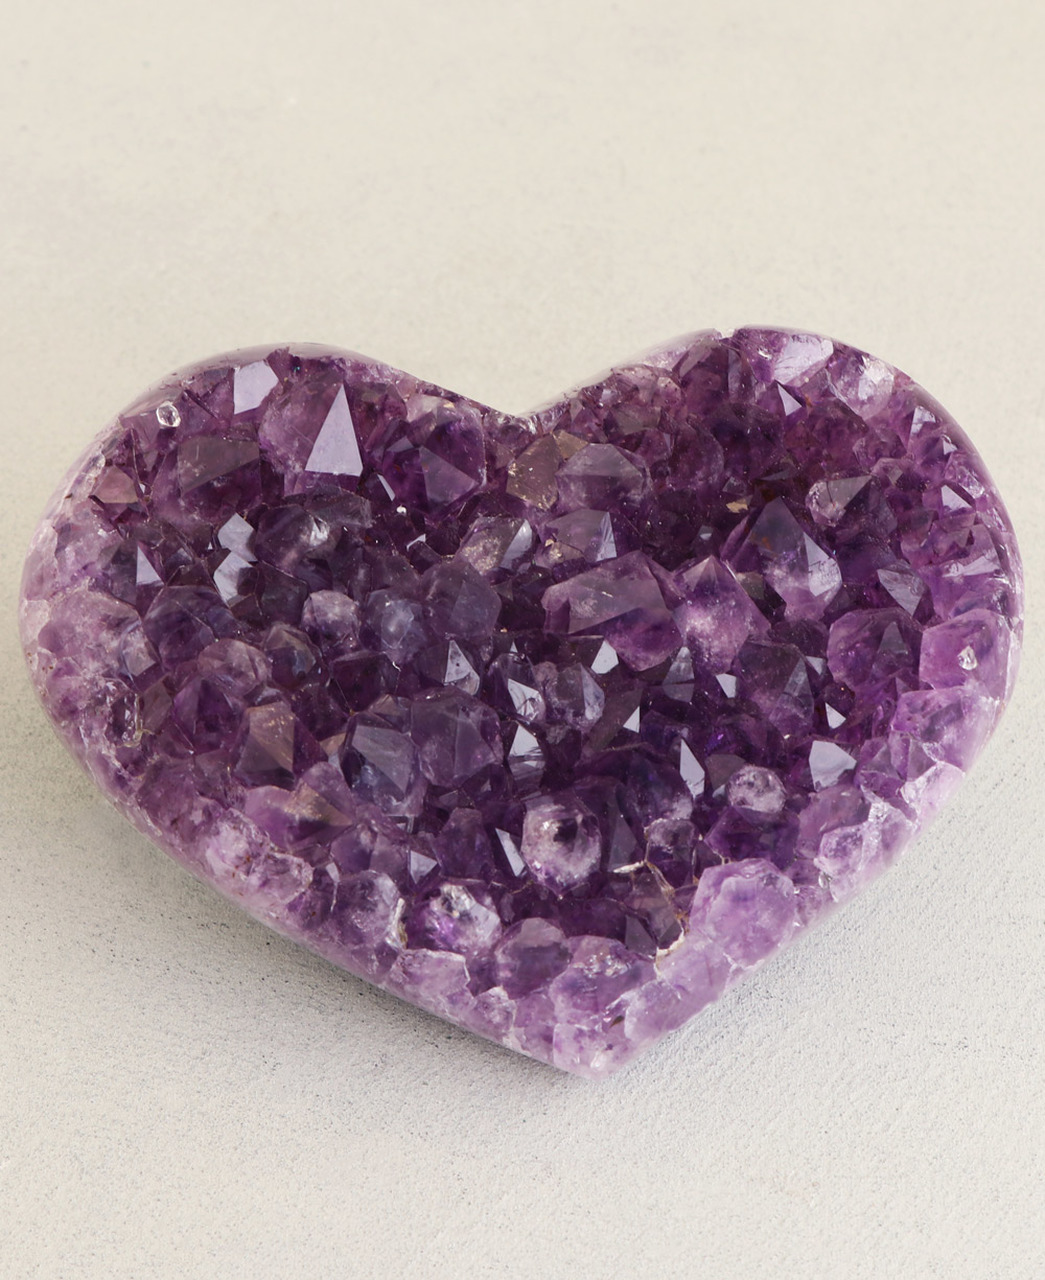
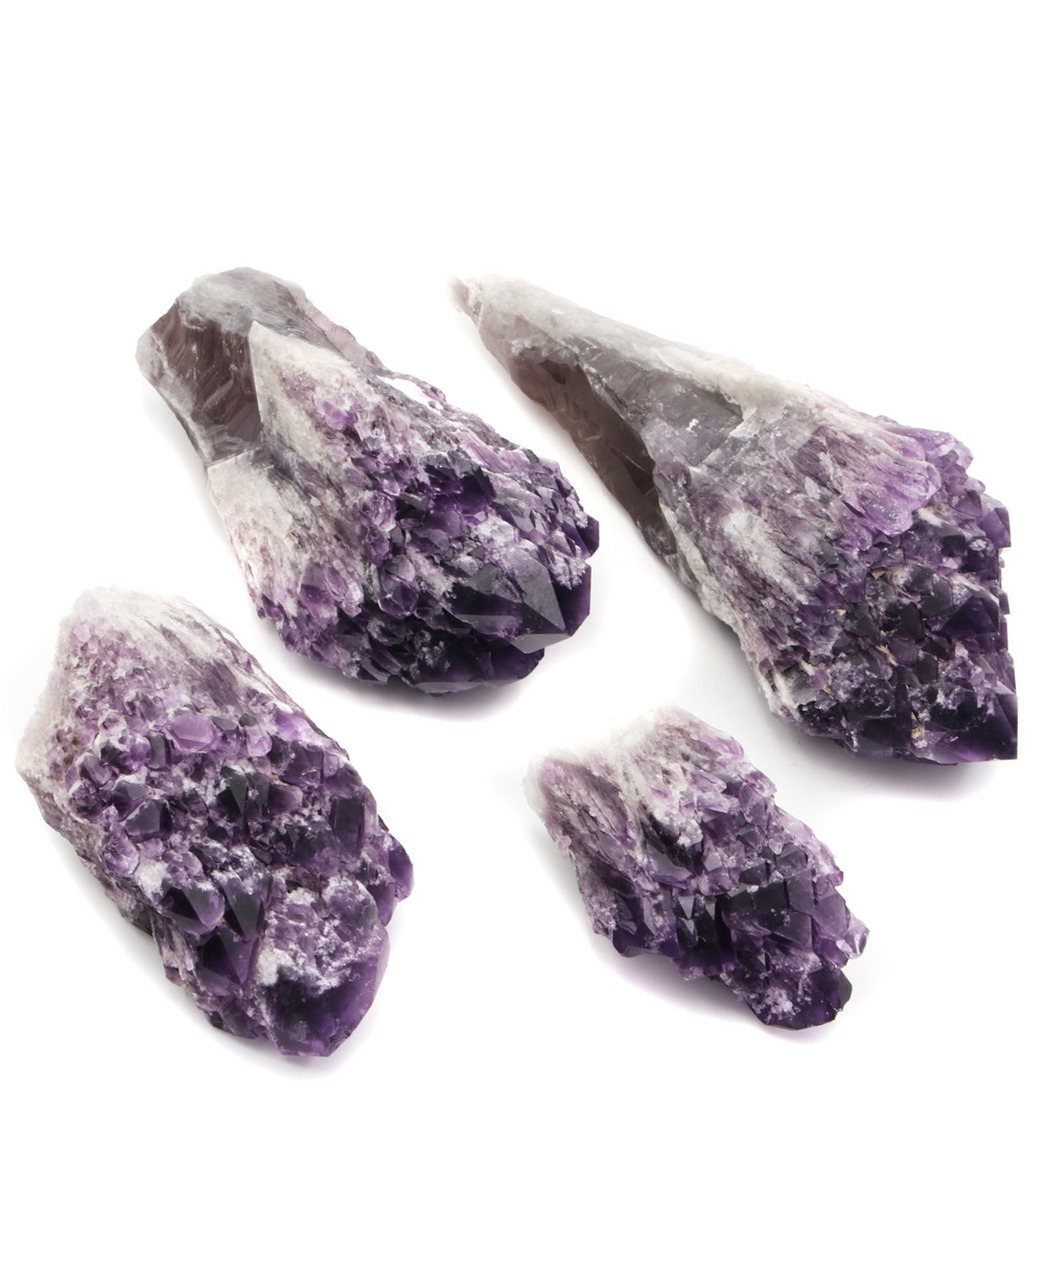
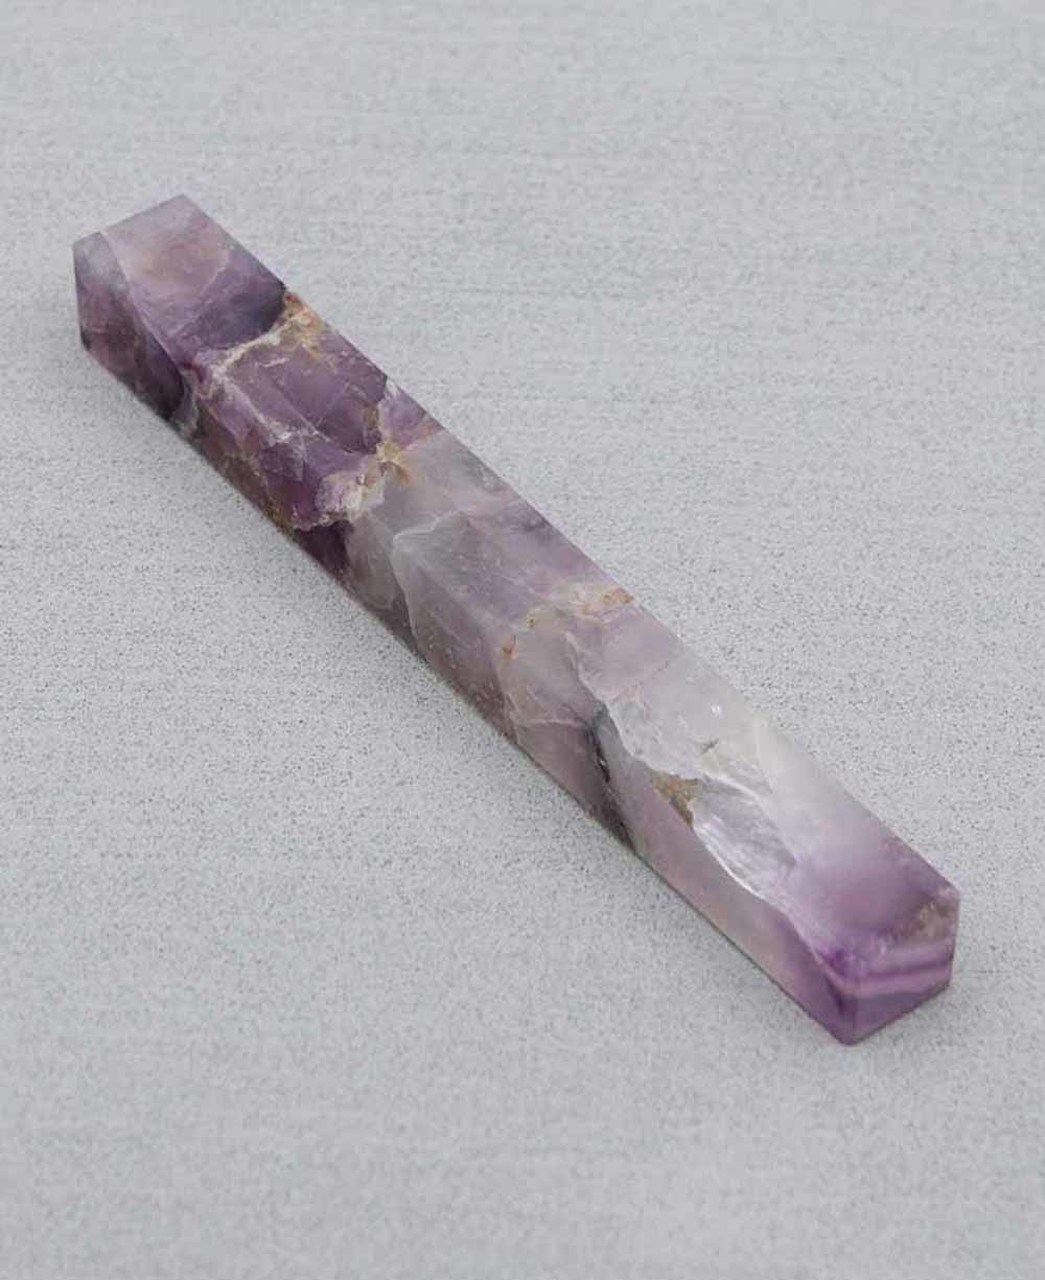
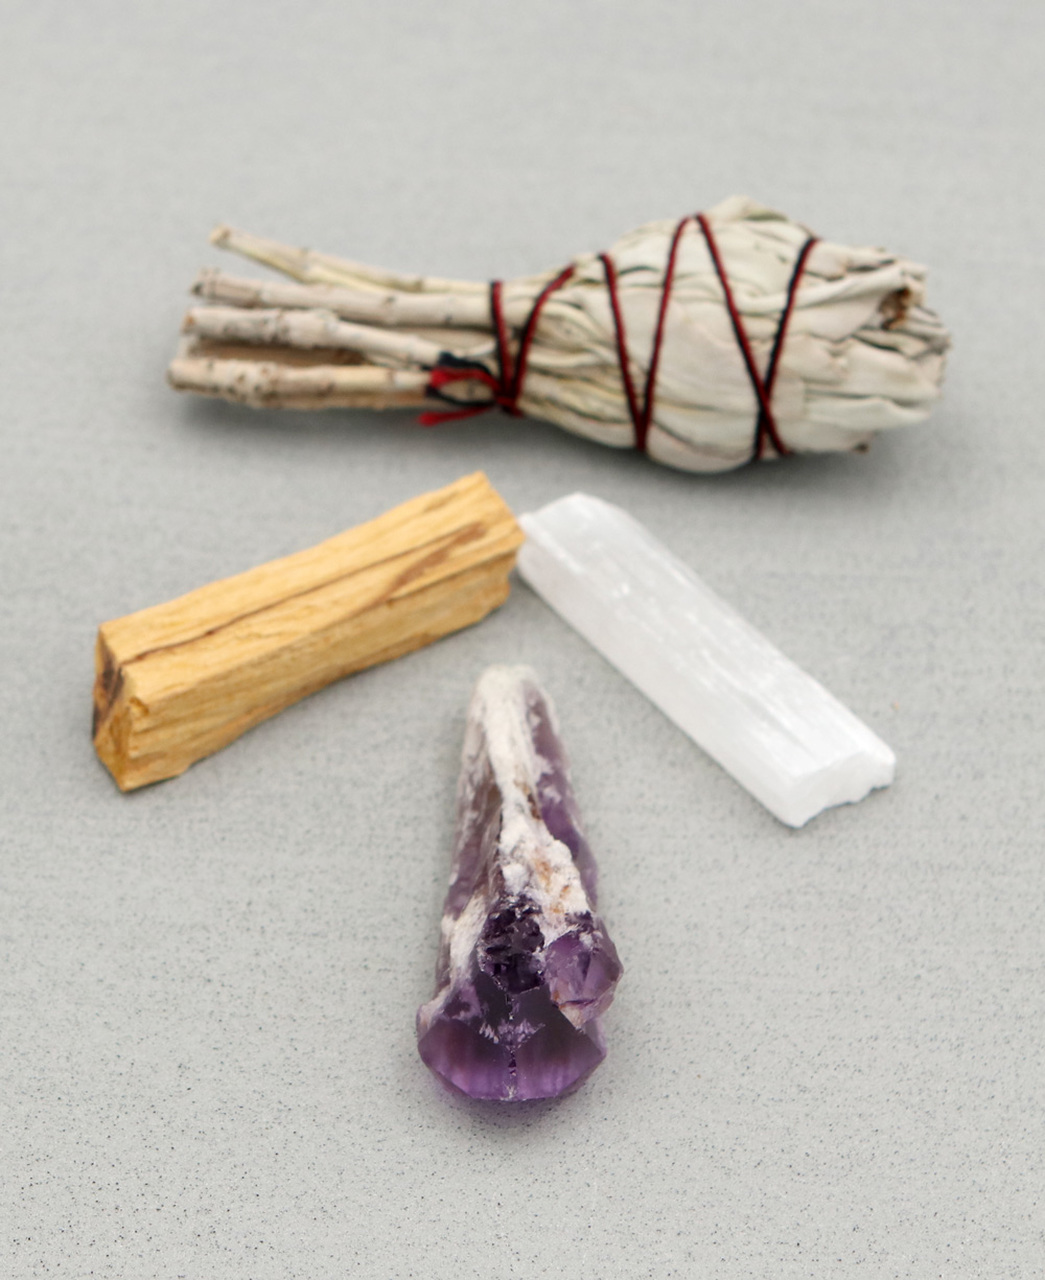
Amethyst
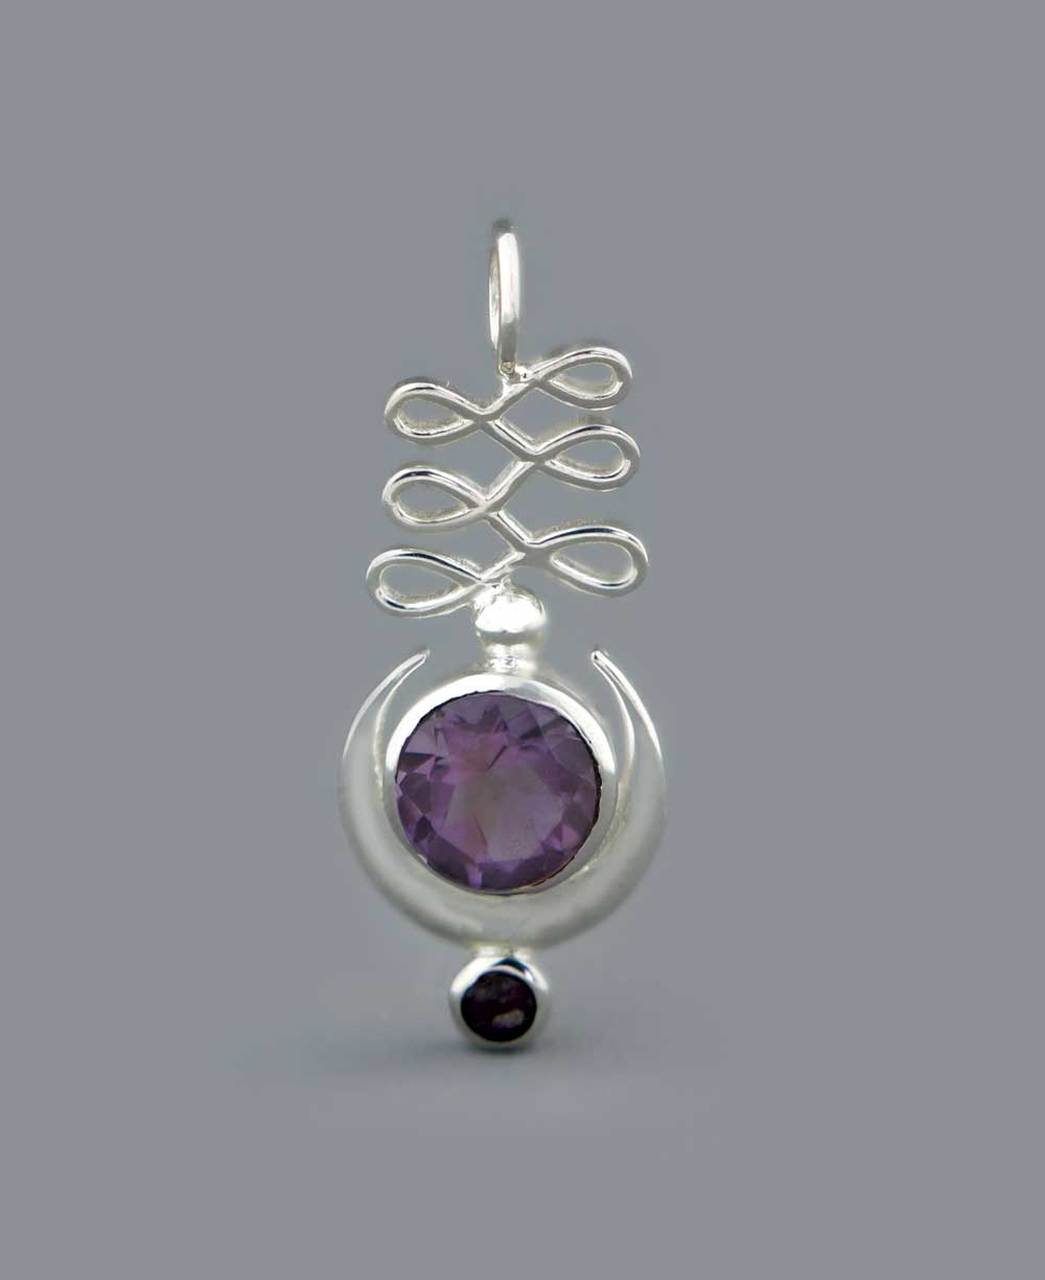
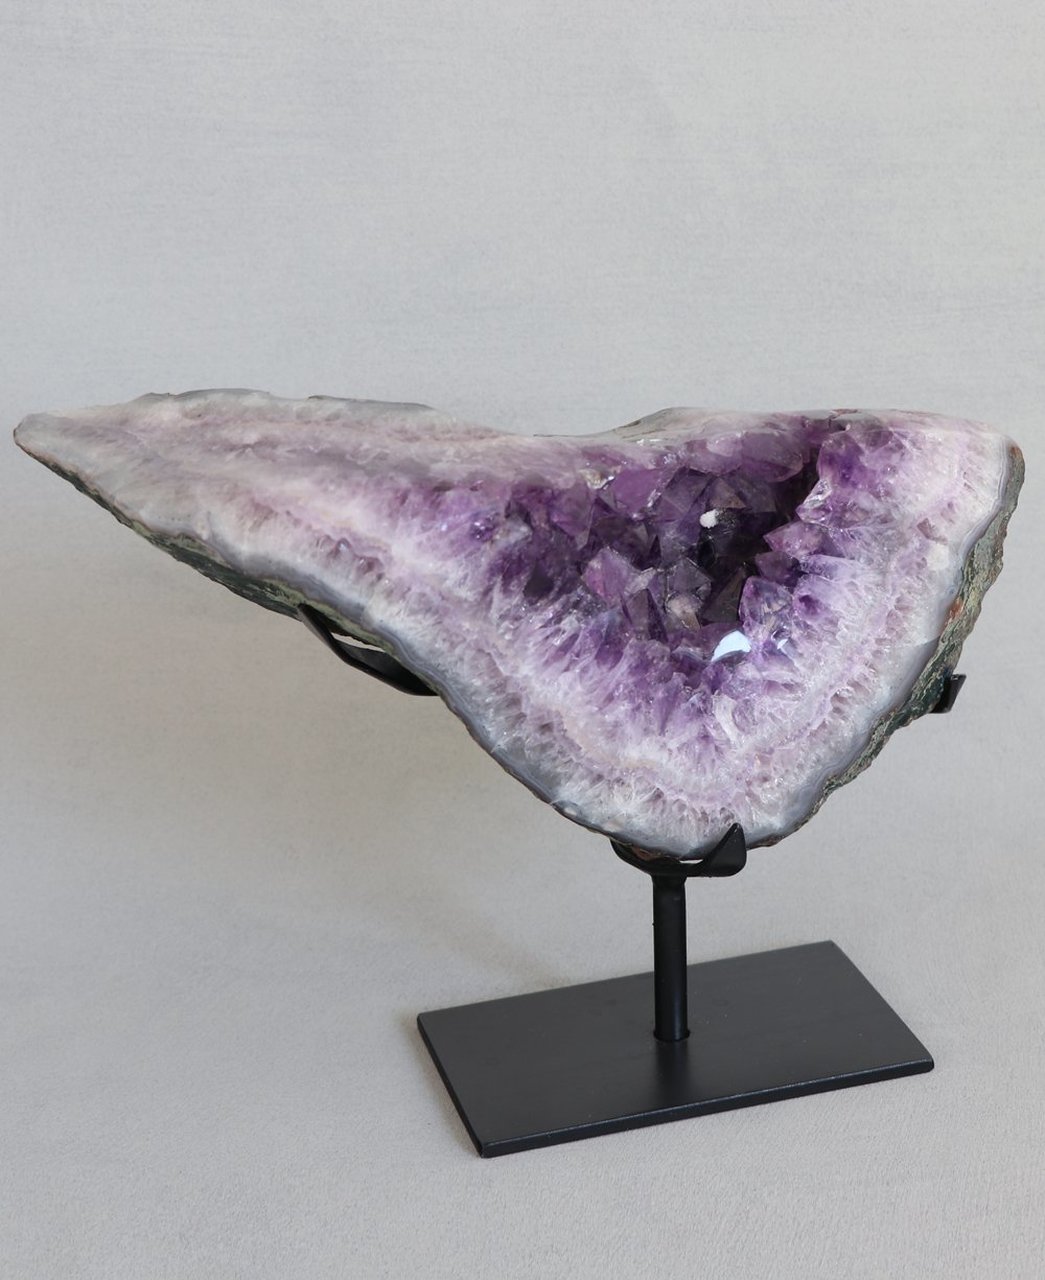
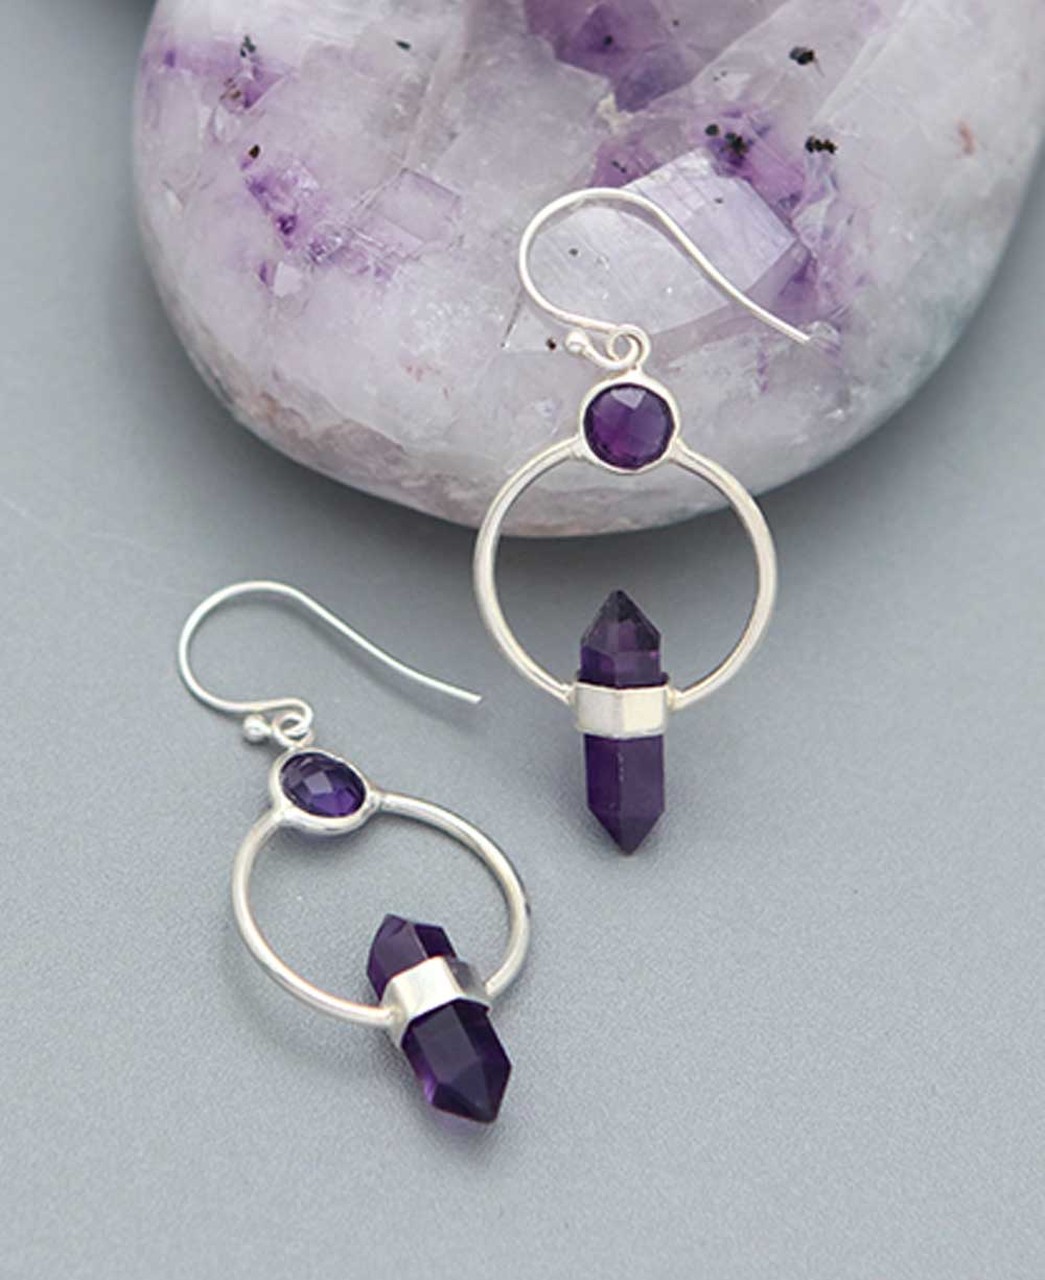
Amethyst is a healing gem associated with spiritual growth, wisdom, tranquillity, and protection against negative energy. It is associated with the 7th chakra (the Crown chakra), and it is believed to open and activate the chakra, strengthening our connection with the higher realms.
All the items shown below are available at Buddha Groove’s store under sections Amethyst and Amethyst Jewellery.


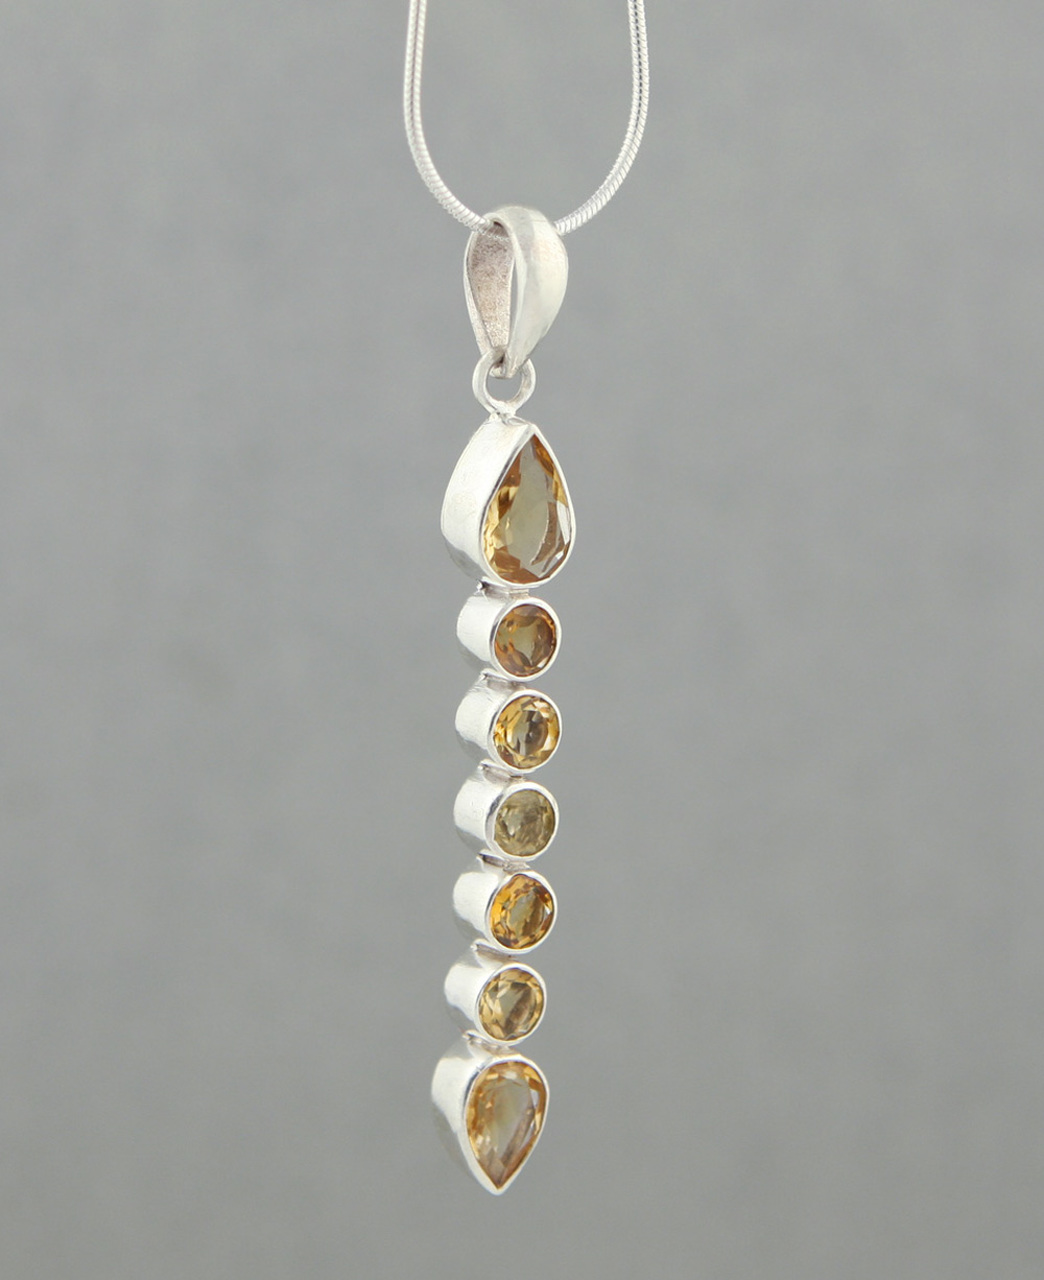
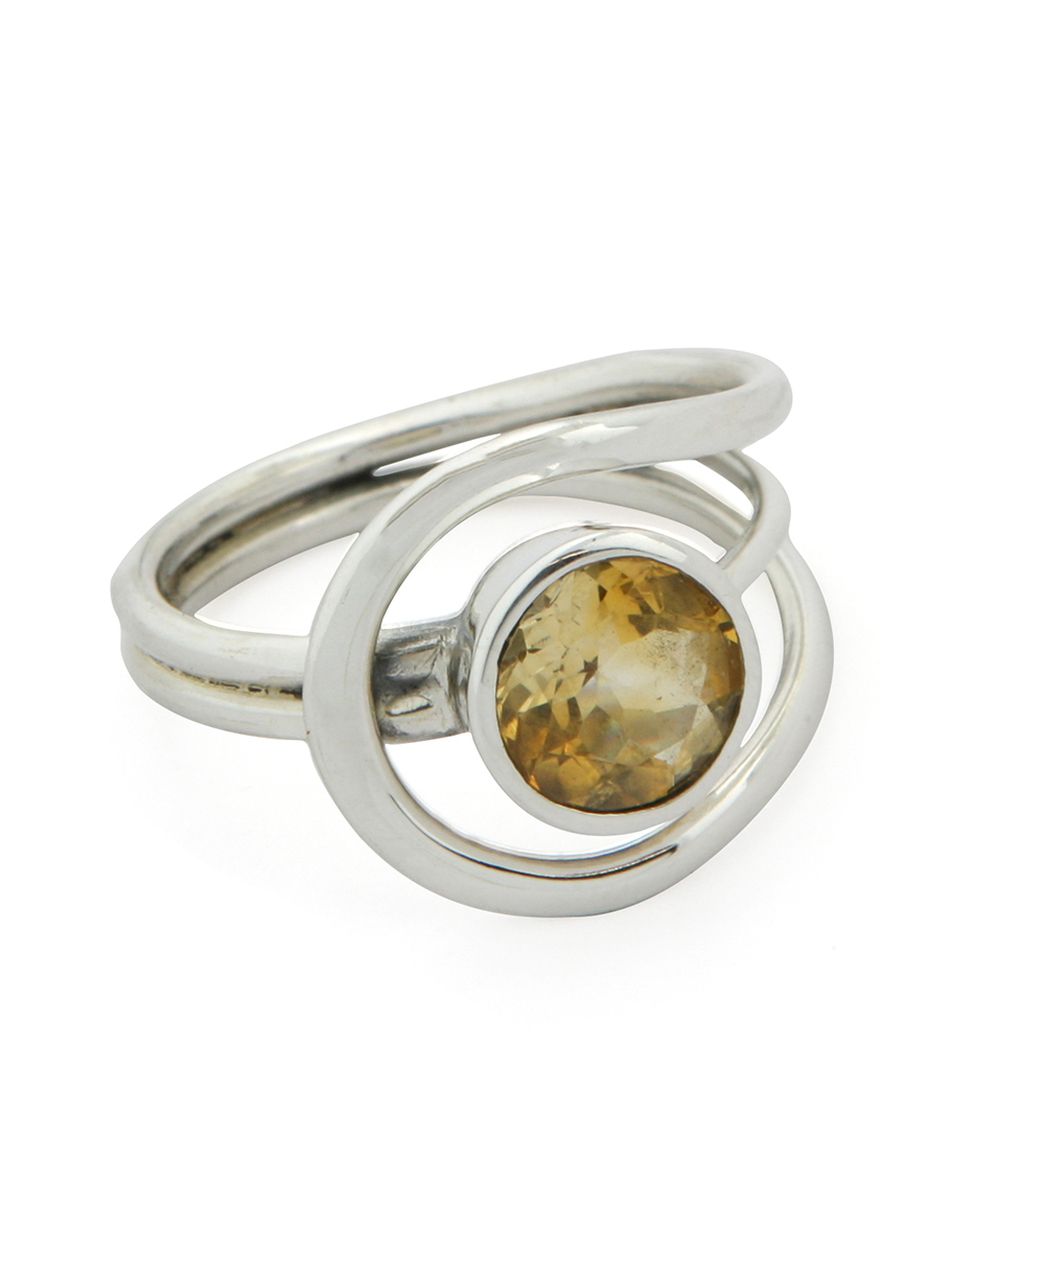
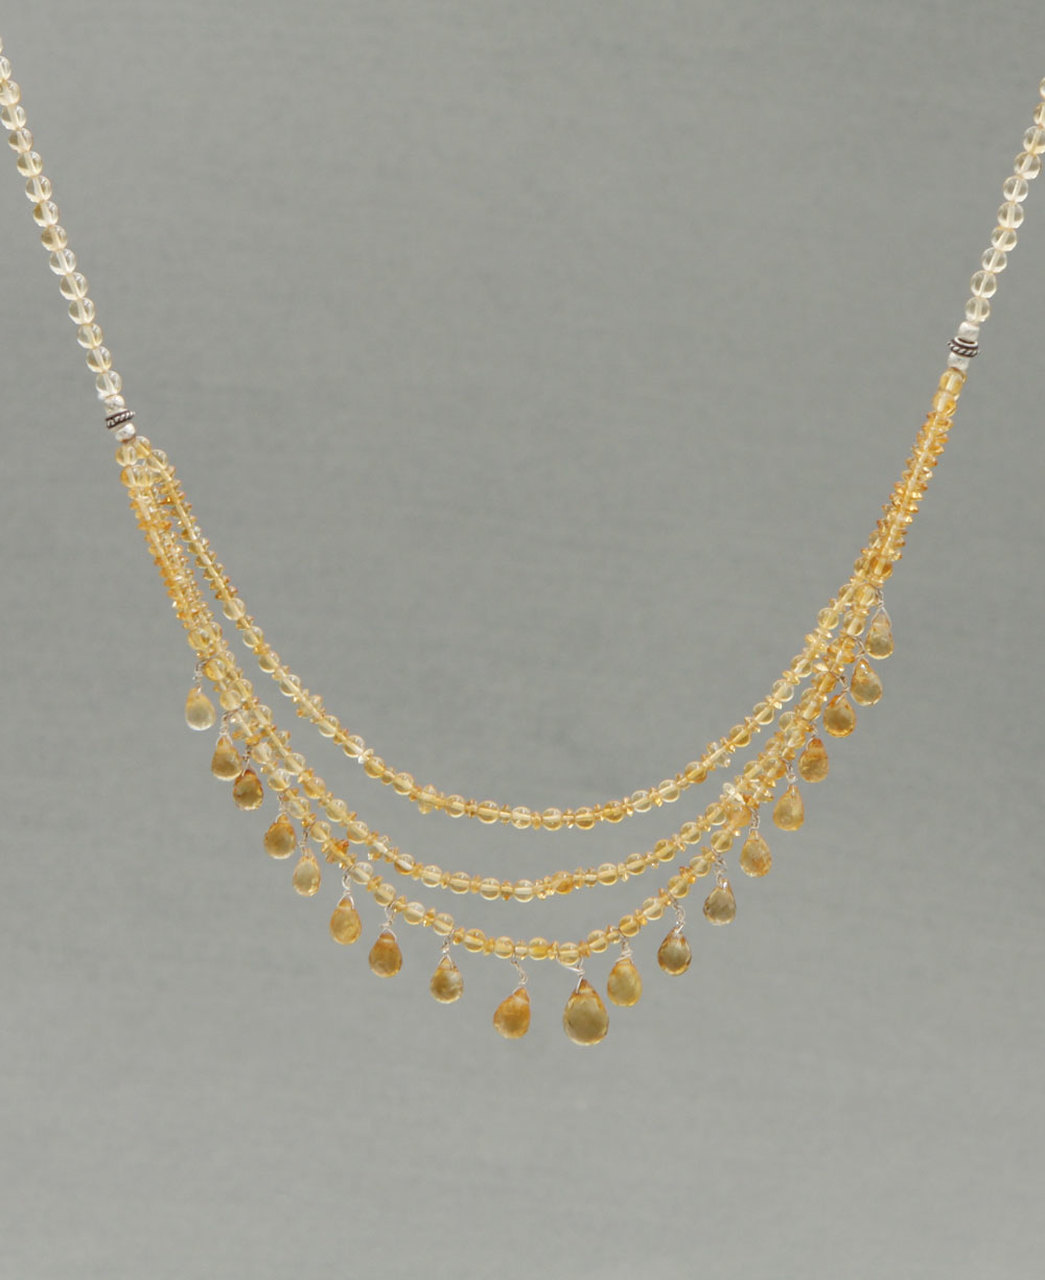
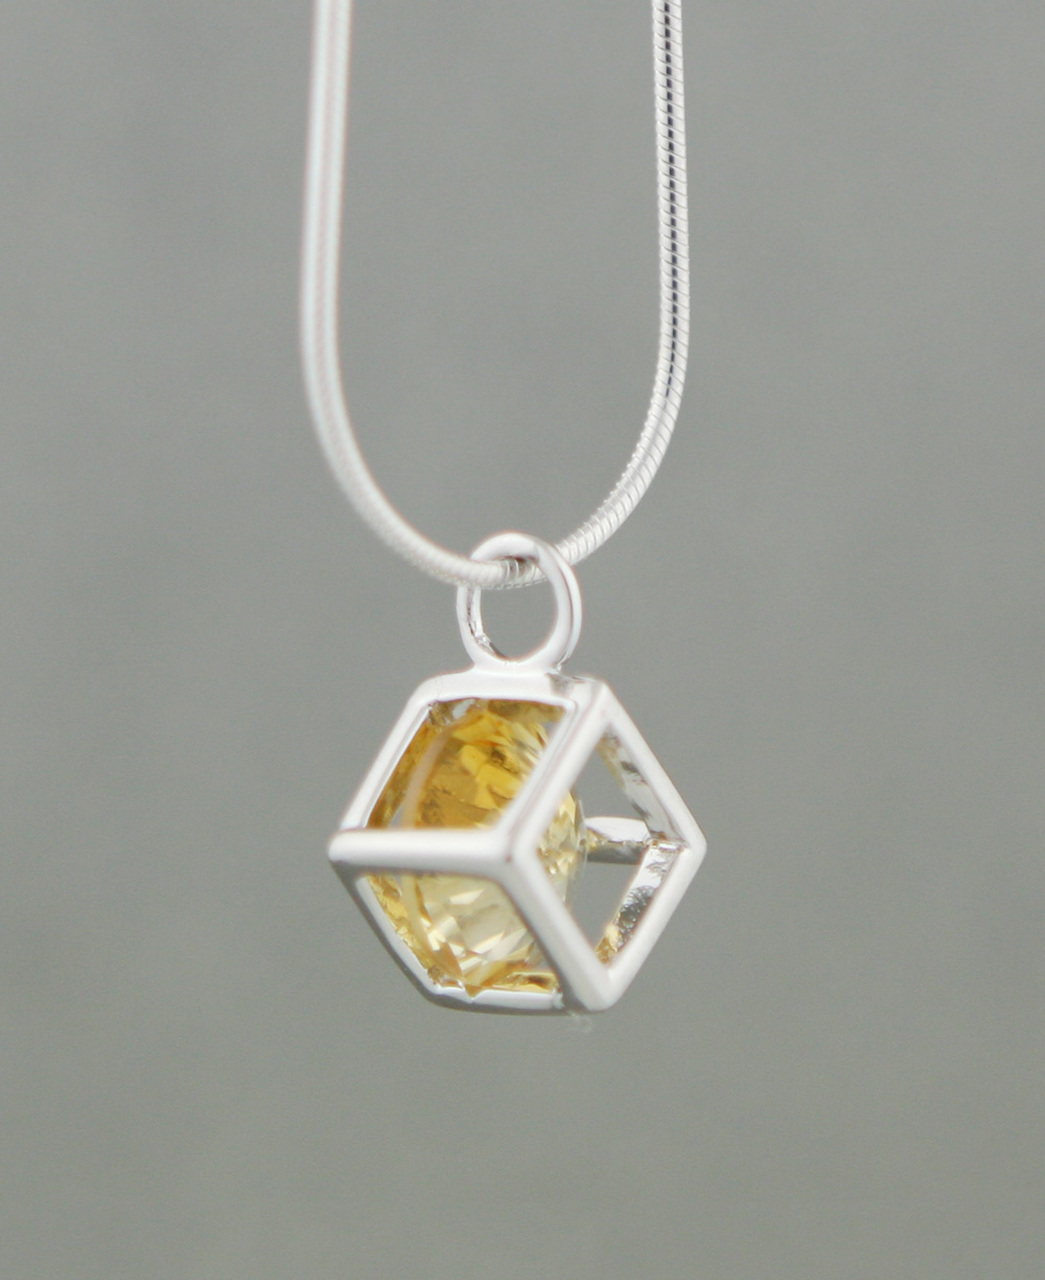
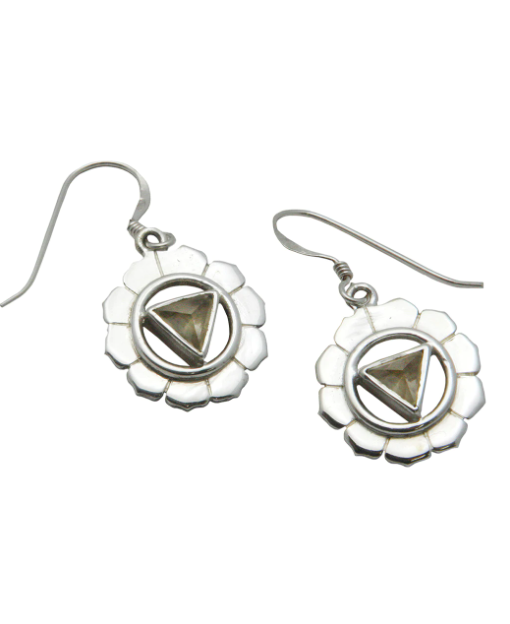
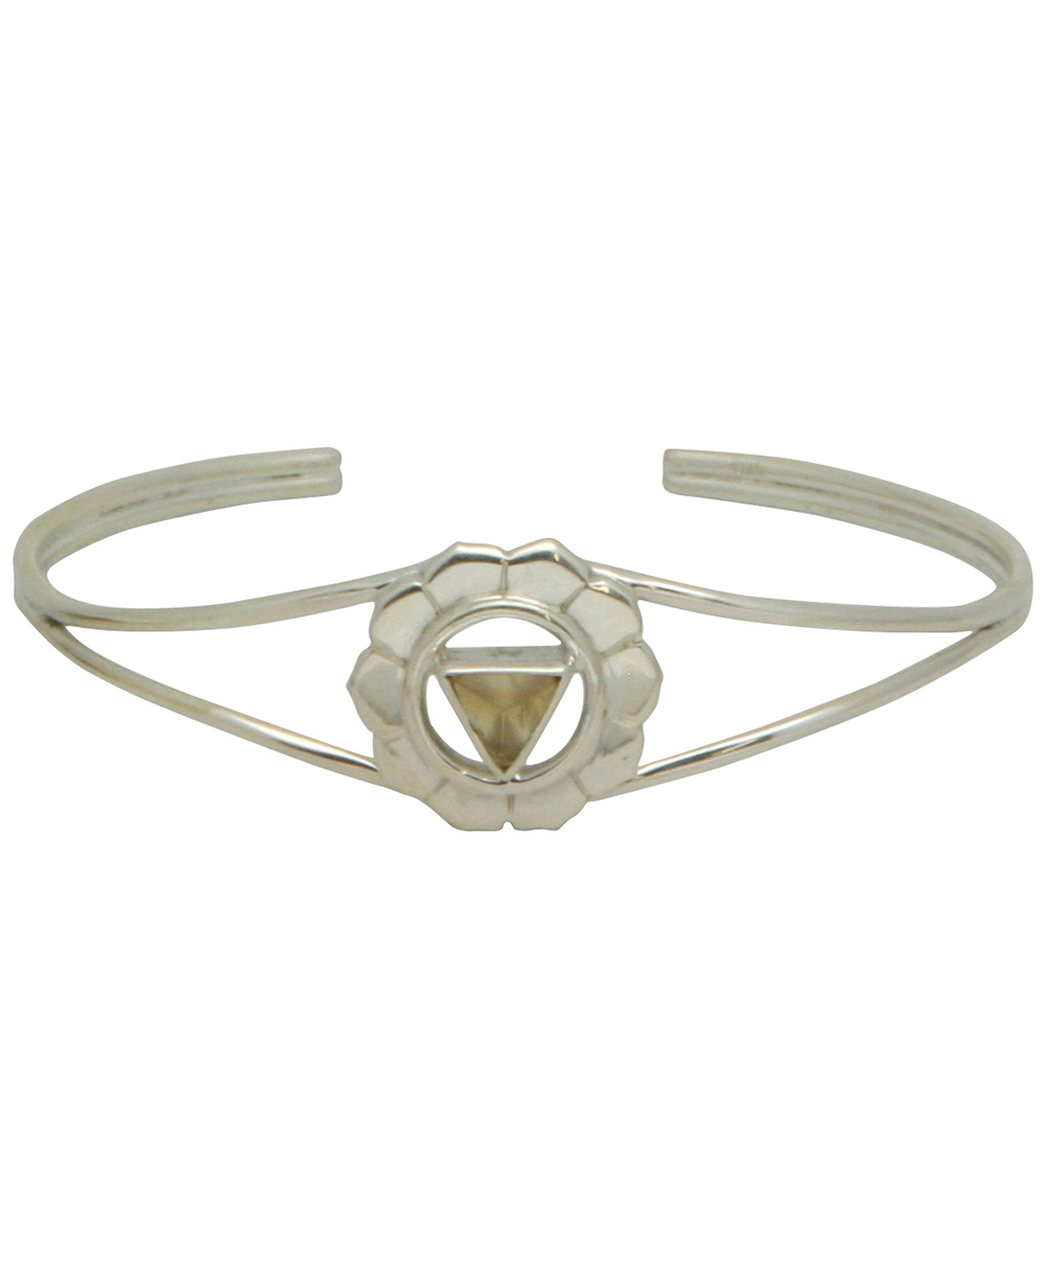
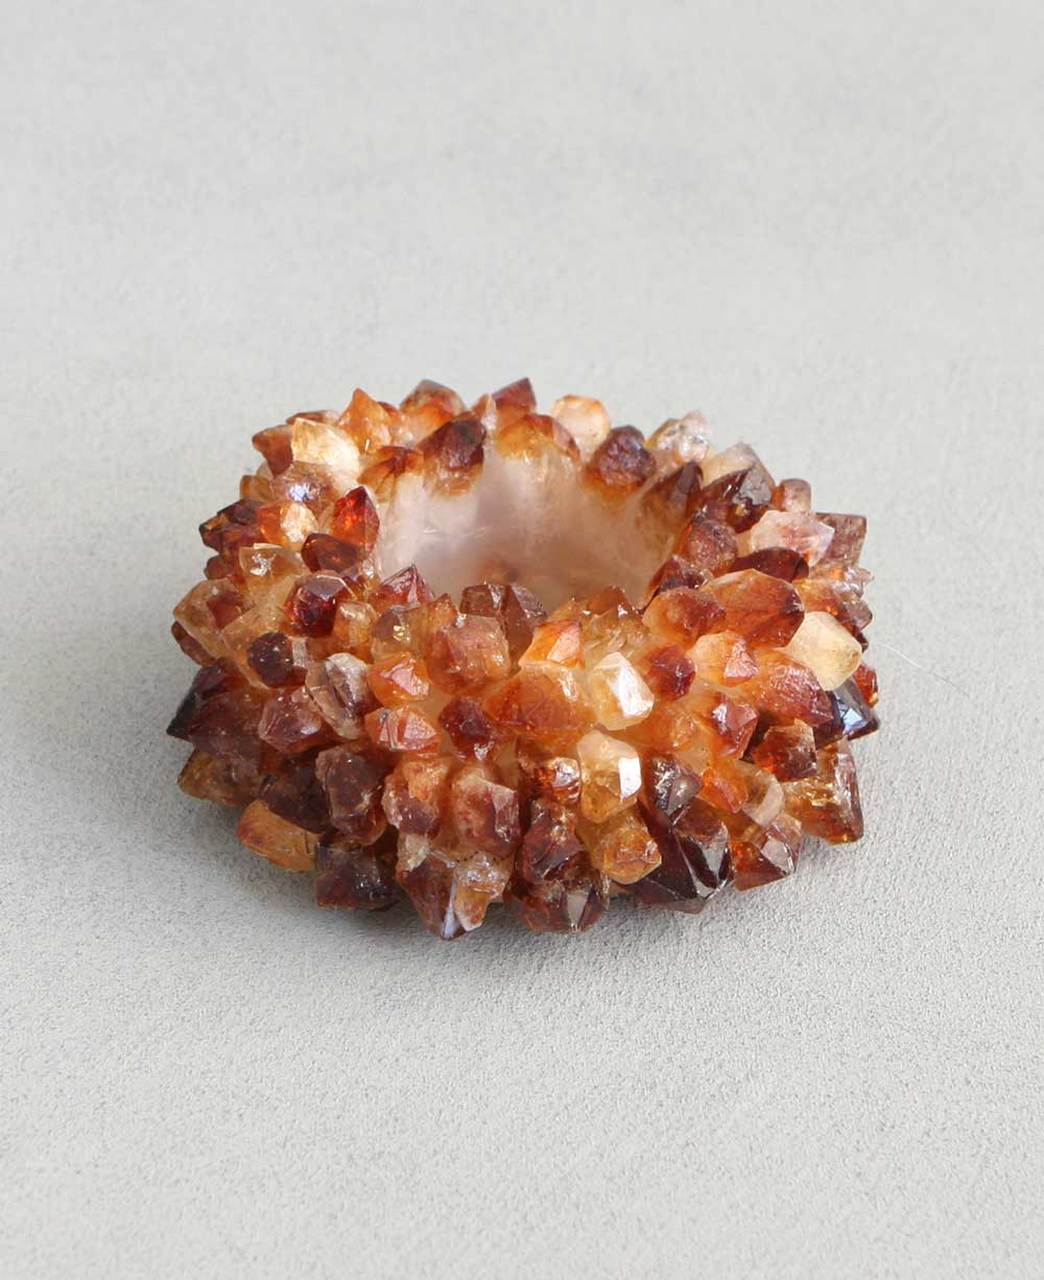
Citrine
Citrine is associated with the Third chakra (Solar Plexus), positively affecting mental focus, endurance, and self-esteem.
Known as the ‘Merchant’s Stone’, this sun-like gemstone emanates warm, positive energy, and it is believed to bring its owners good luck, success and prosperity, while filling them with generosity and joy.
Visit Buddha Groove’s Citrine section to find your own sign of good fortune.


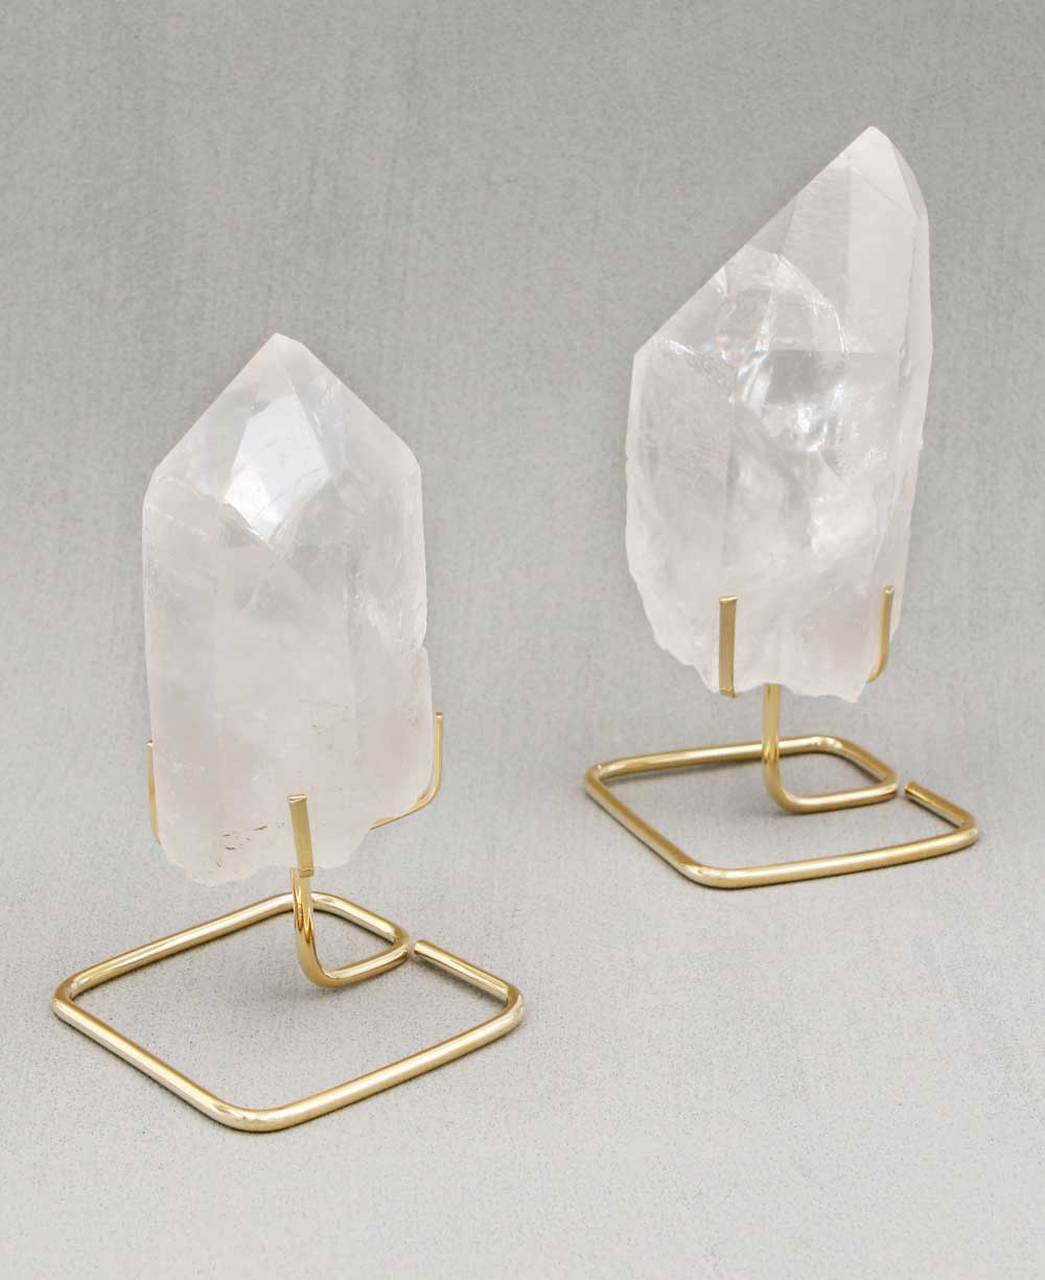
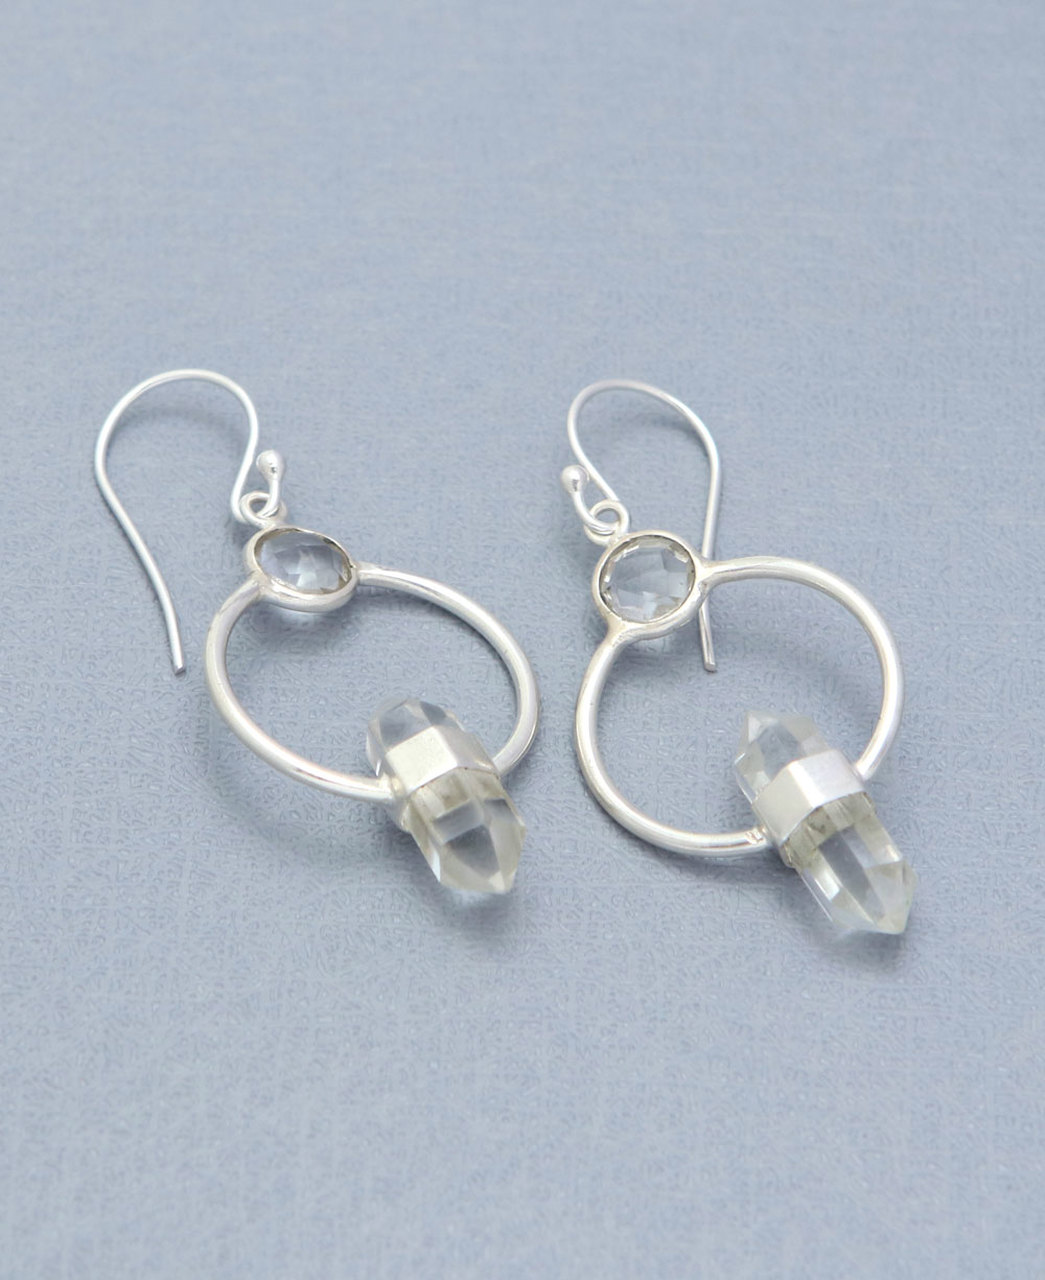
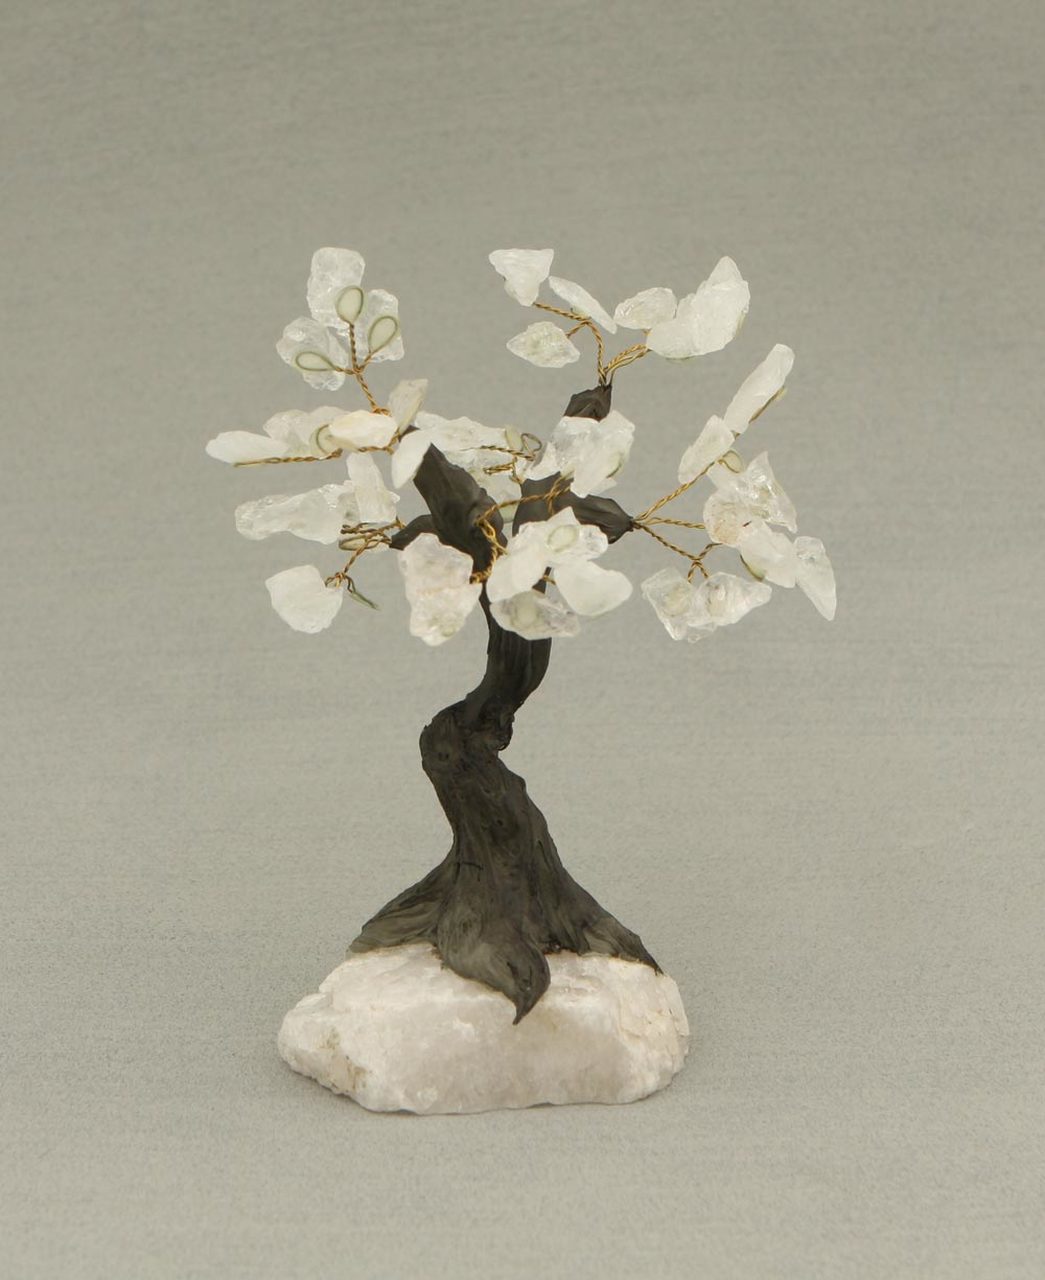
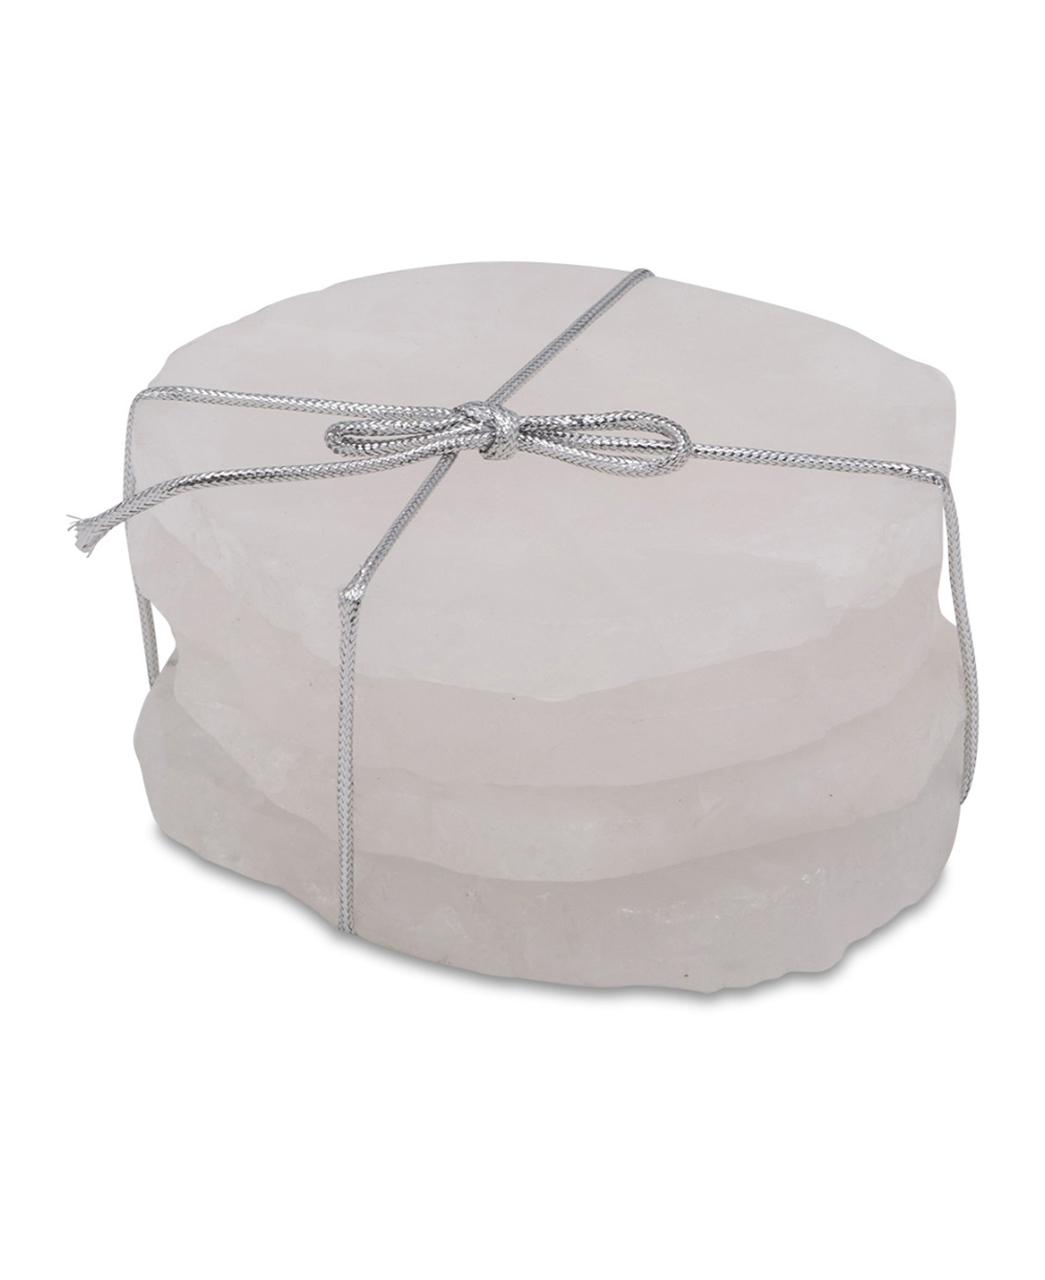
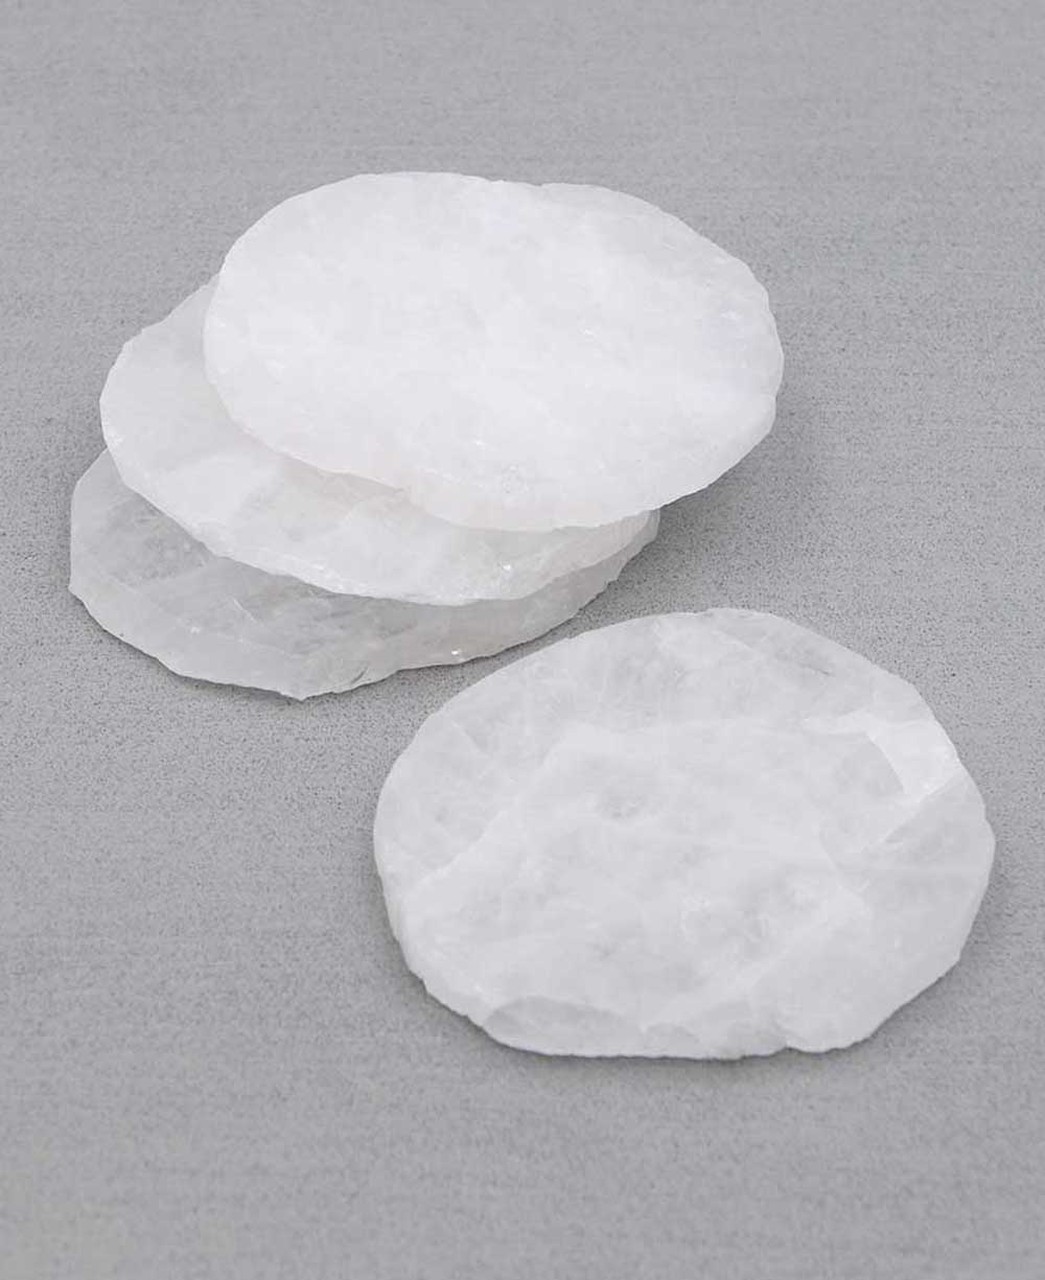
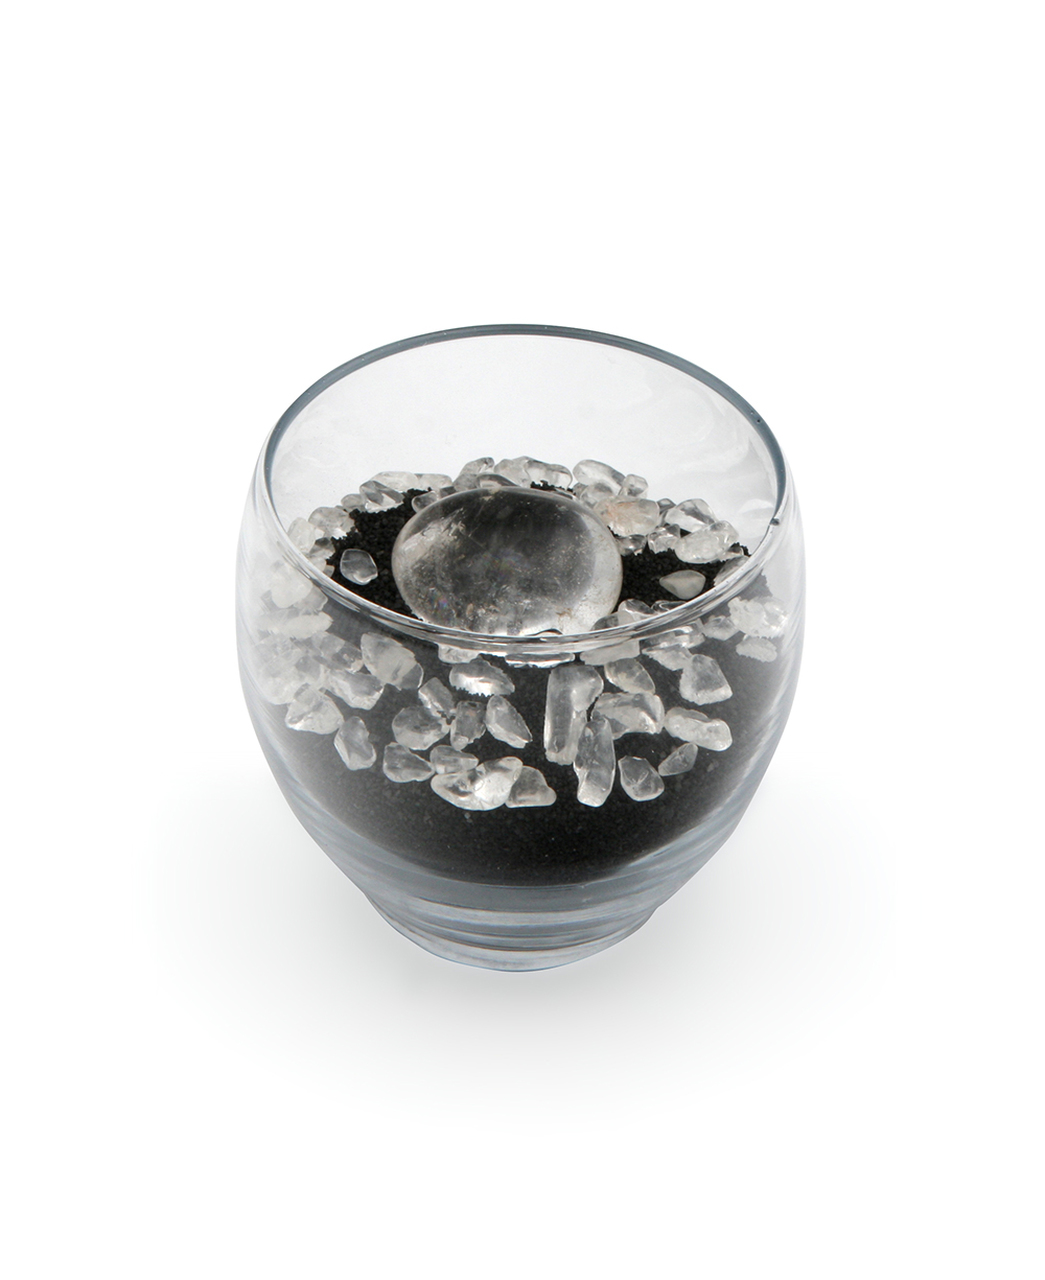
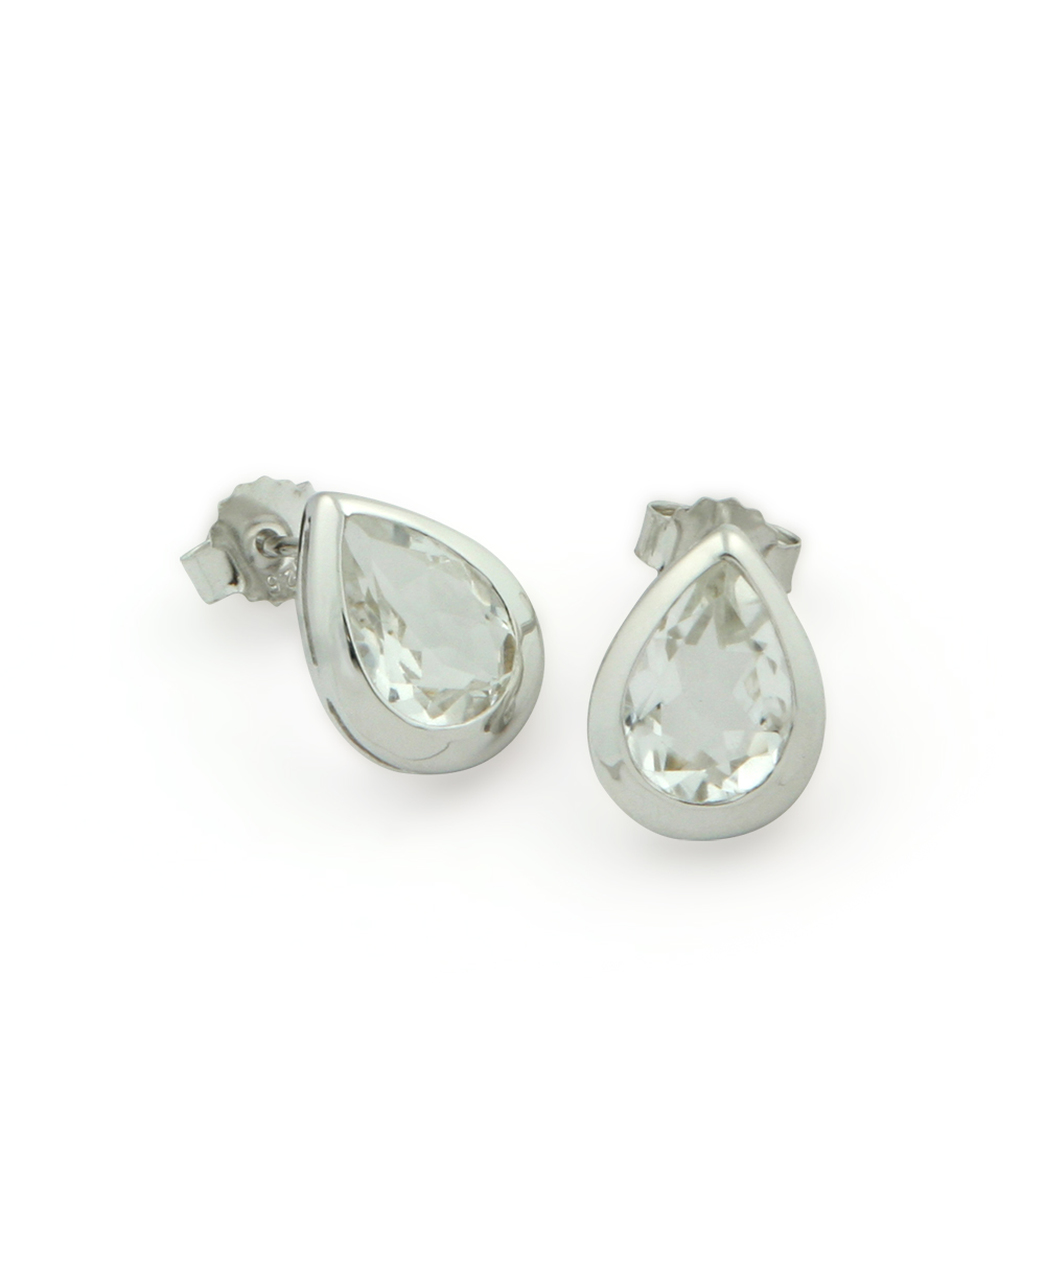
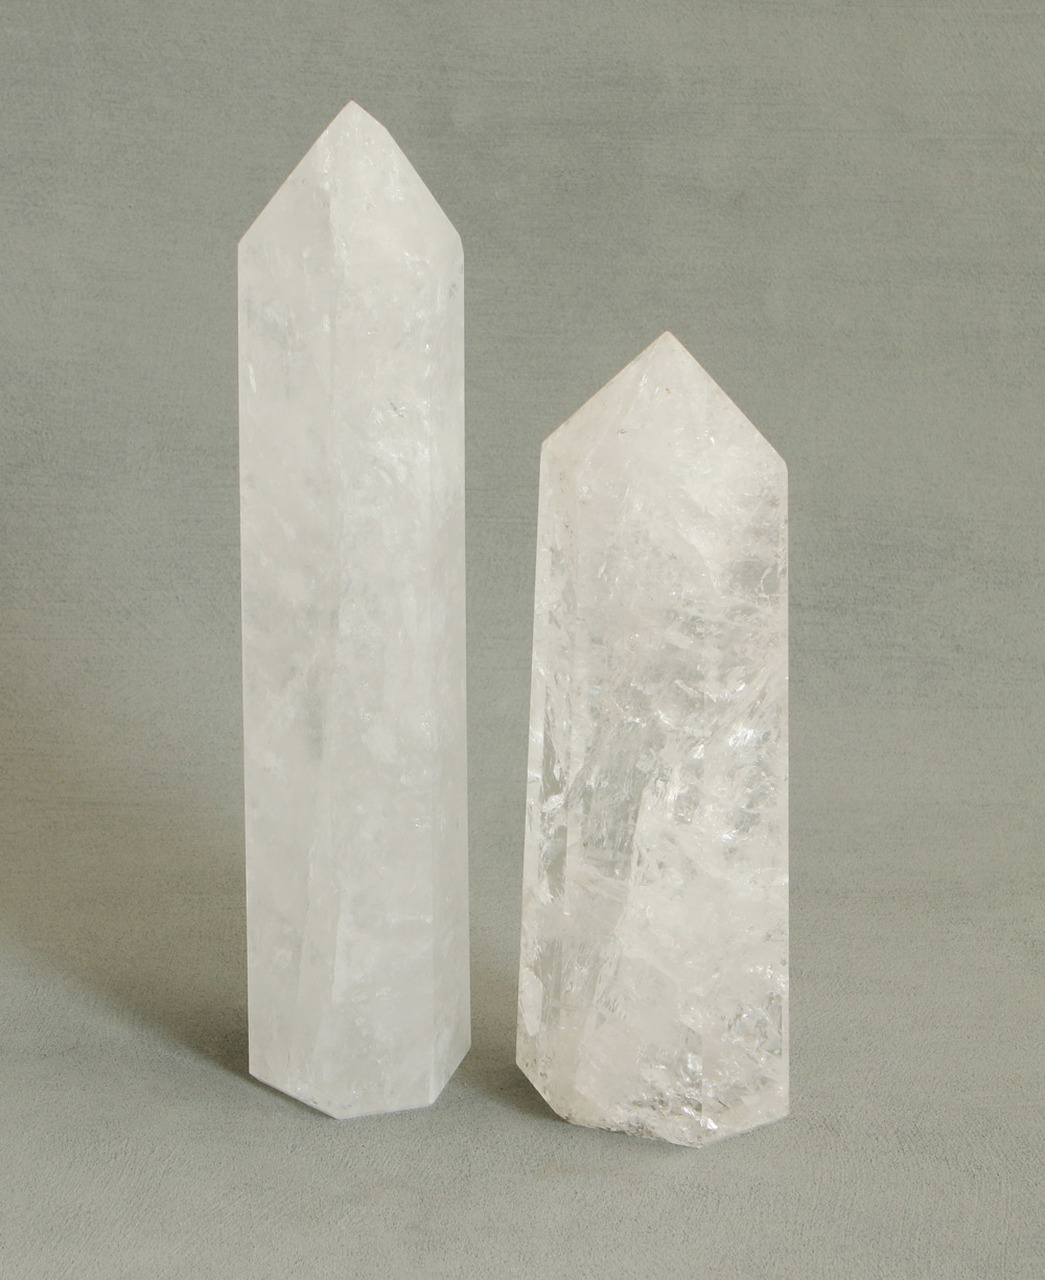
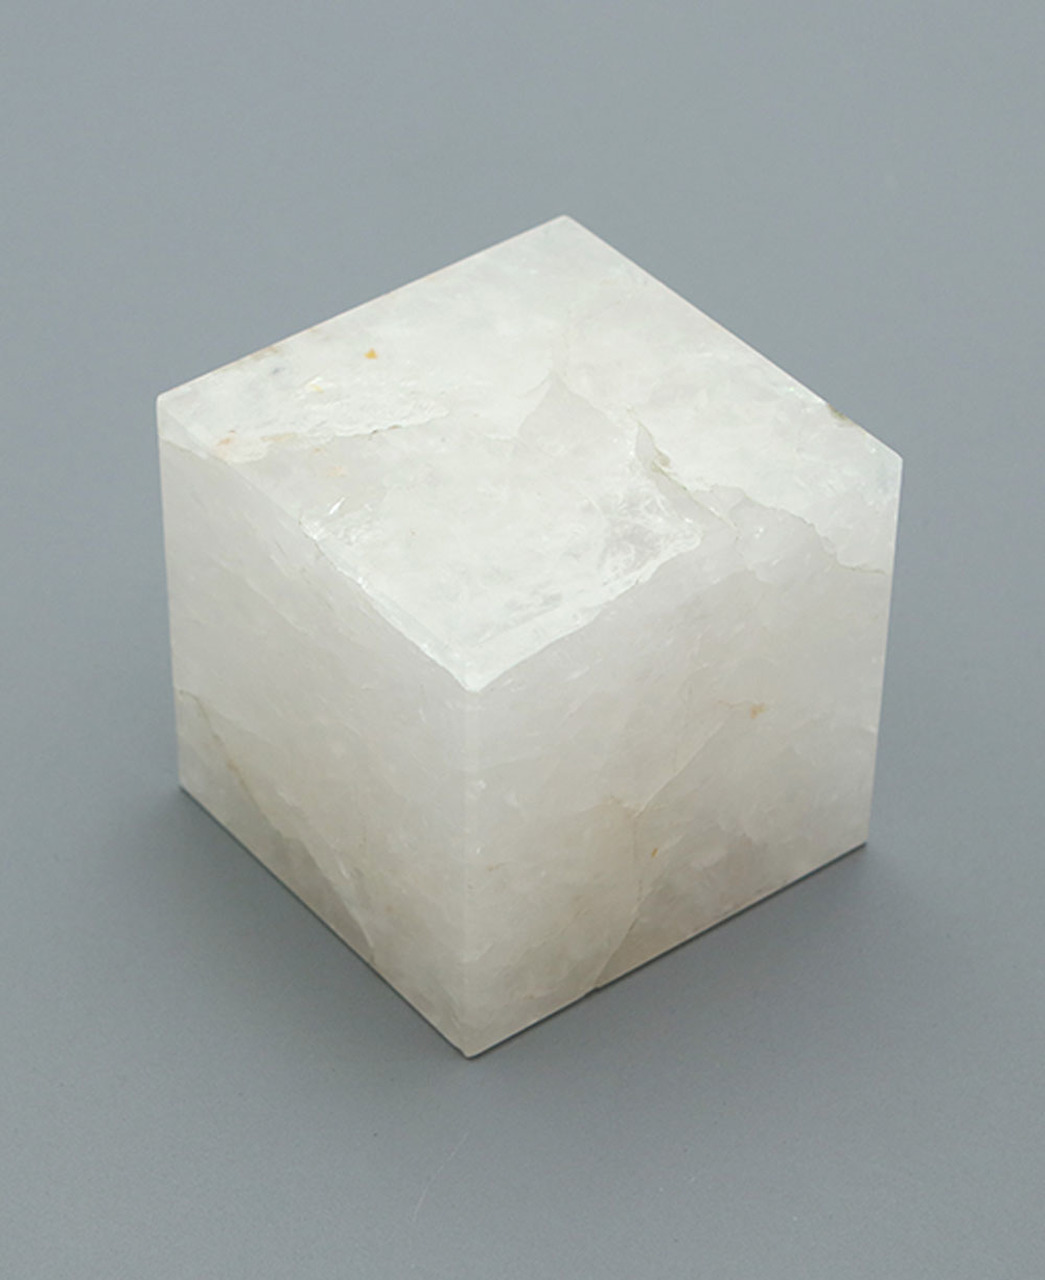
Clear Quartz
Clear quartz is deemed one of the most powerful stones due to its ability to purify and dispel negative energy and bring clarity. Frequently used in energetic healing, it is often called ‘a master healing stone’.
Associated with the 7th chakra (The Crown chakra), its energy focus is on enlightenment, cosmic consciousness, energy drawn from higher spheres, and perfection. Clear Quartz is great for balancing all seven chakras.
You can locate any item listed here in the store’s sections Clear Quartz and Quartz Jewellery.


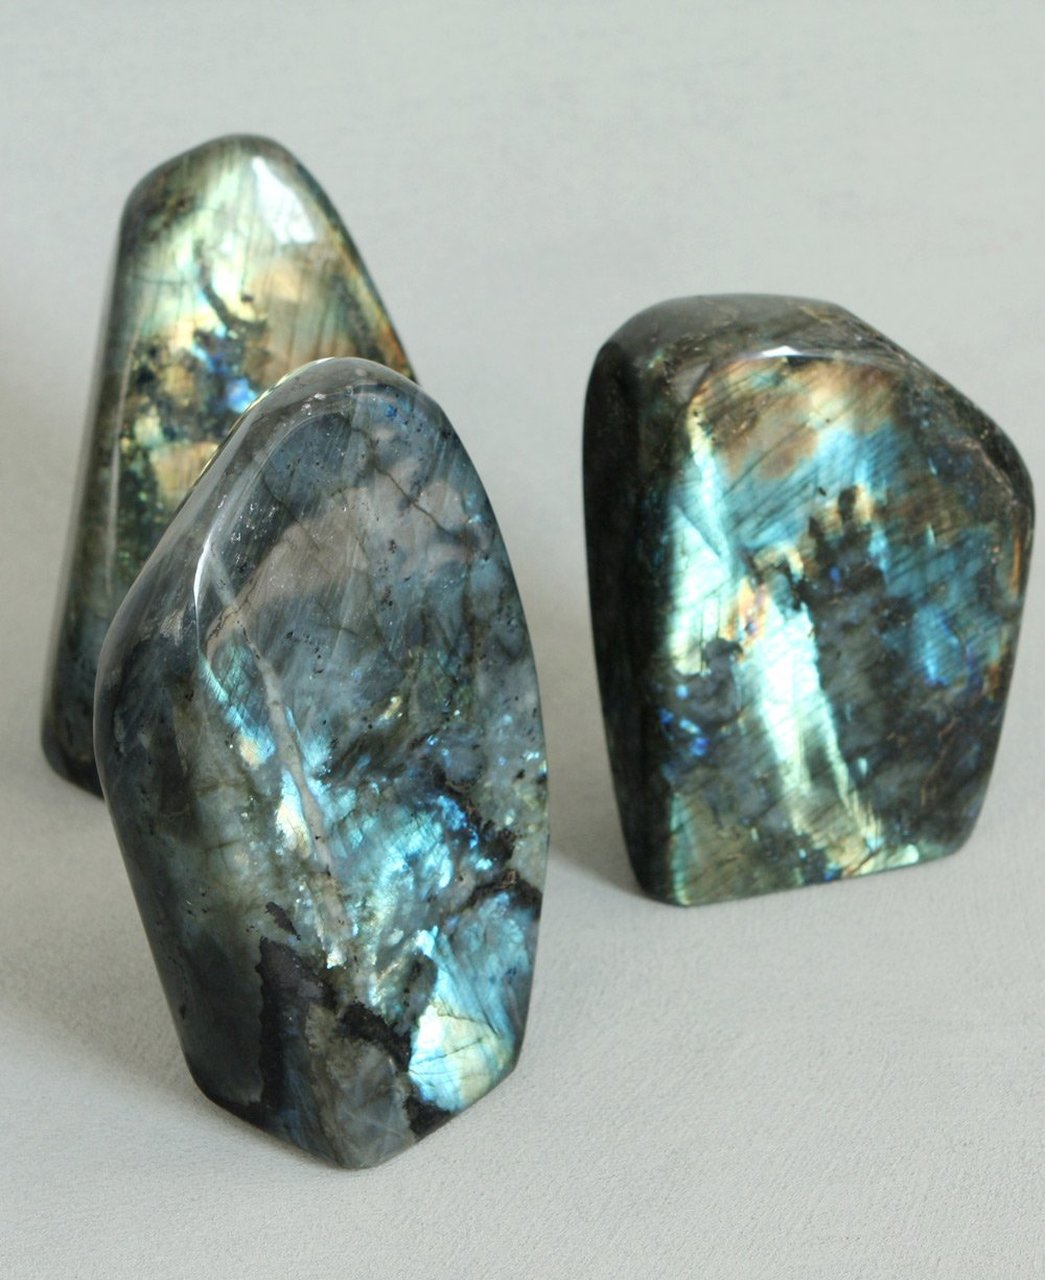
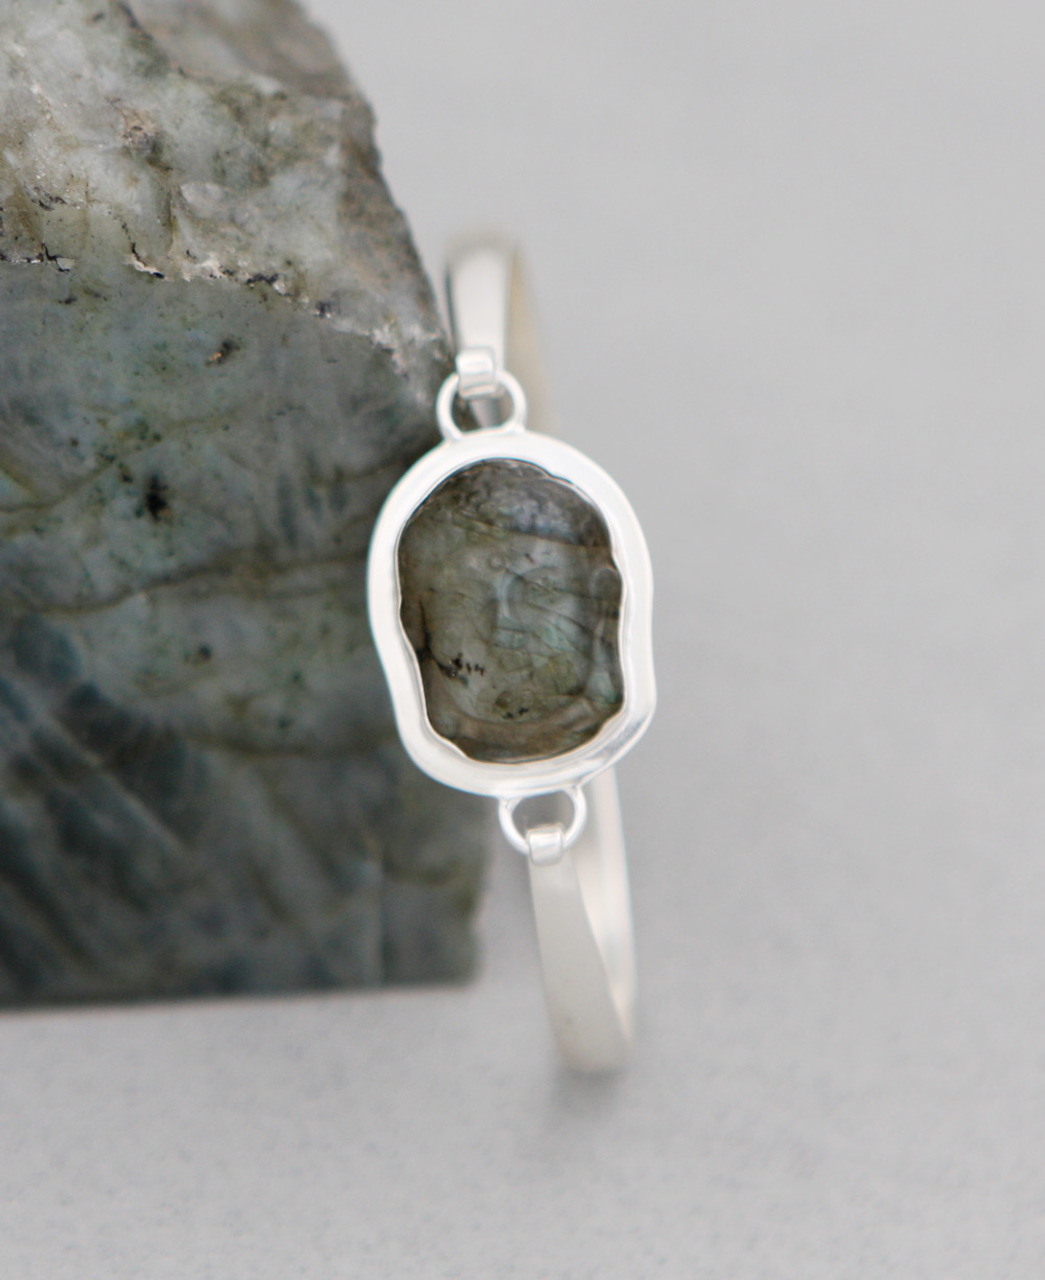
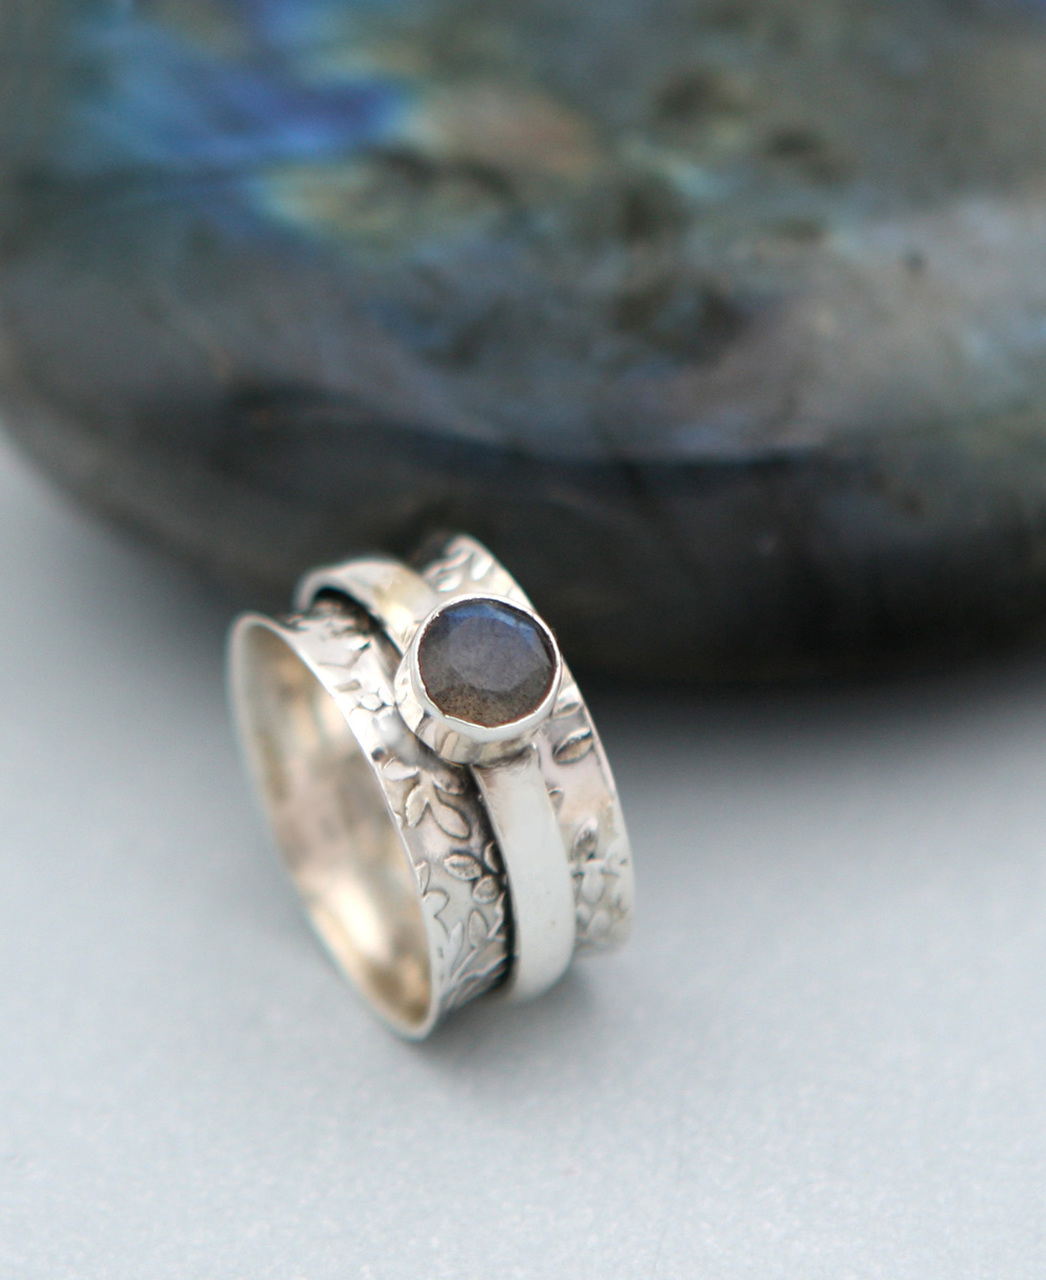
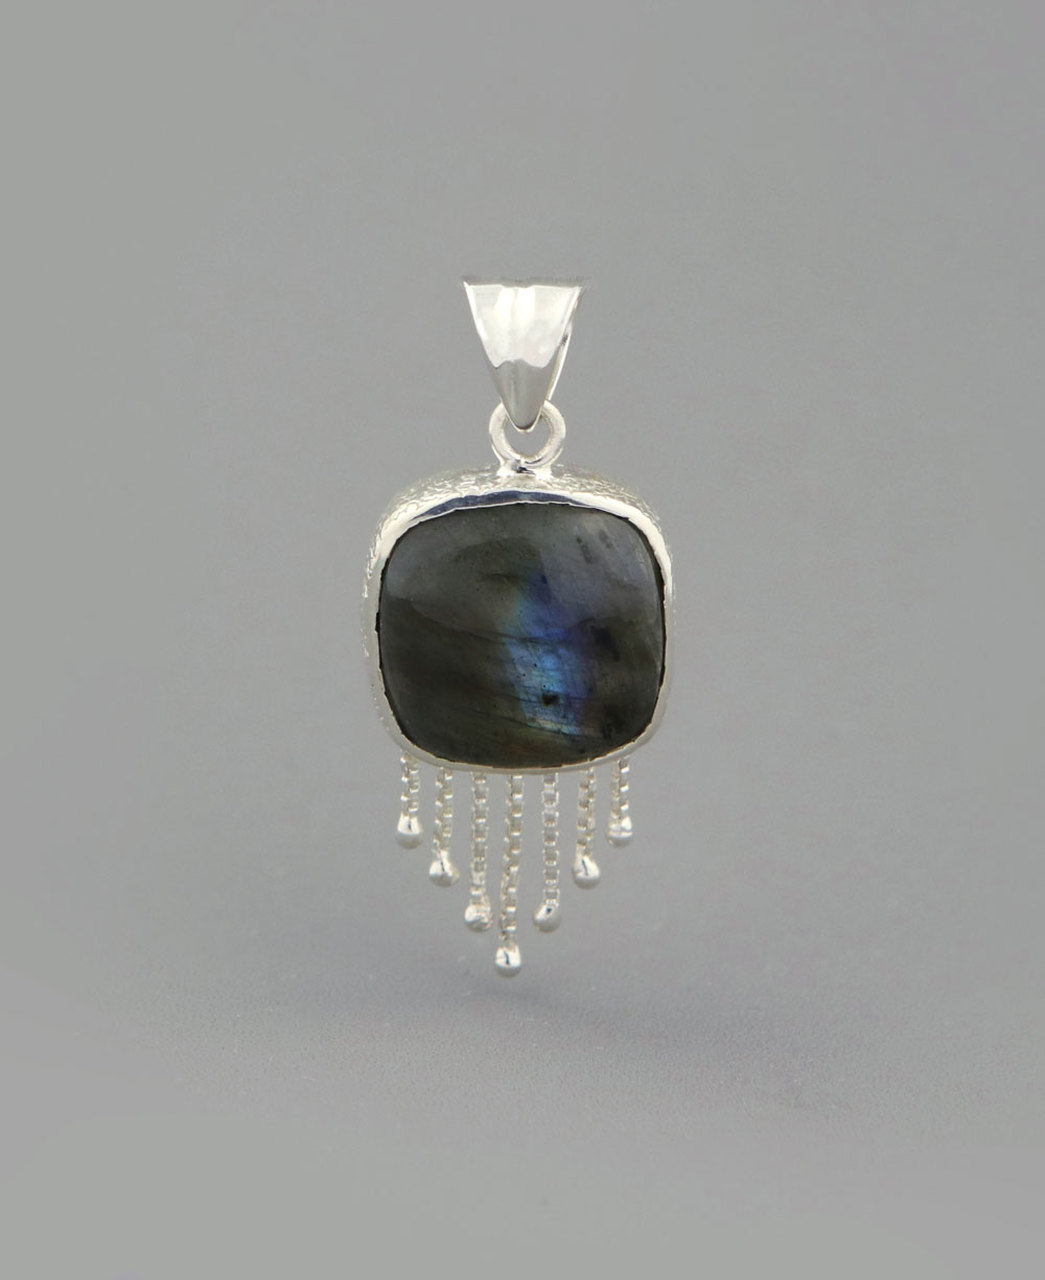
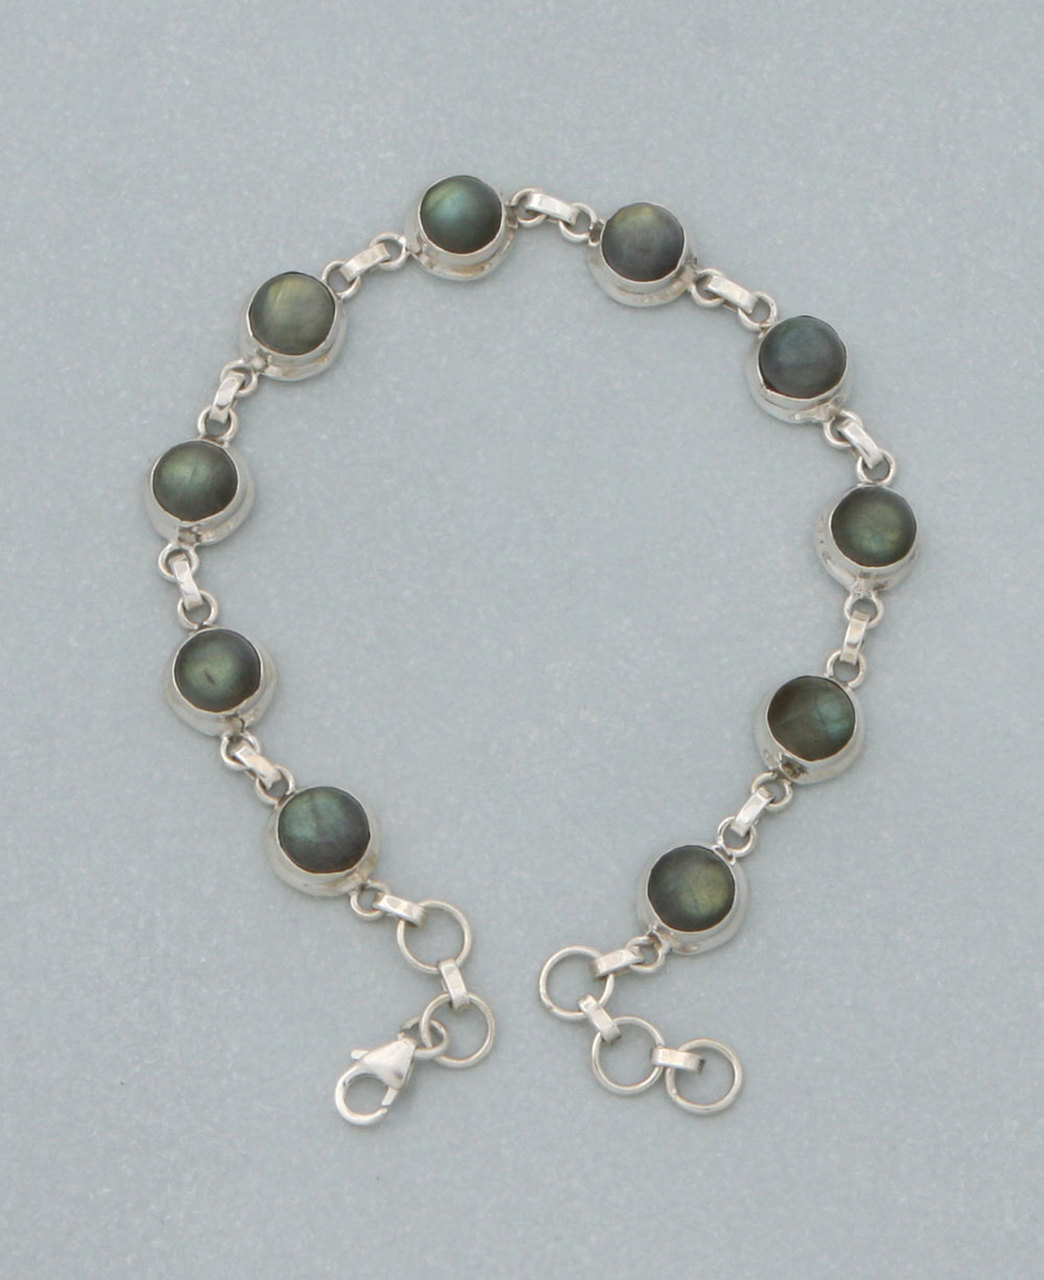
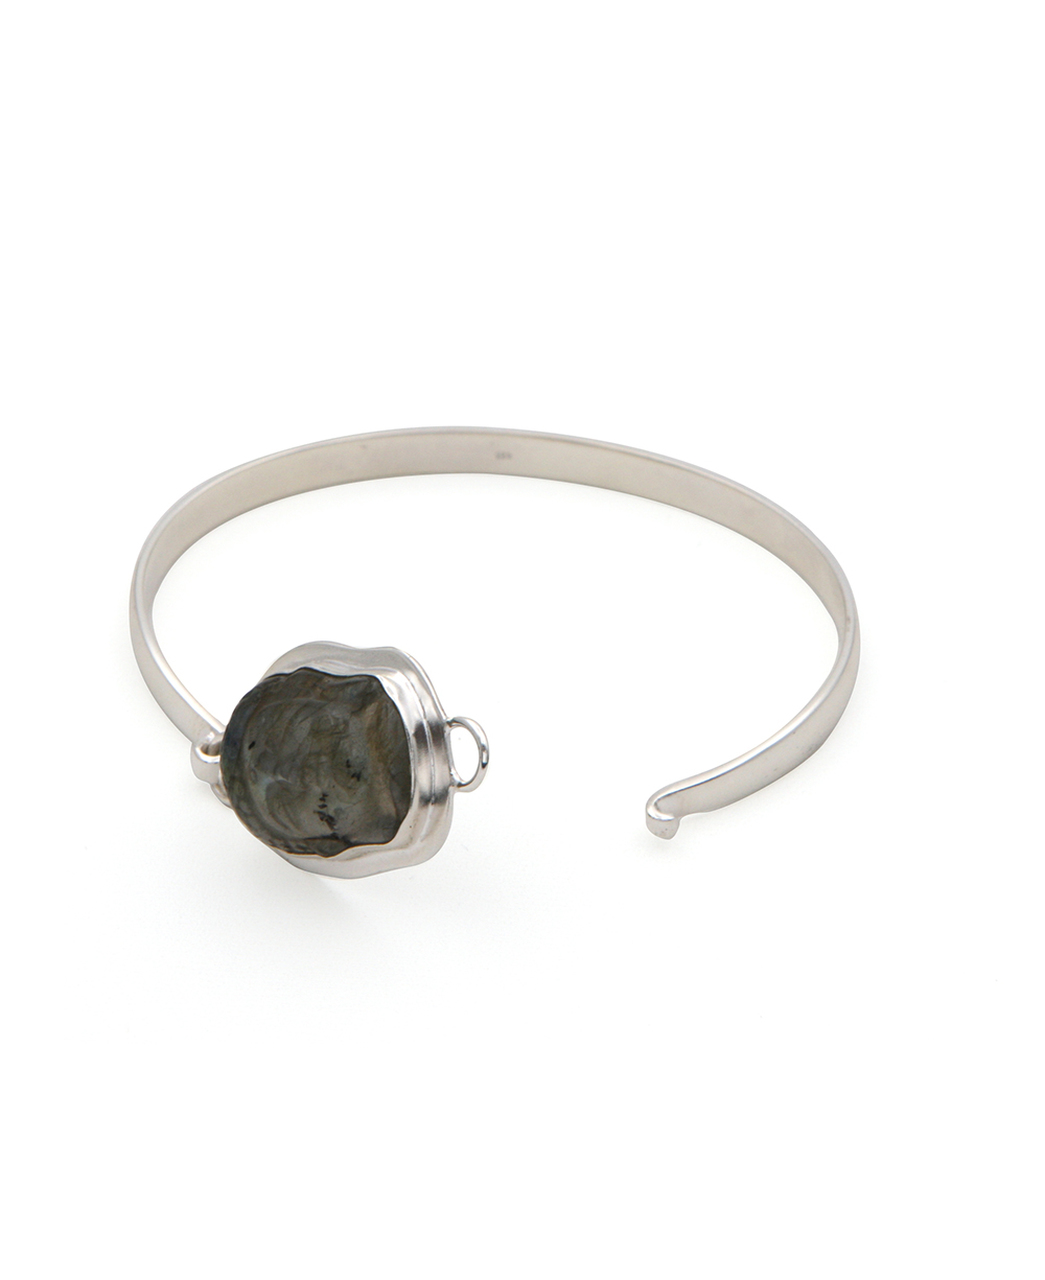
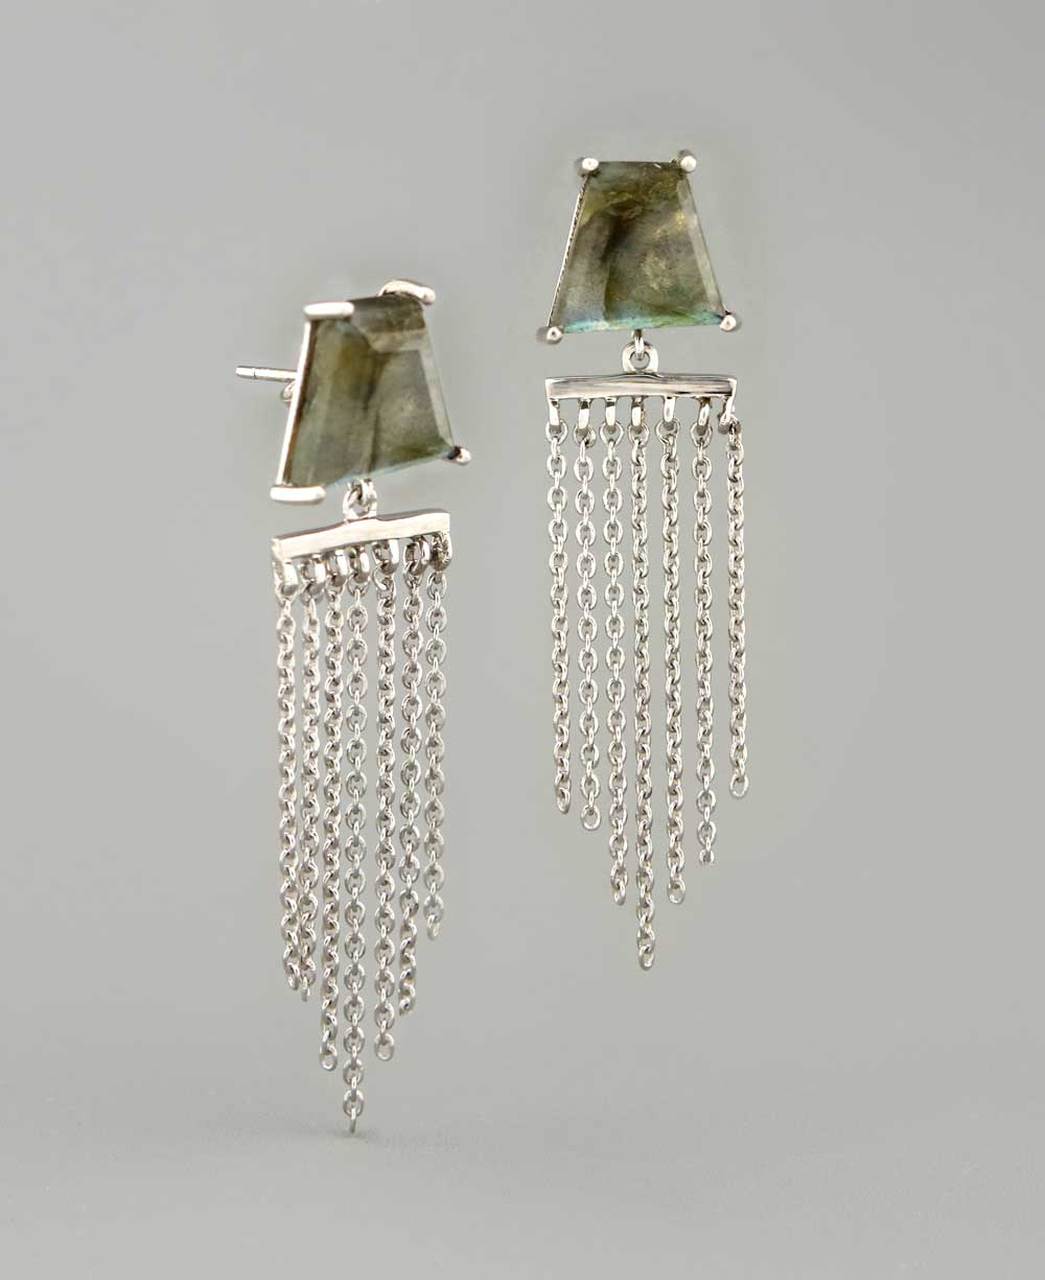
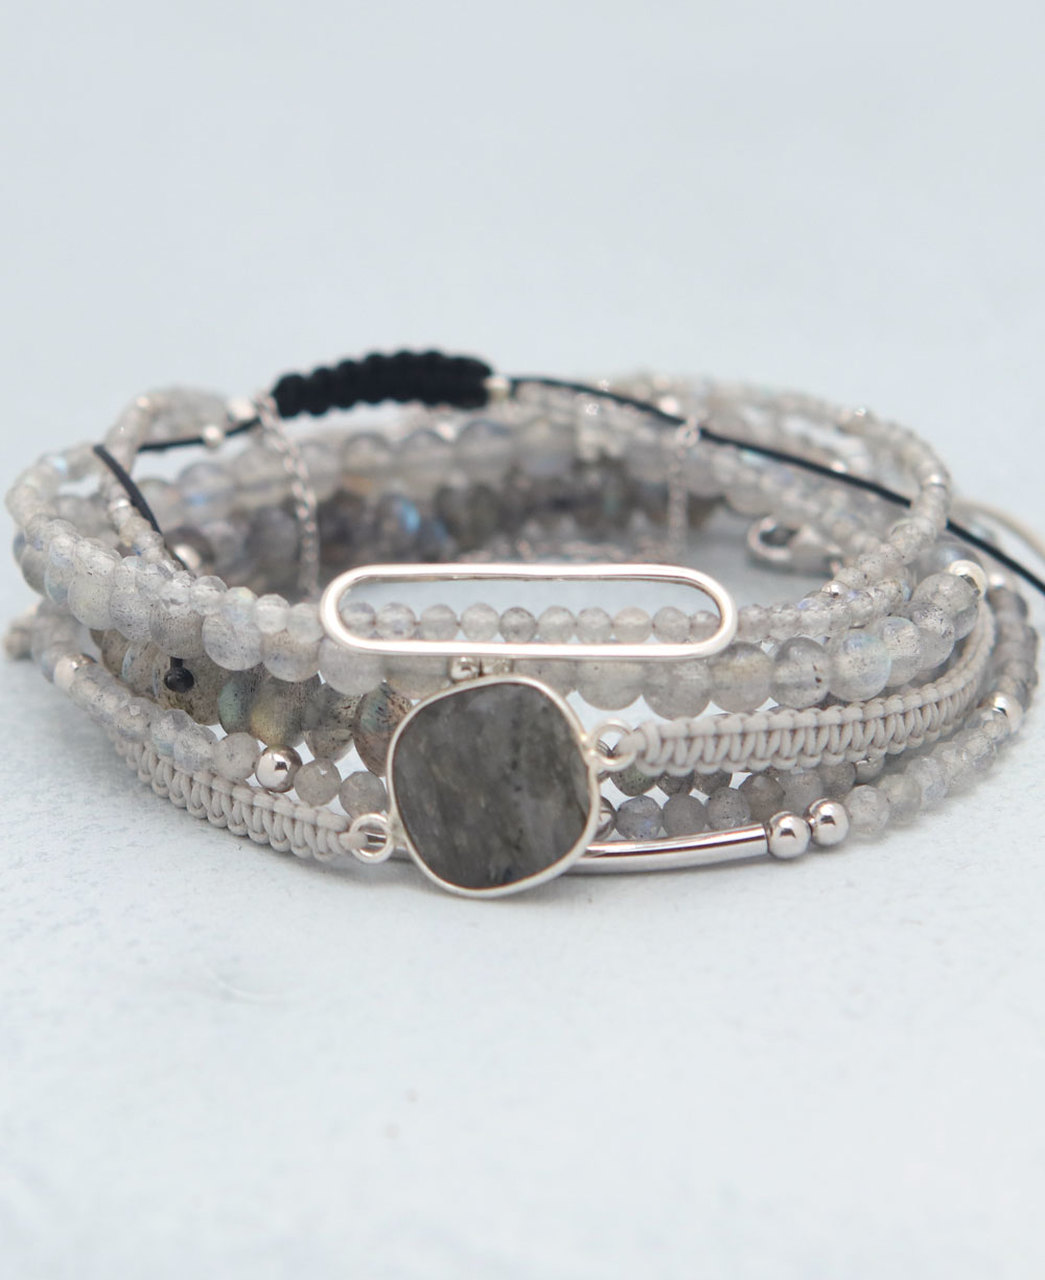
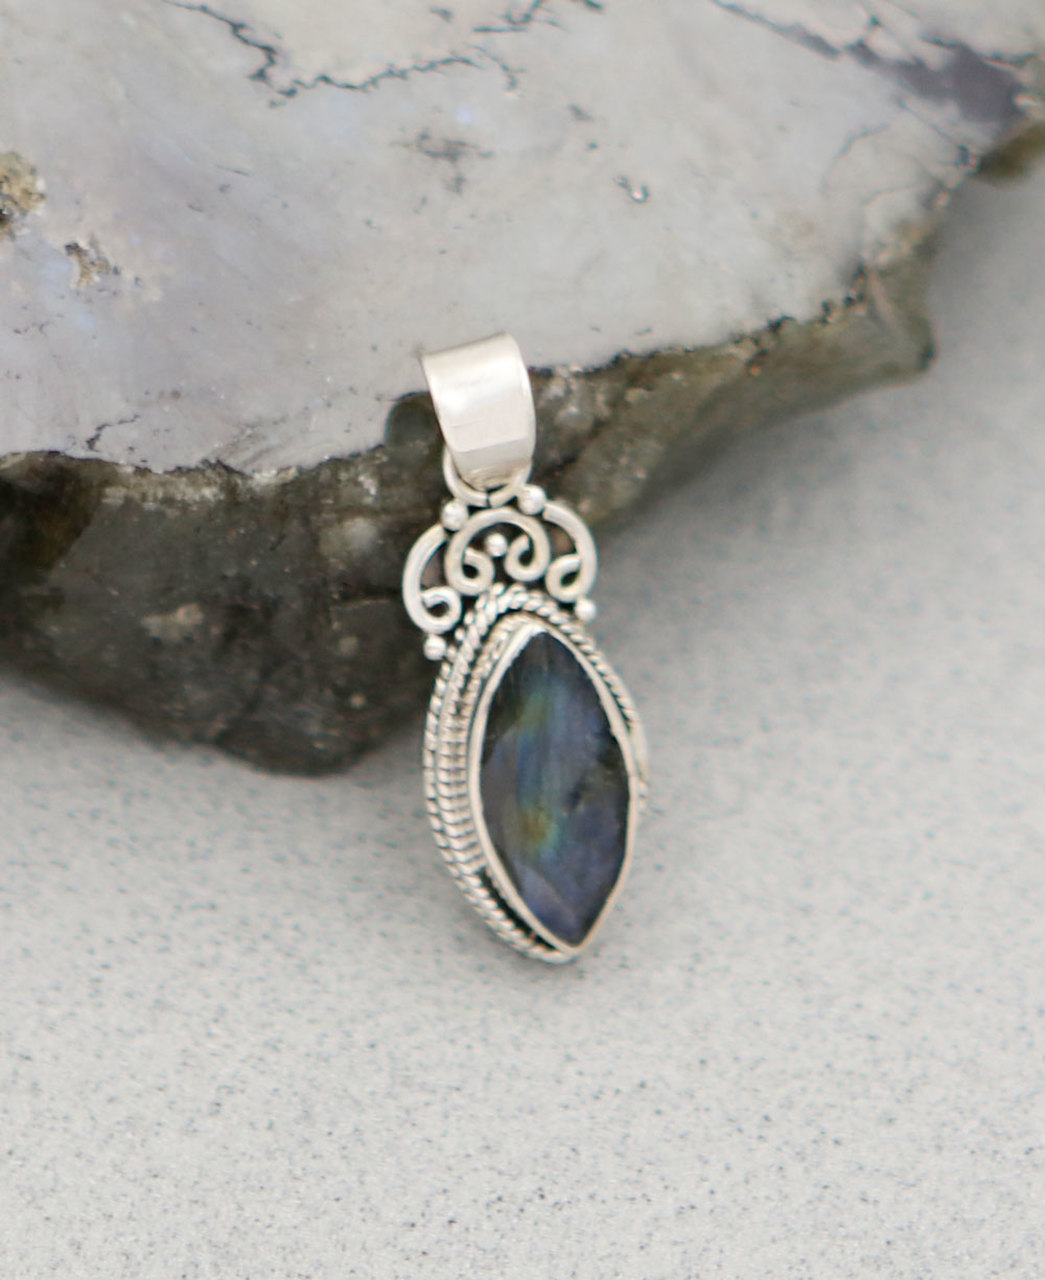
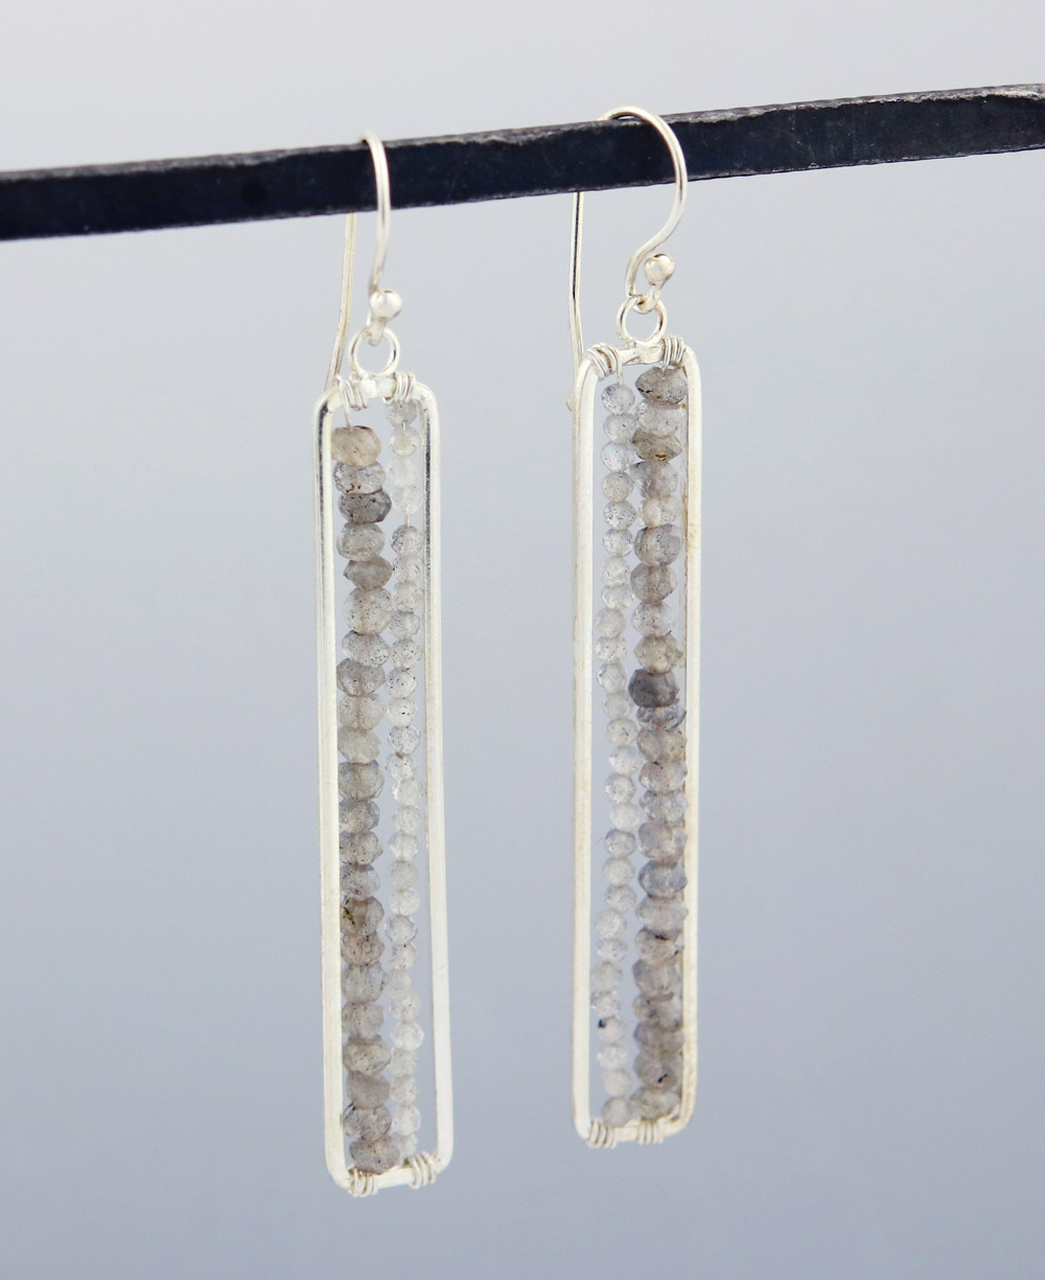
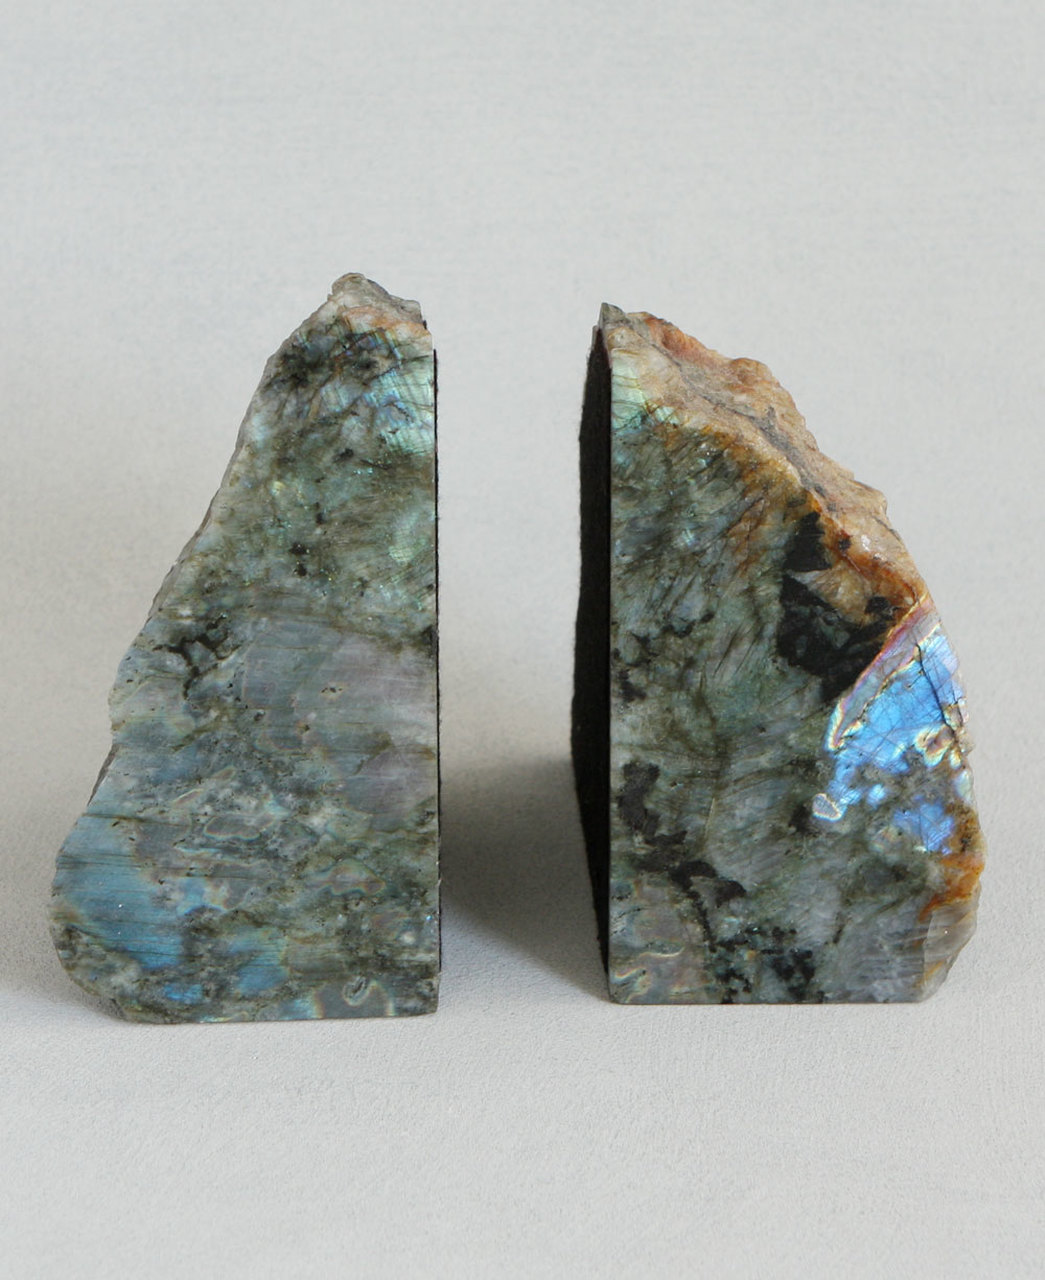
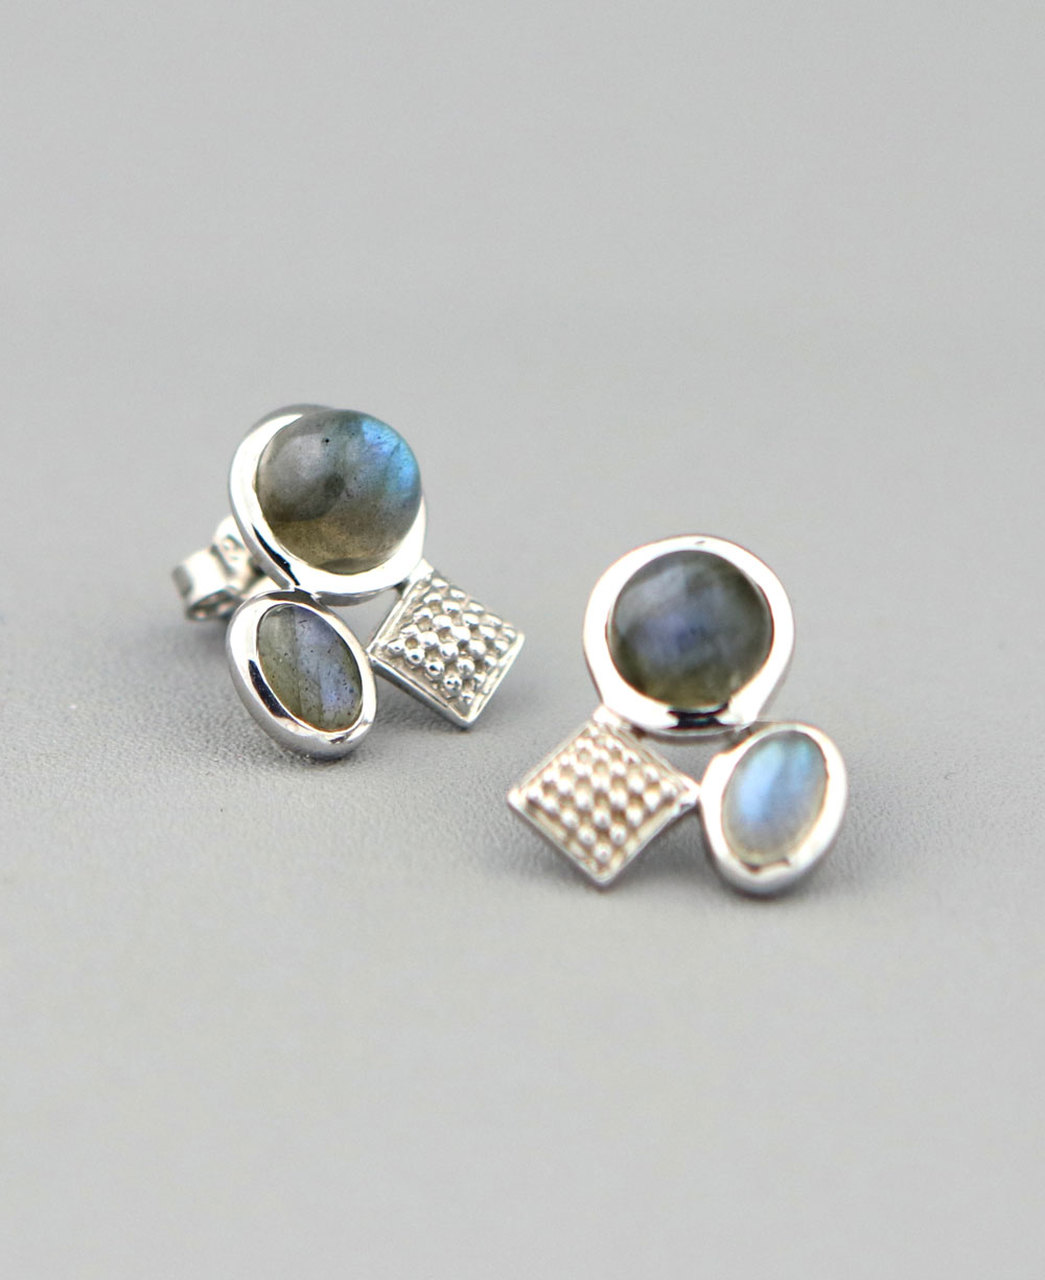
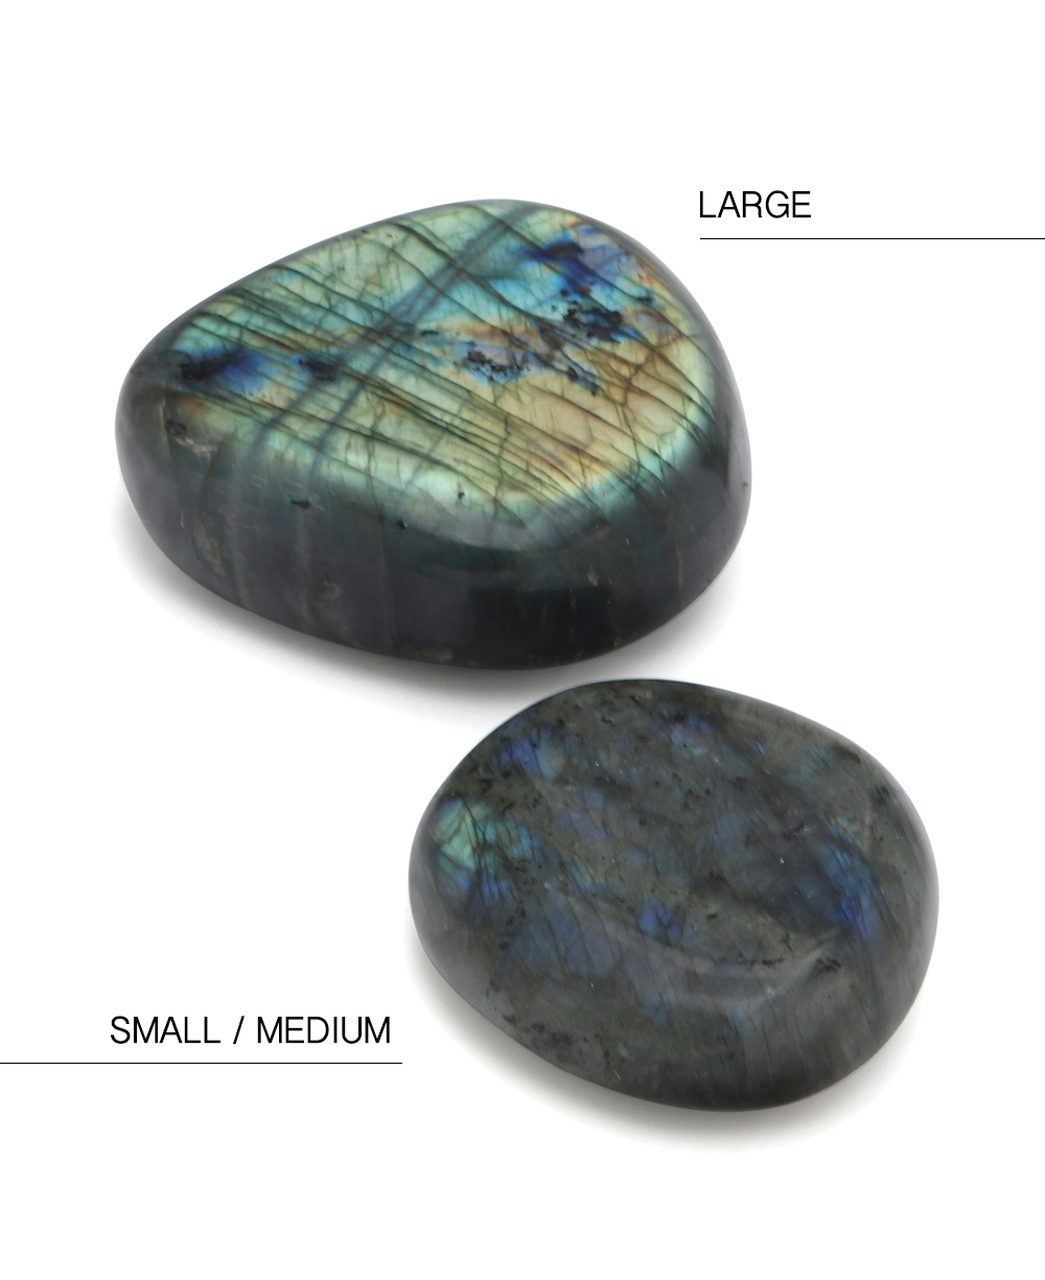
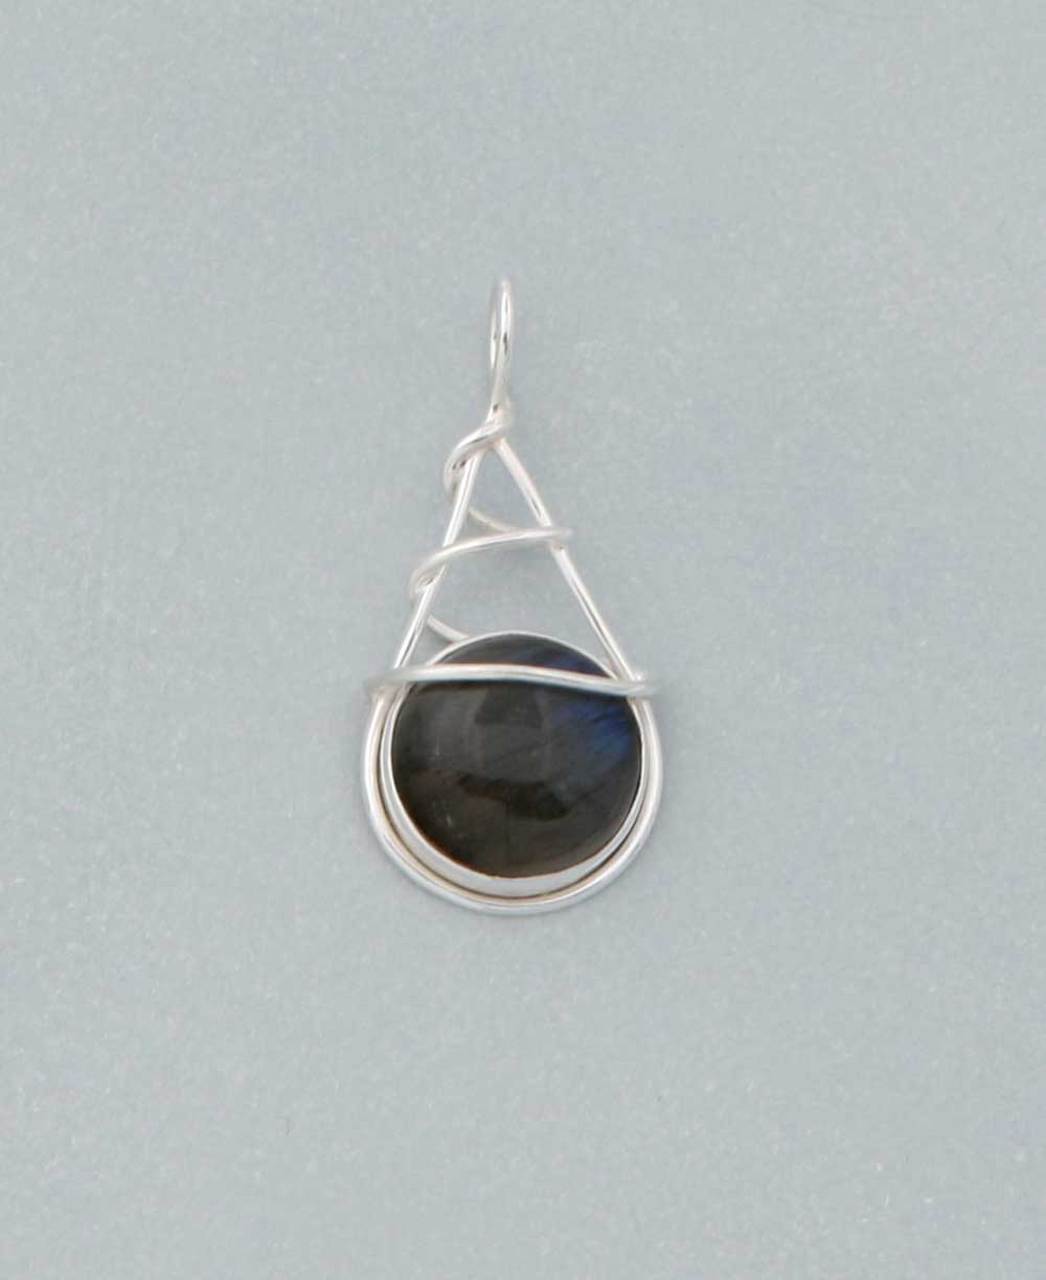
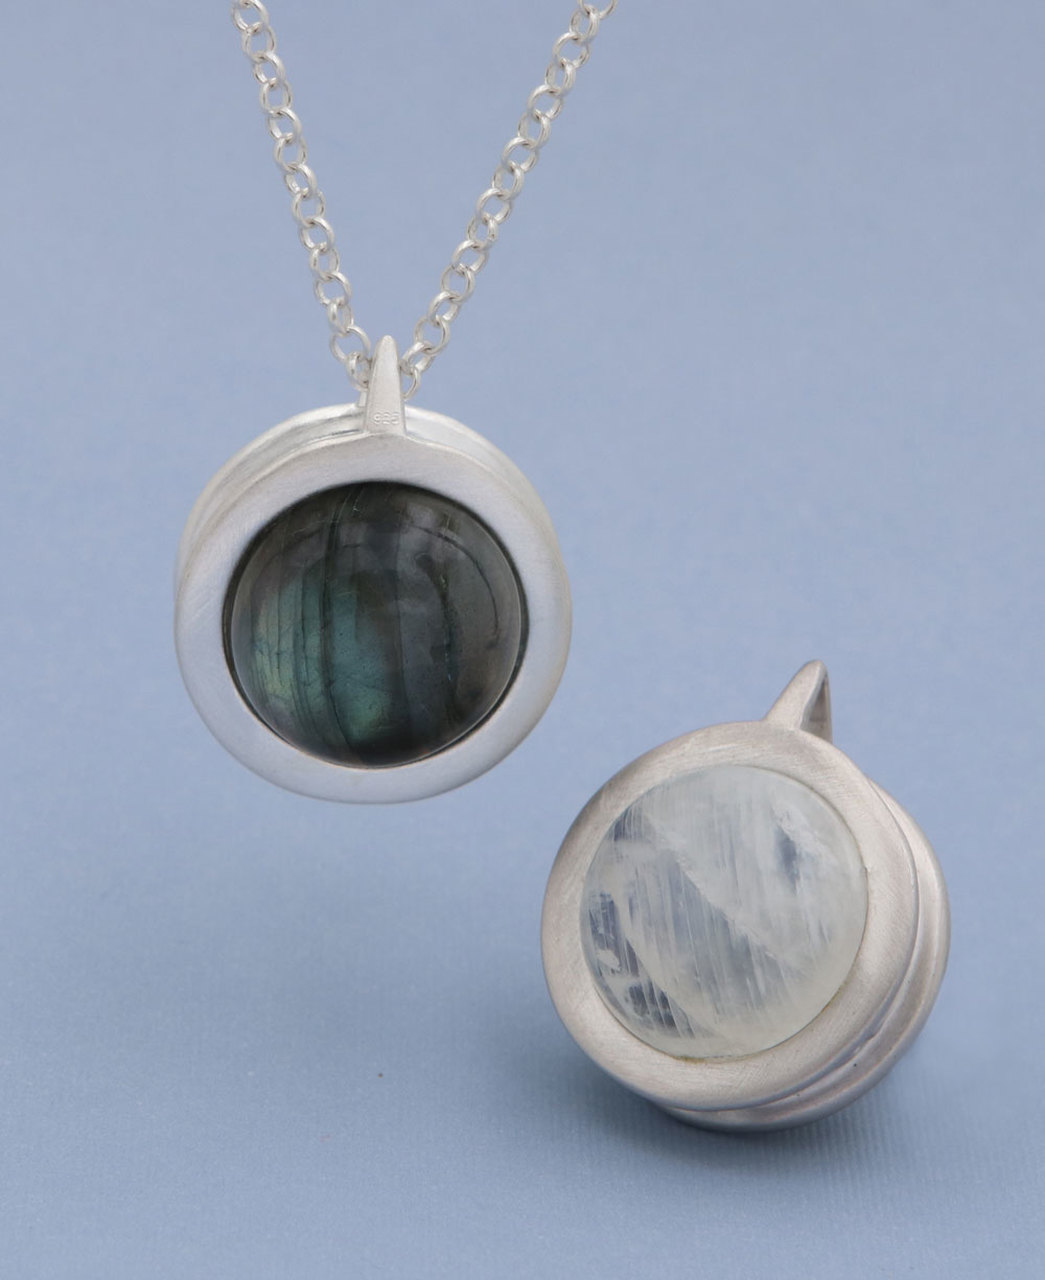
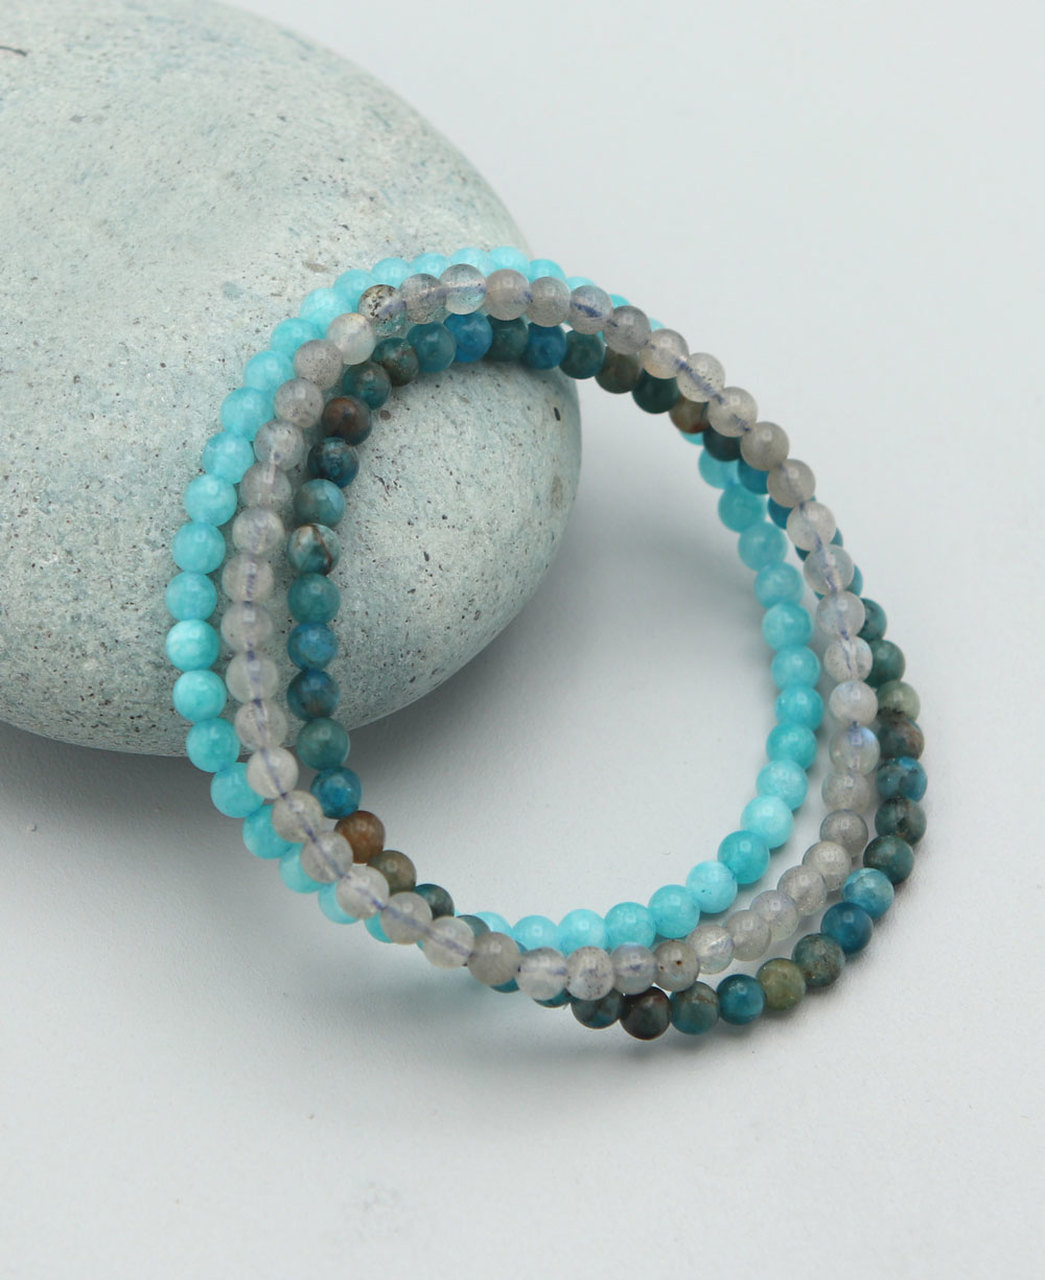
Labradorite
Recognised as a gem of magic and mysticism, Labradorite is famous for its ability to strengthen intuition and psychic power by connecting to the 6th chakra (The Third Eye chakra), connecting us with higher realms of consciousness.
The gemstone with its characteristic subtle rainbow effect is a powerful guide on your journey of self-discovery, spiritual awareness, and inner transformation.
You may find all the items listed below at Labradorite and Labradorite Jewellery sections.


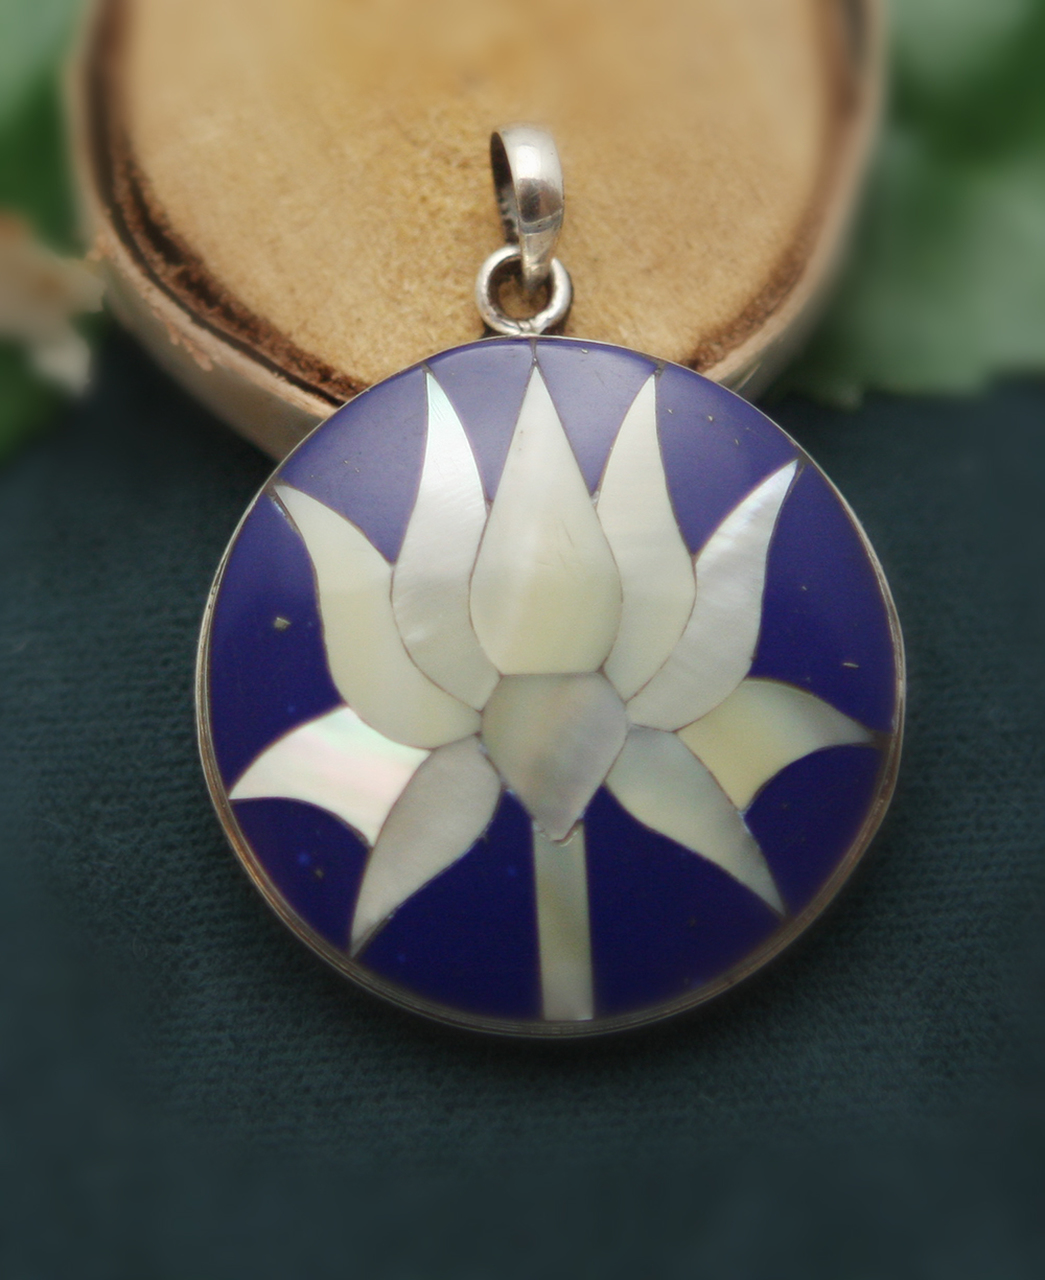
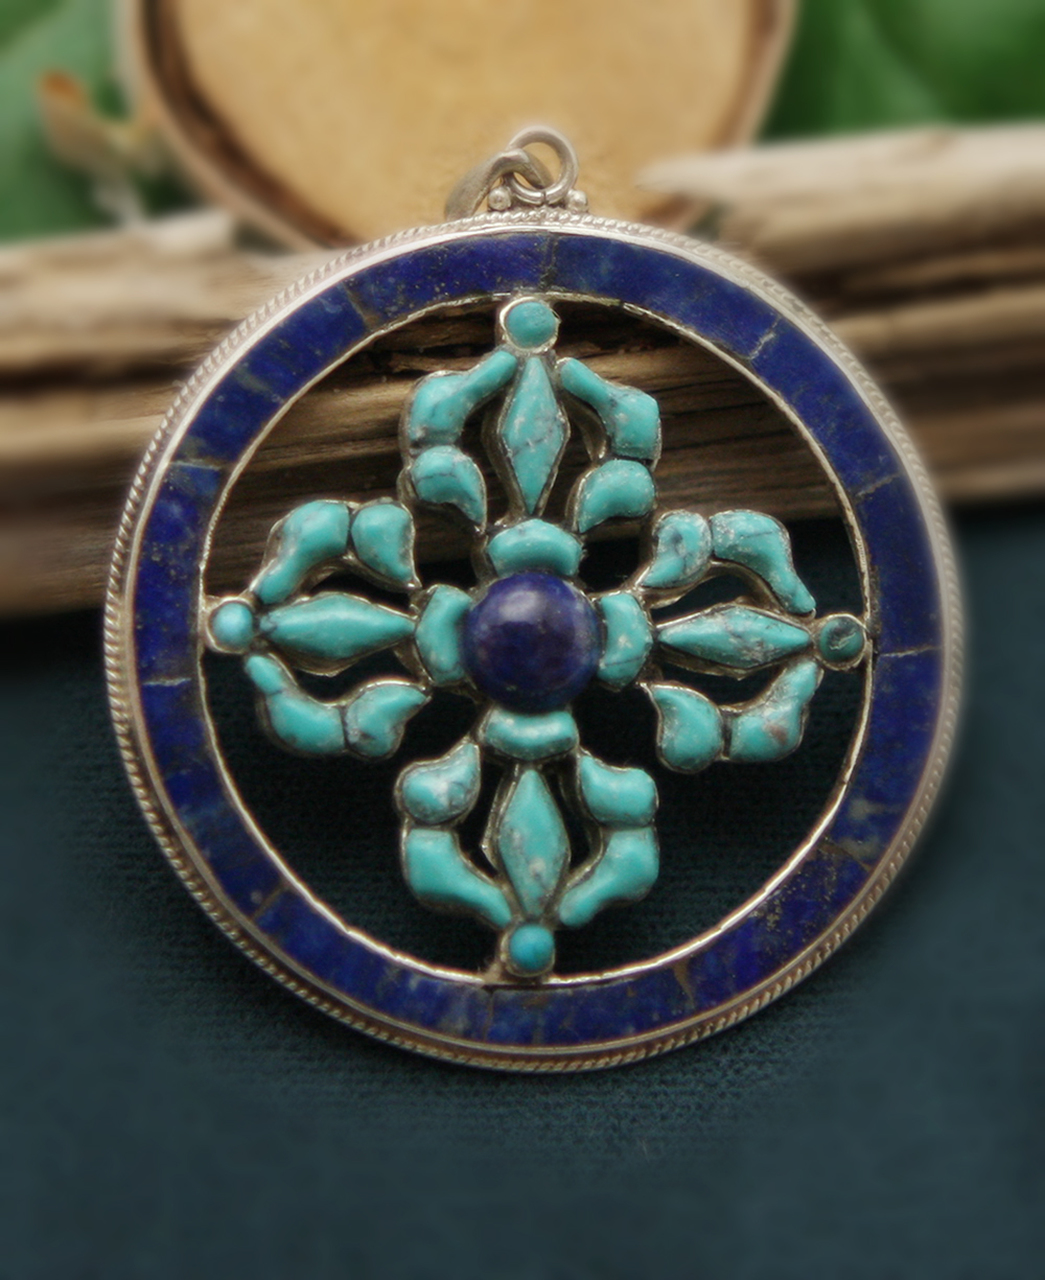
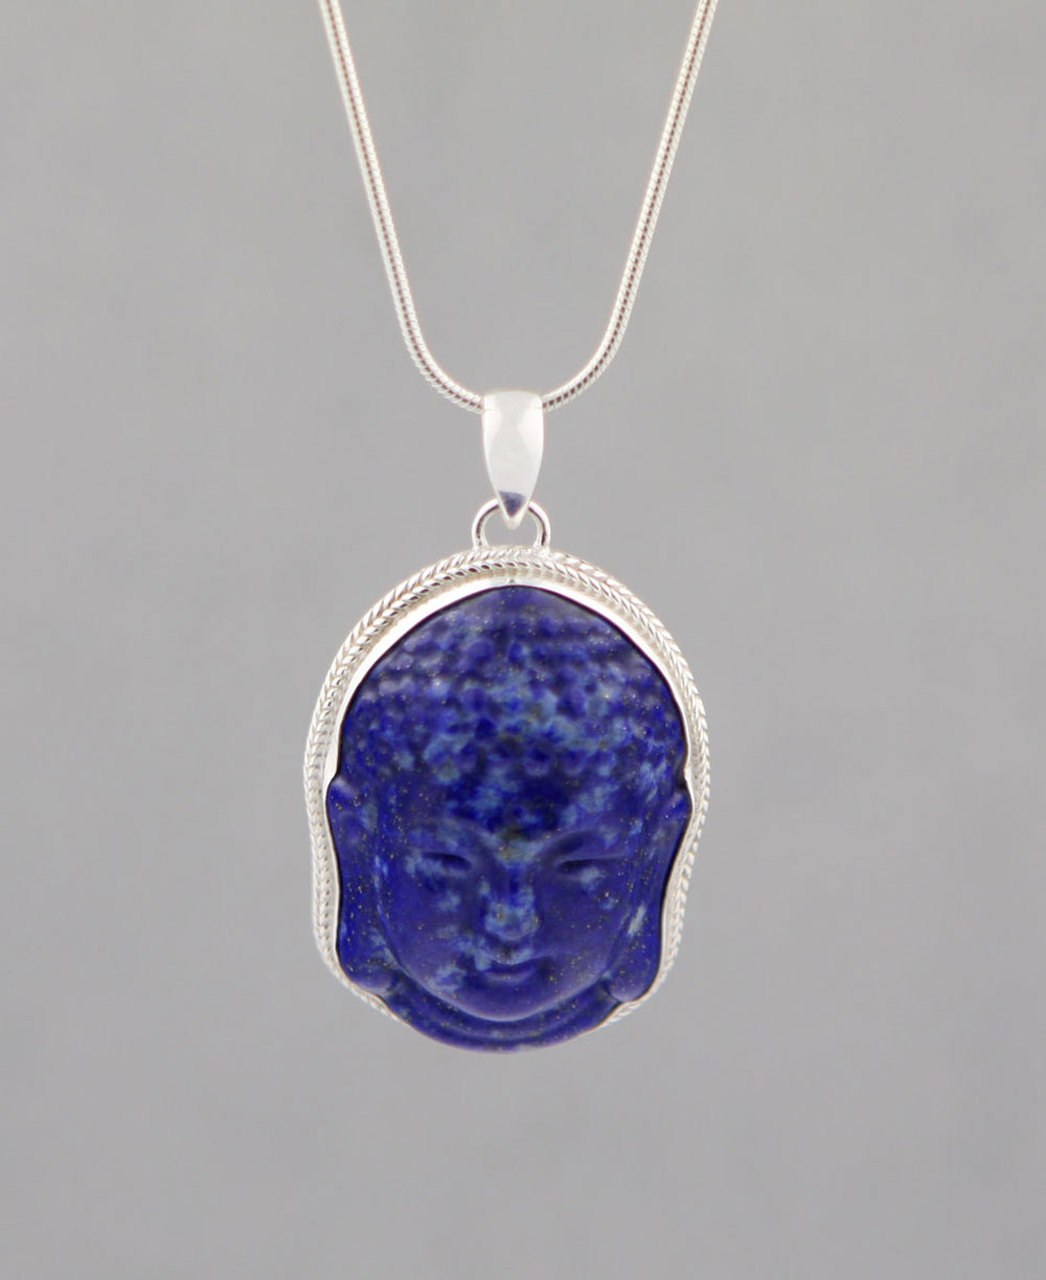
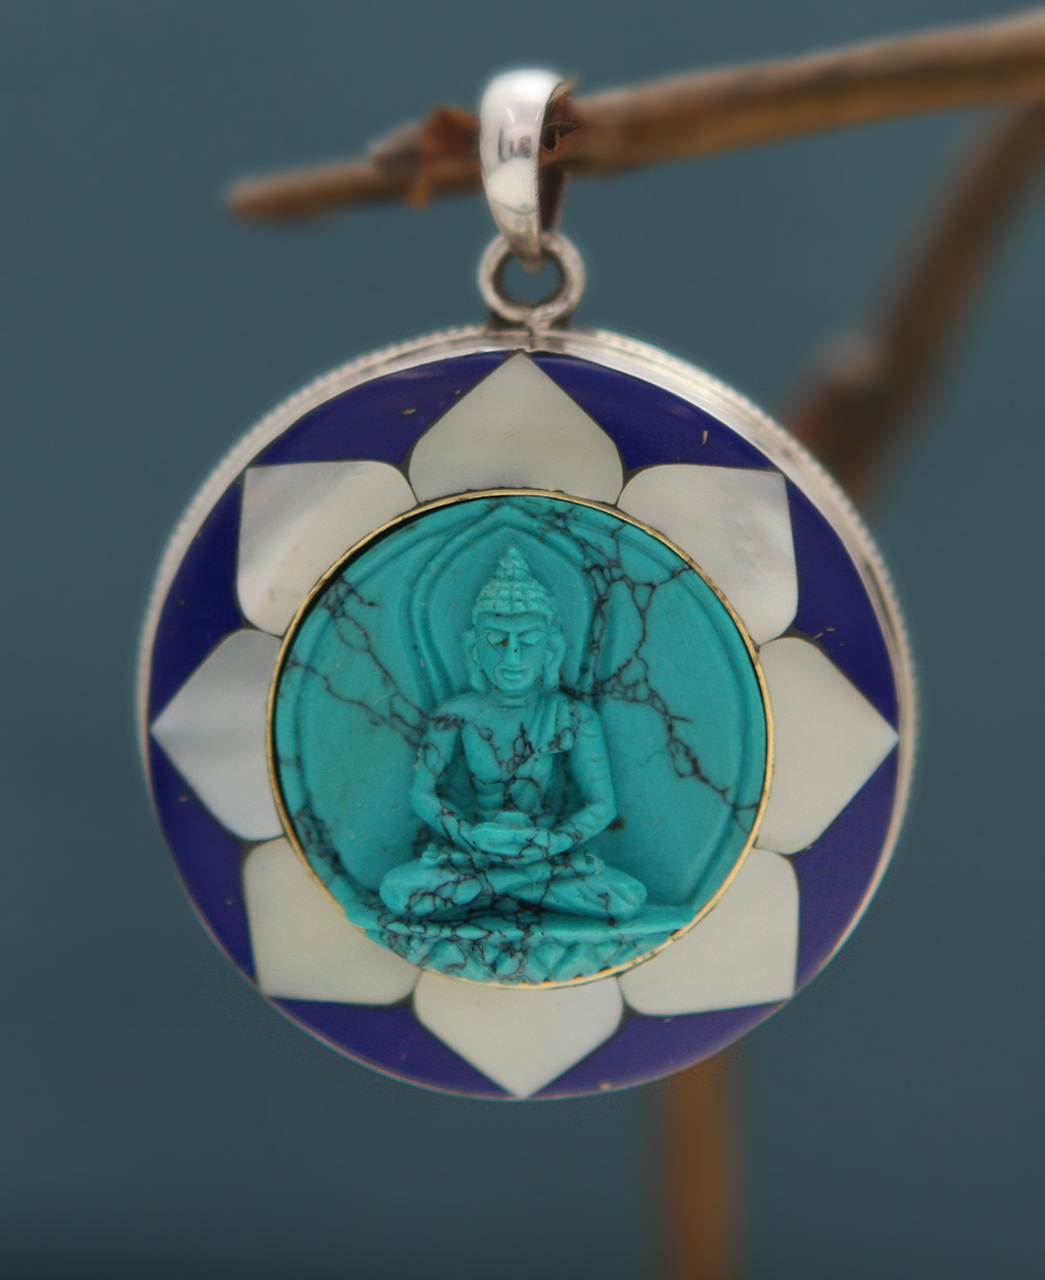
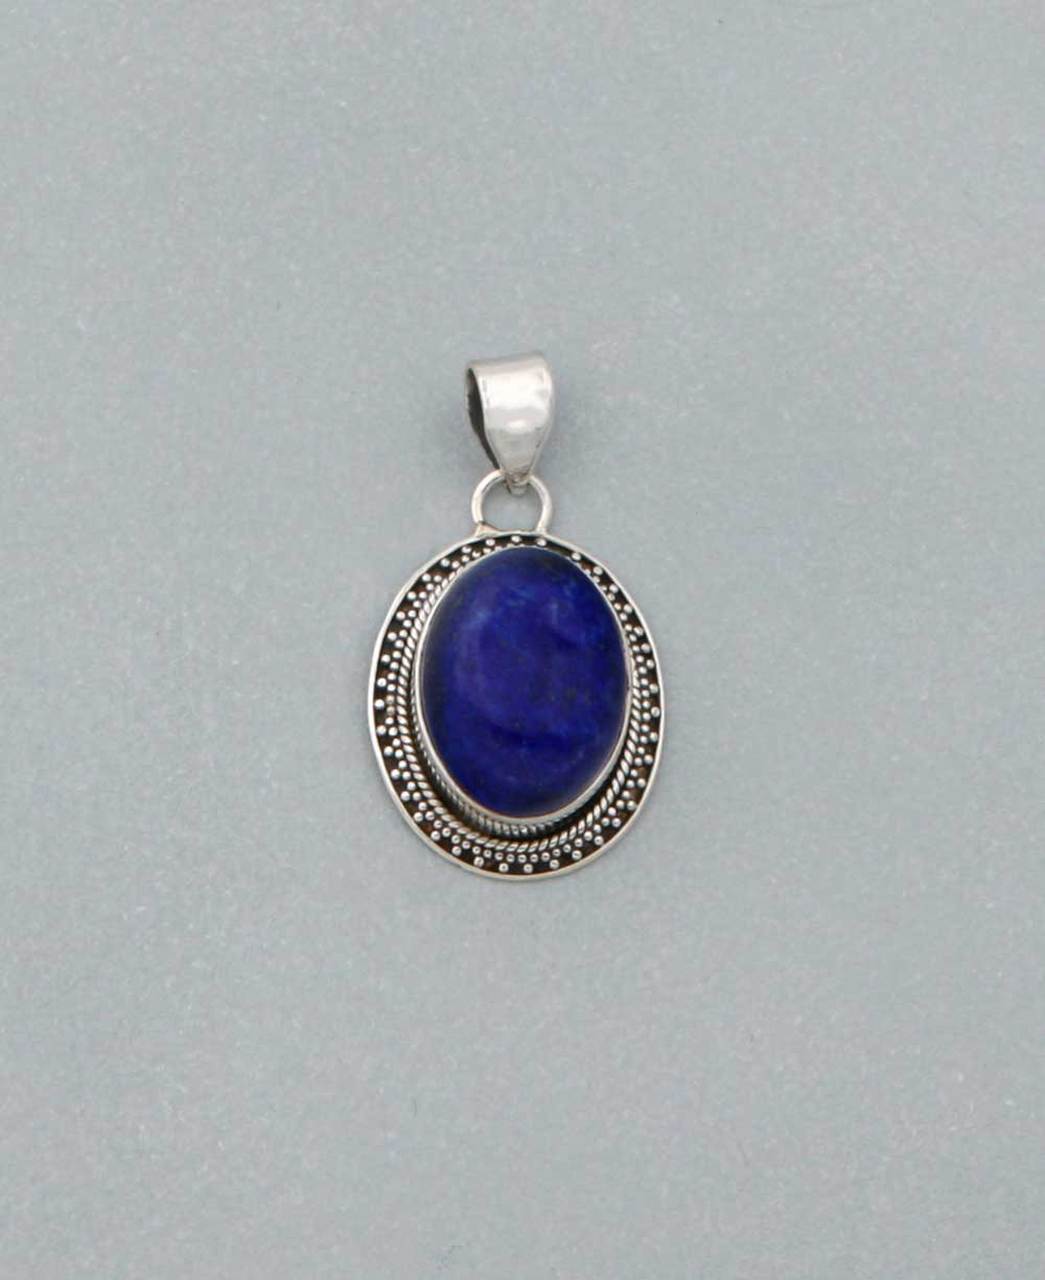
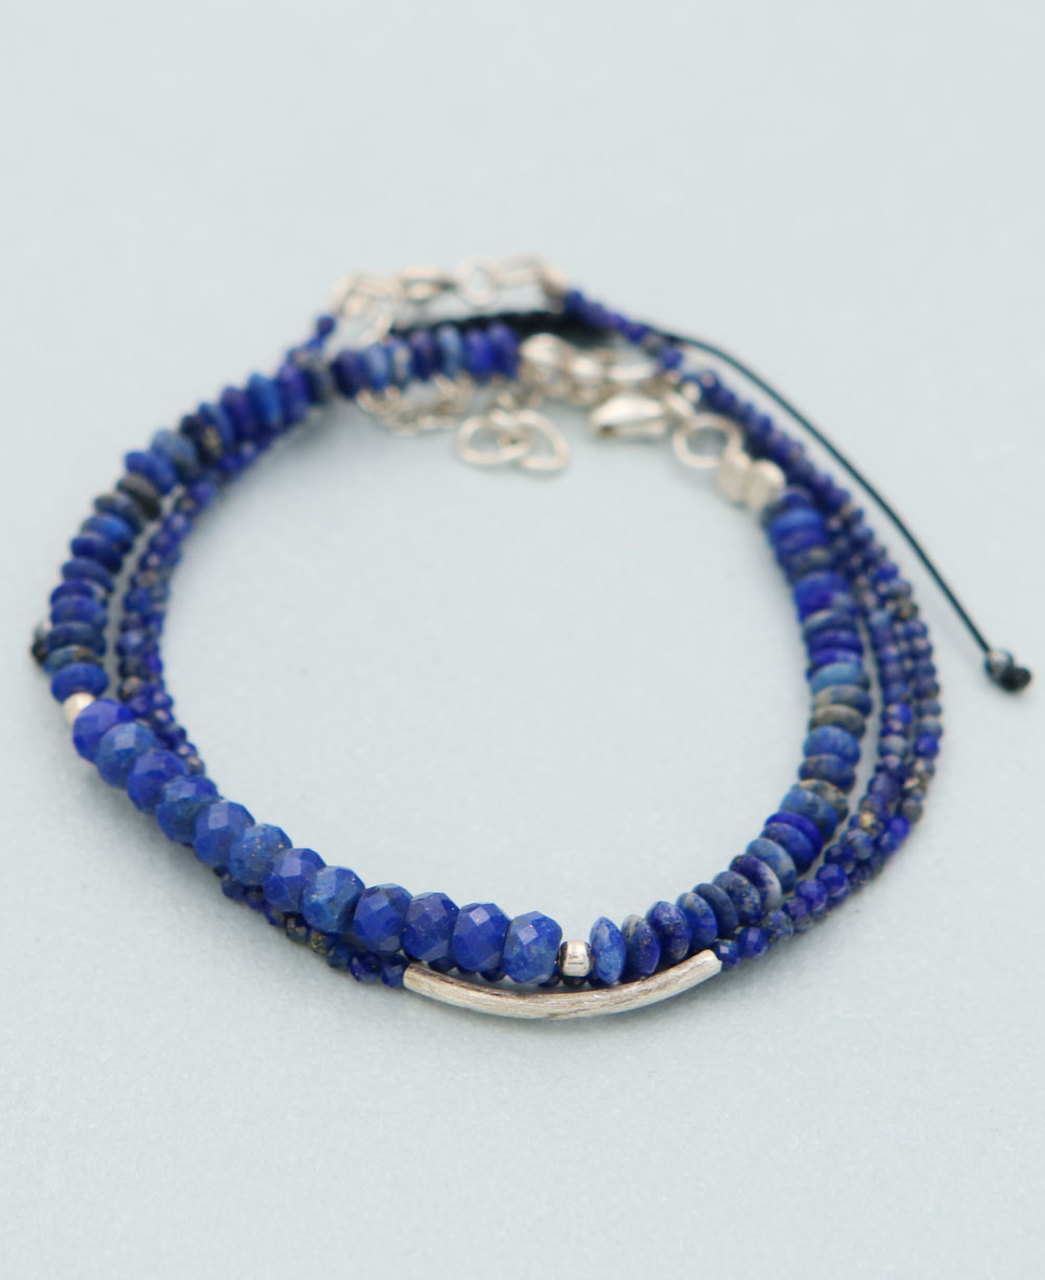
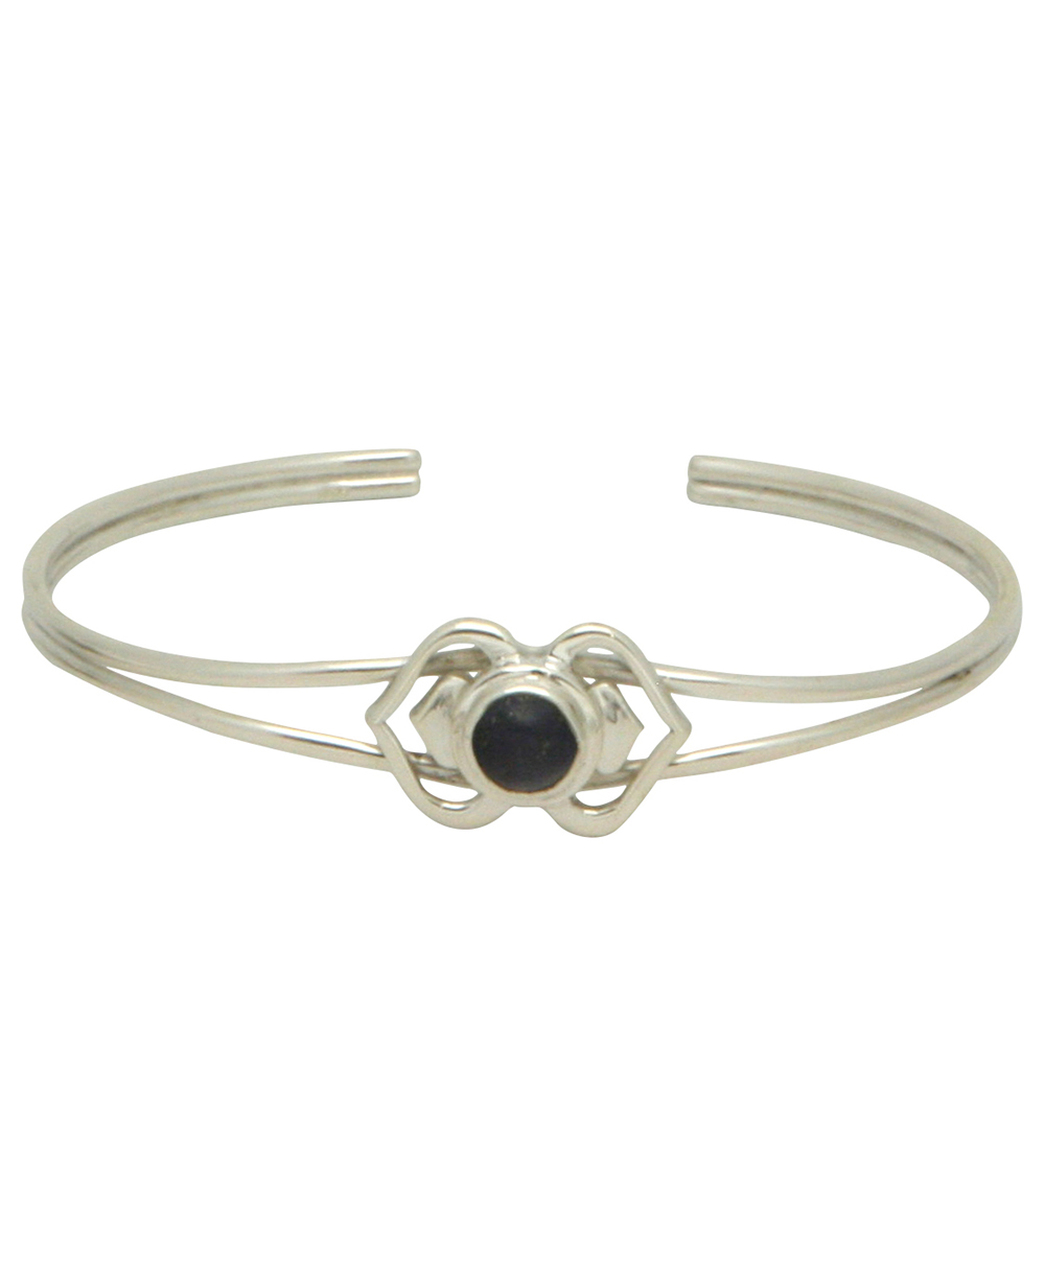
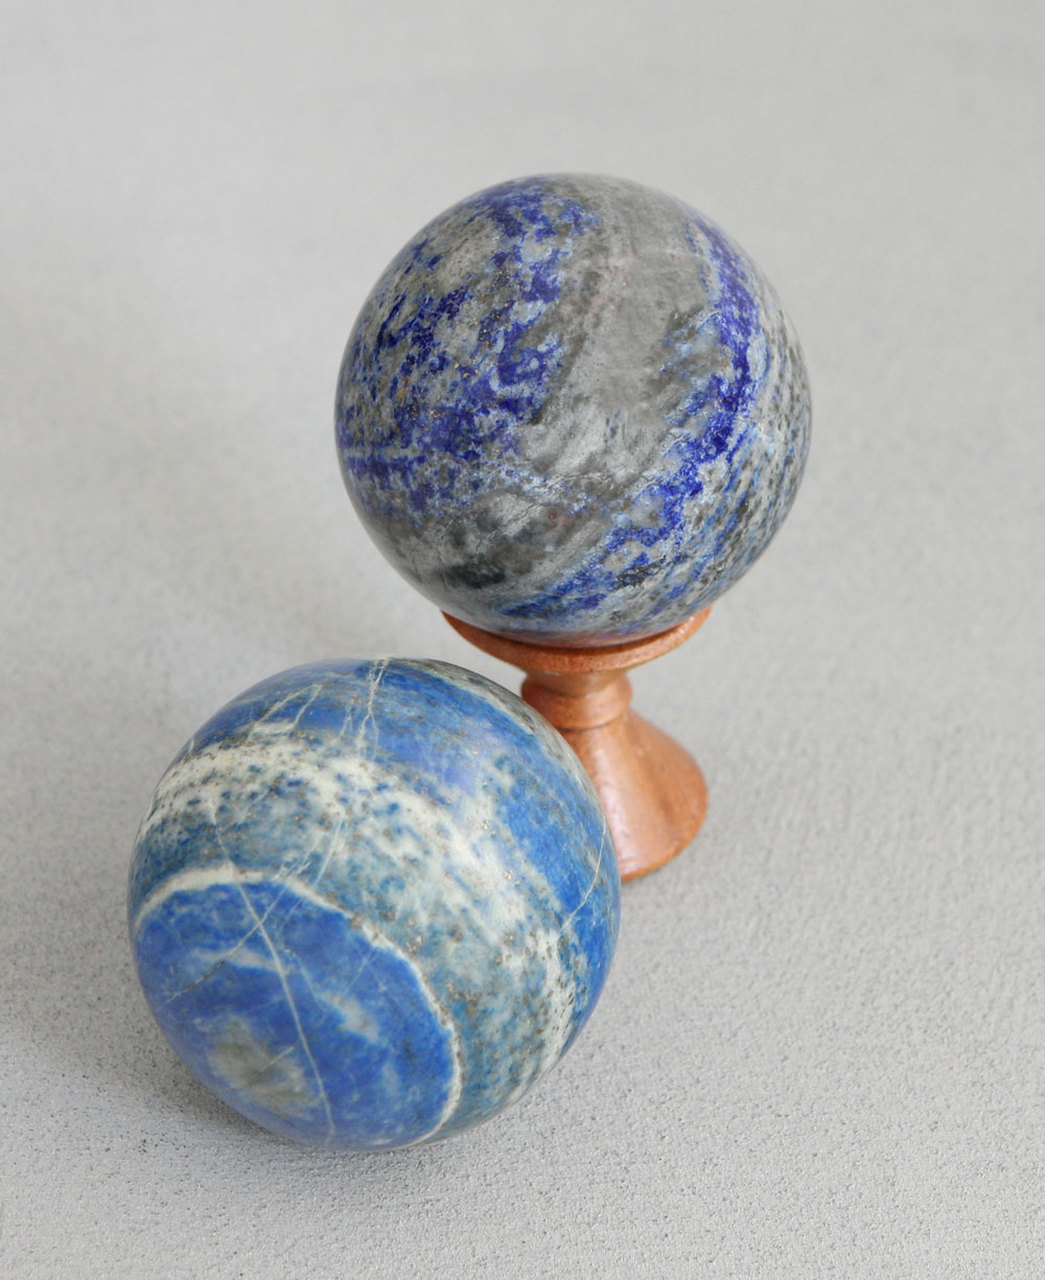
Lapis Lazuli
A gemstone of truth, self-discovery, and spiritual growth, Lapis lazuli is associated with the 6th chakra (The Third Eye chakra) promoting spiritual awareness, psychic power, and intuition.

Lapis Lazuli was an ‘obsession’ of ancient Sumerians. The ‘Standard of Ur‘ mosaic from 2500 BC, found in royal tombs of Ur (present Iraq) in the region of southern Mesopotamia, is made of Lapis Lazuli, Red Limestone, and shell.
Enter the sacred realms of ancient Sumeria through the portals of Lapis Lazuli and Lapis Lazuli Jewellery.

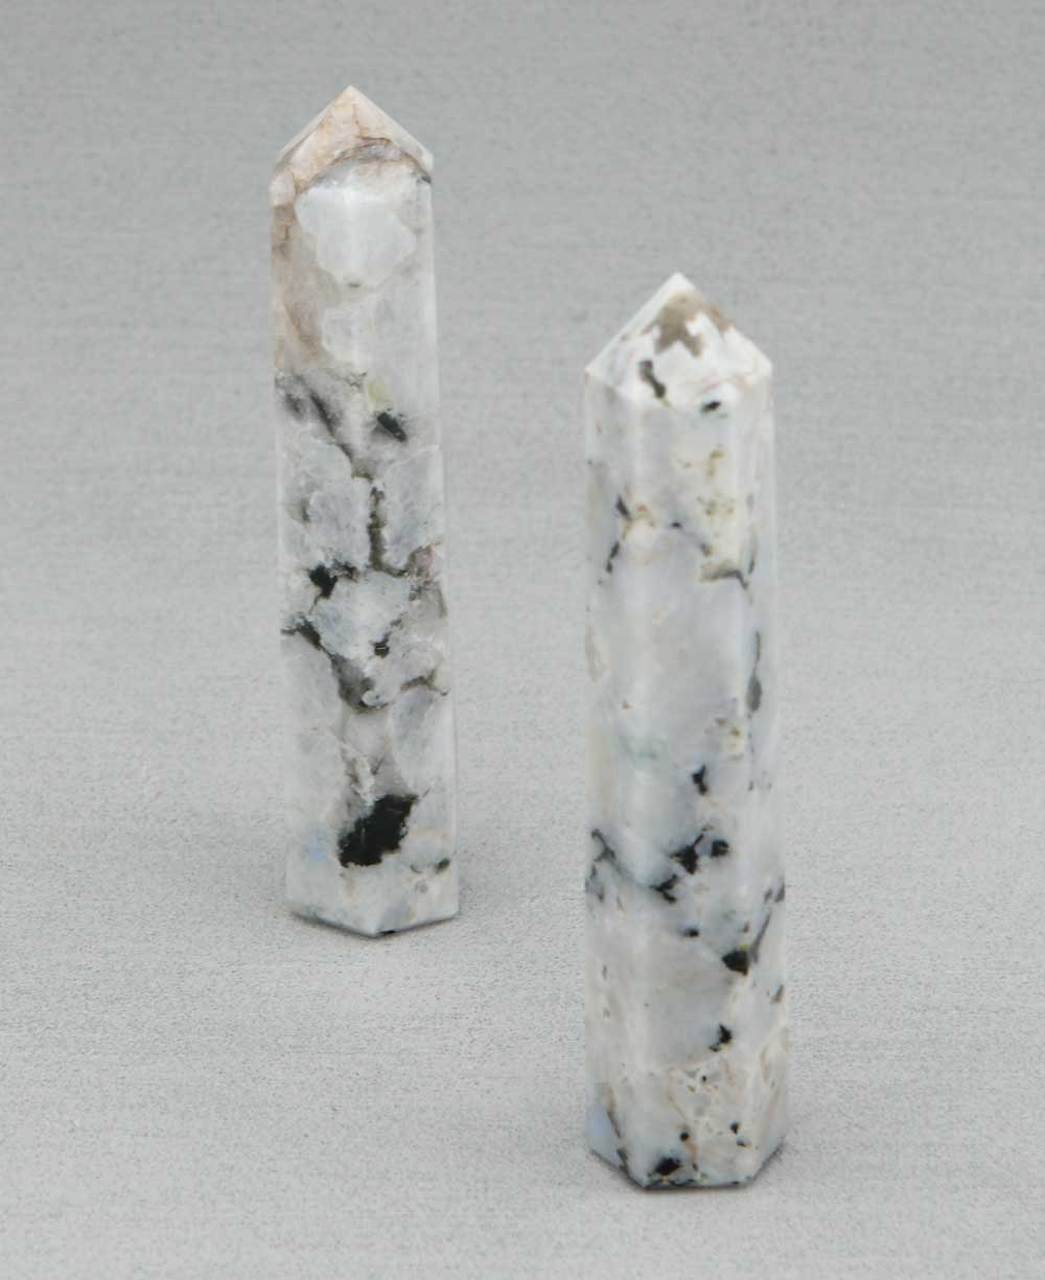
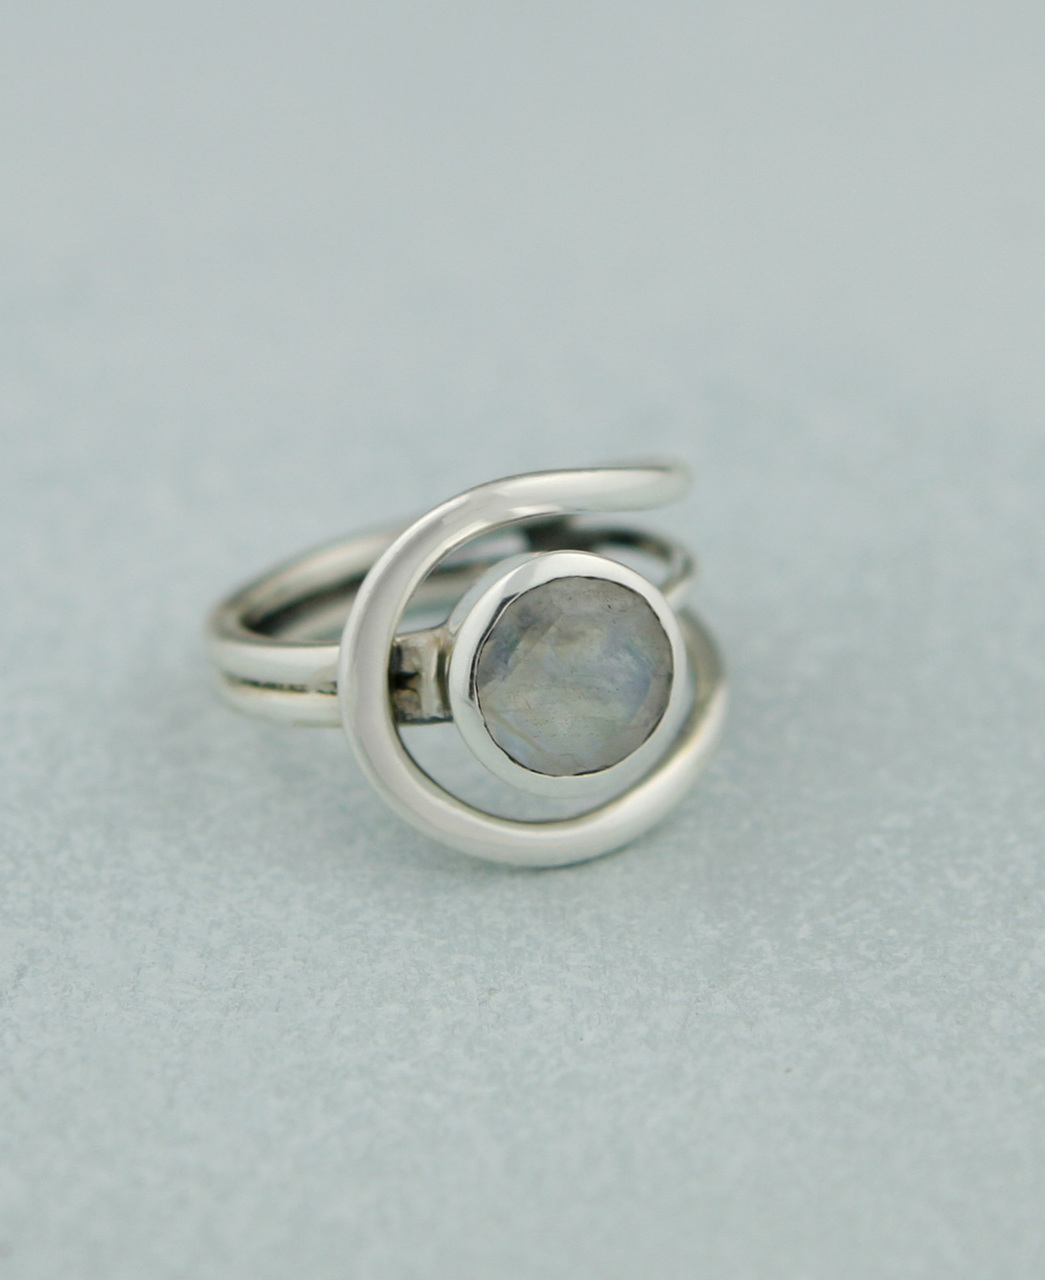
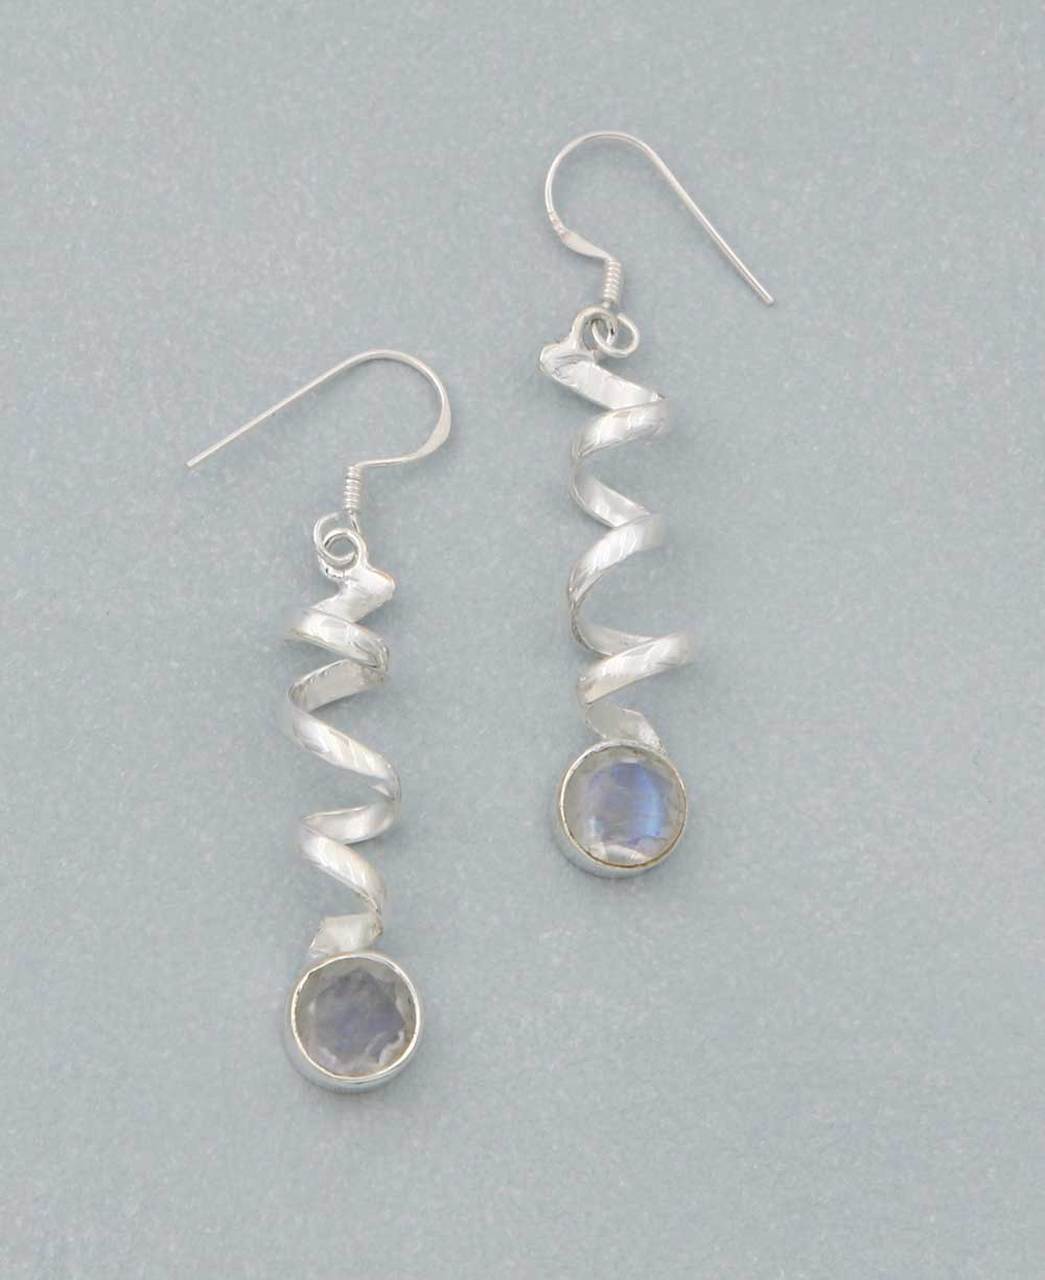
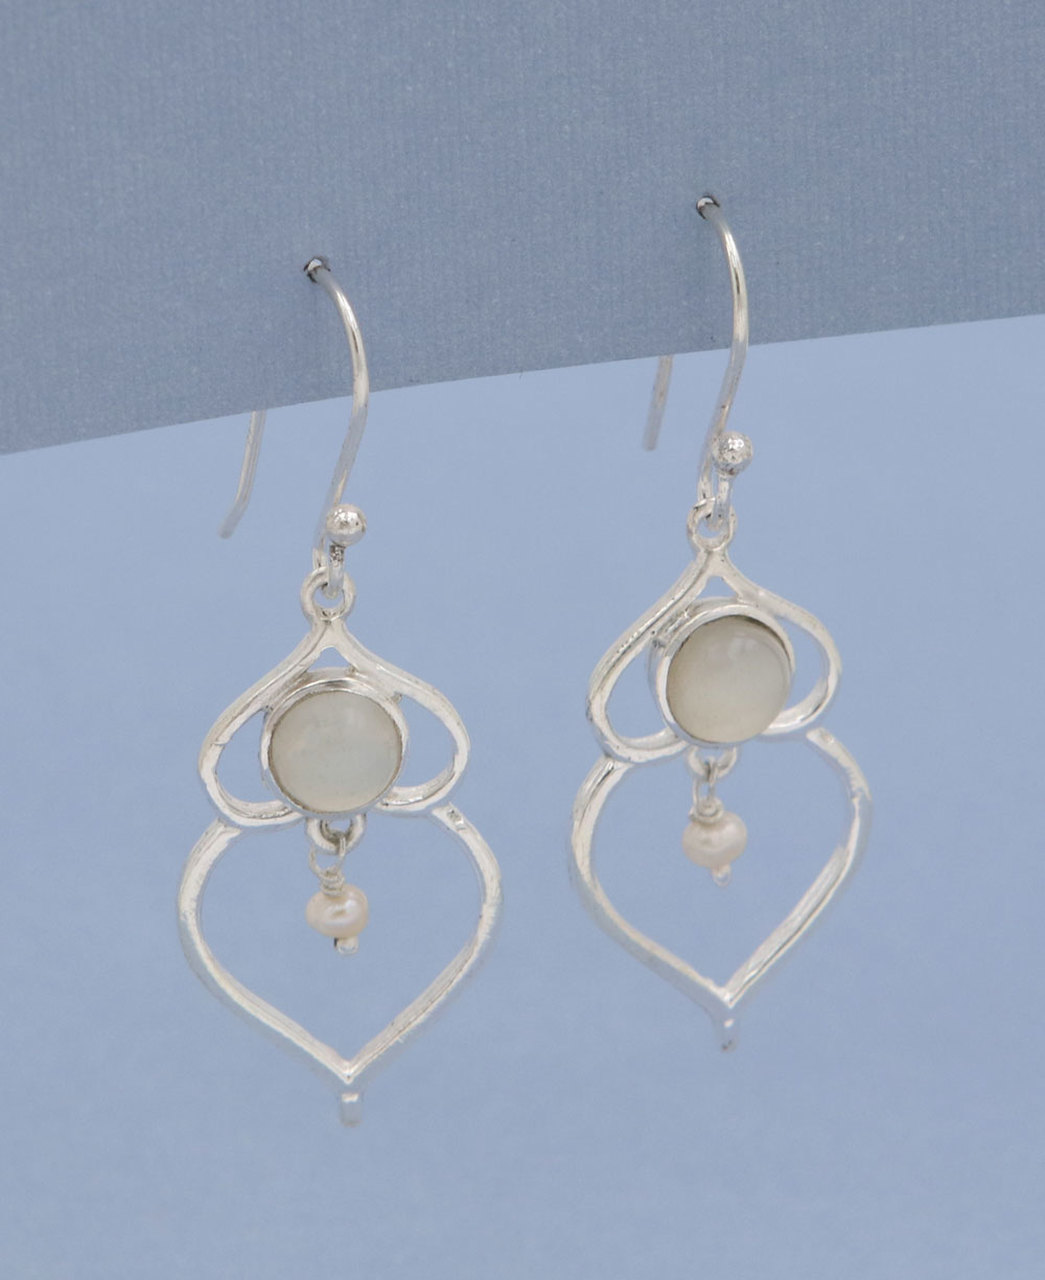
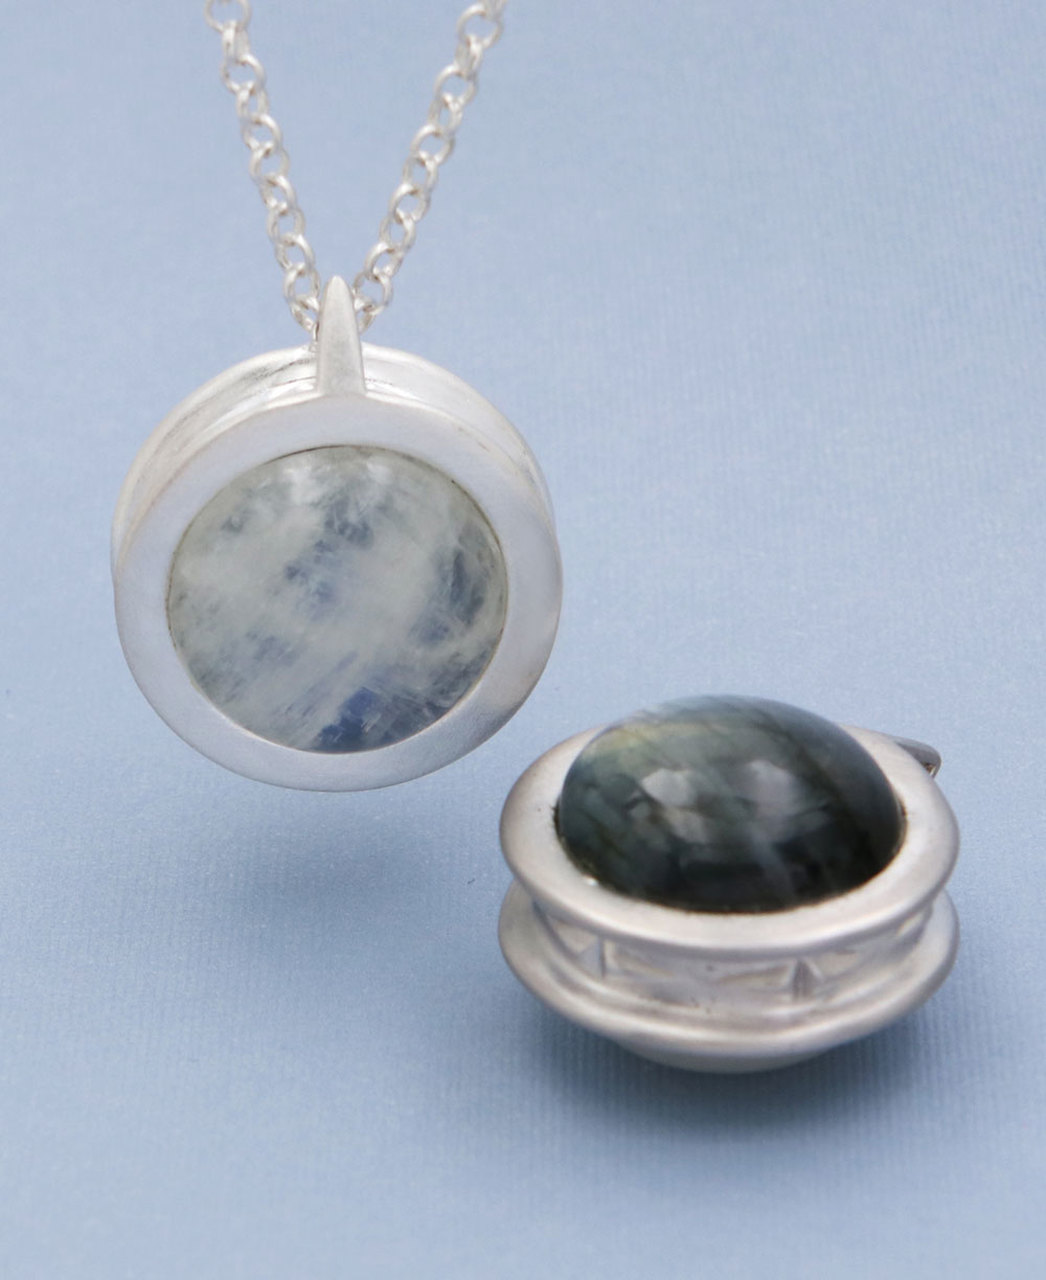
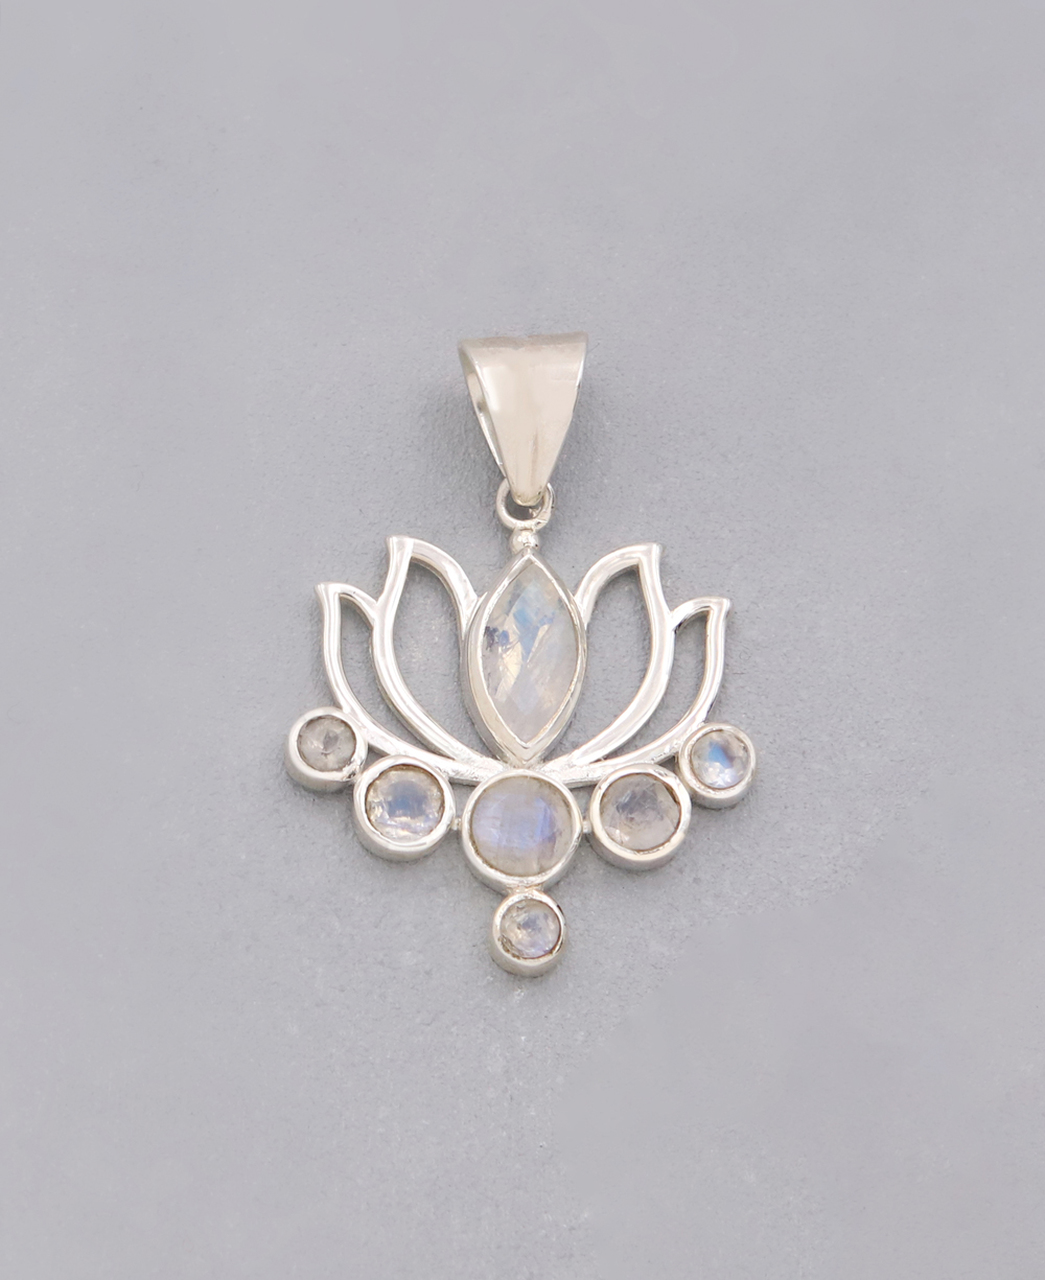
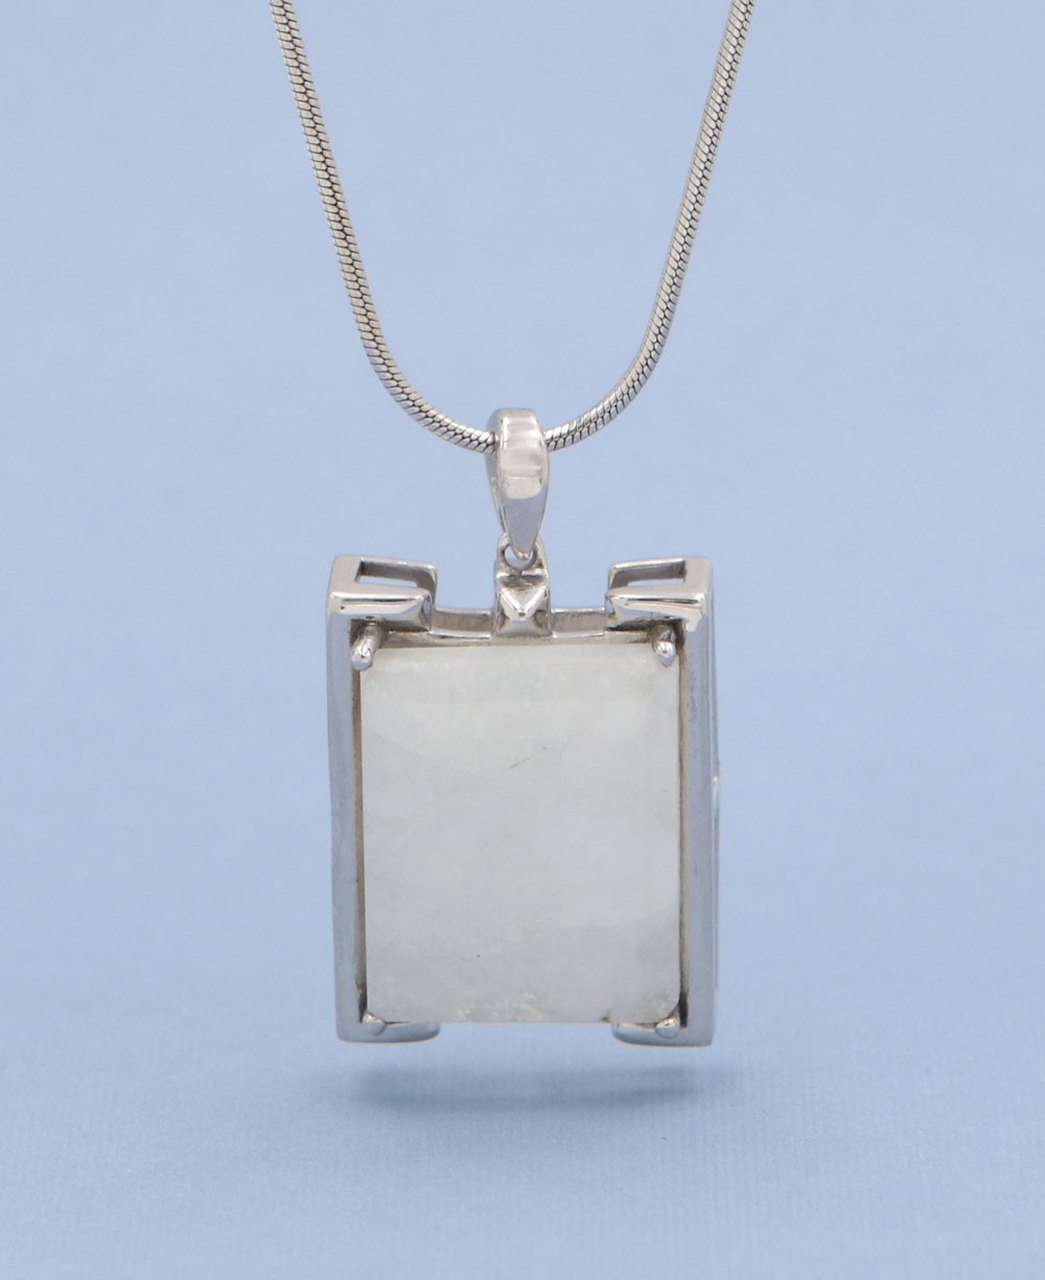
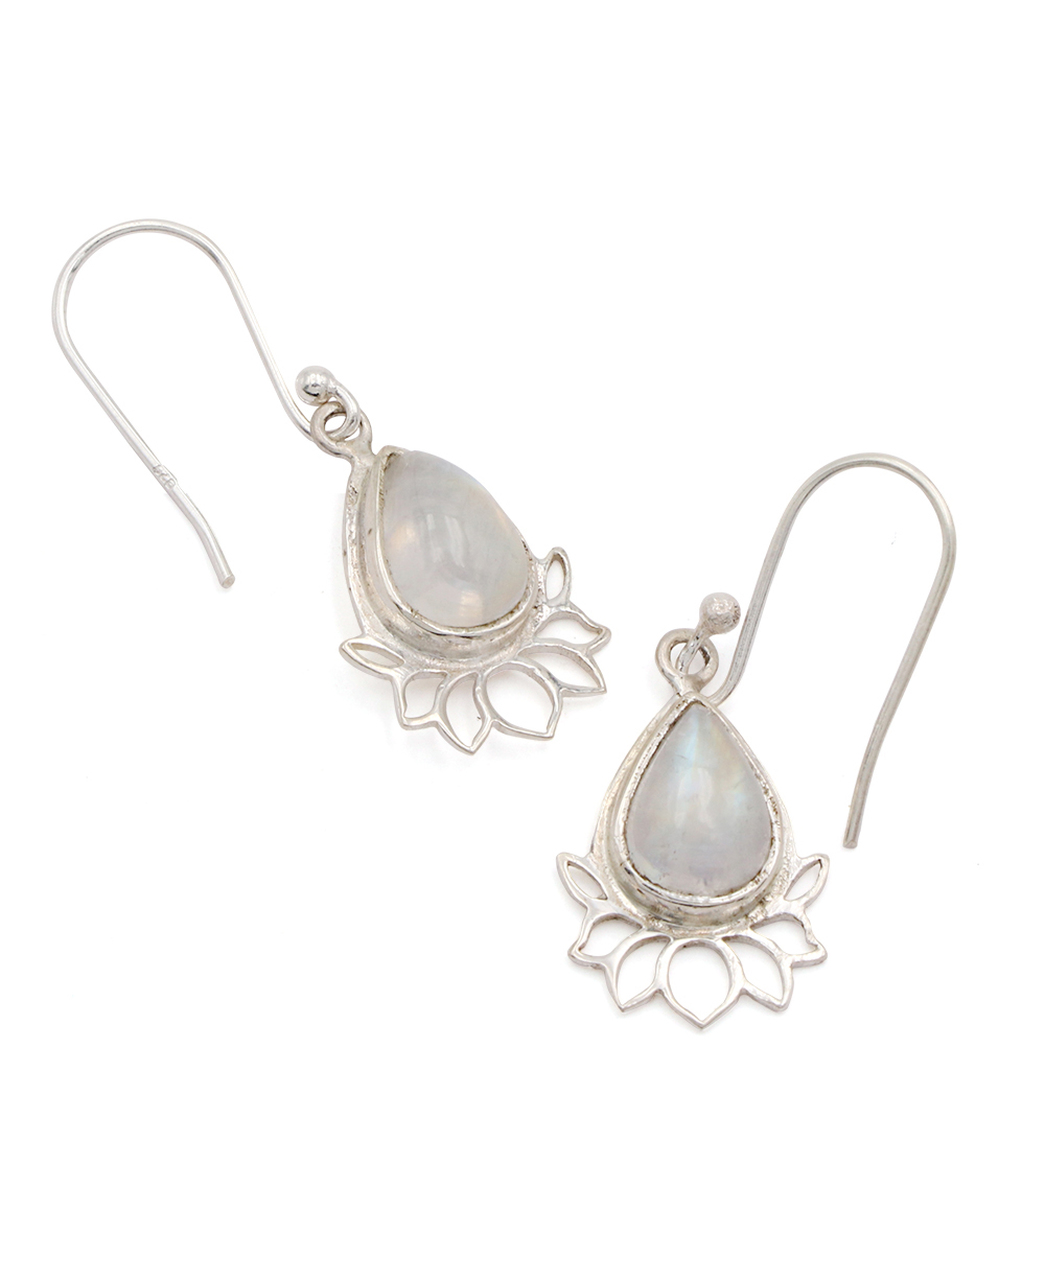
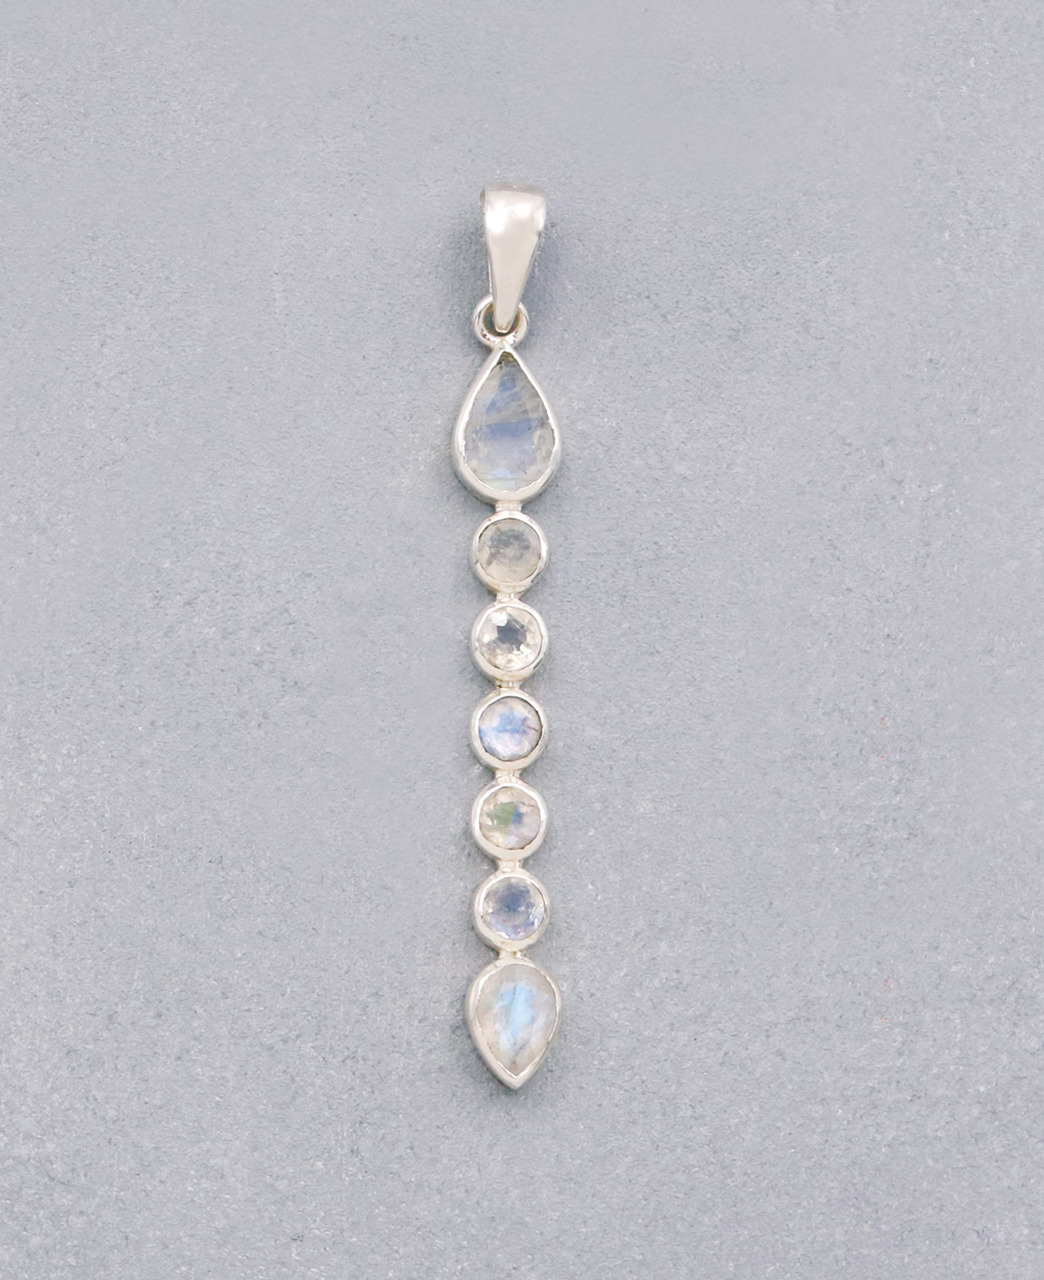
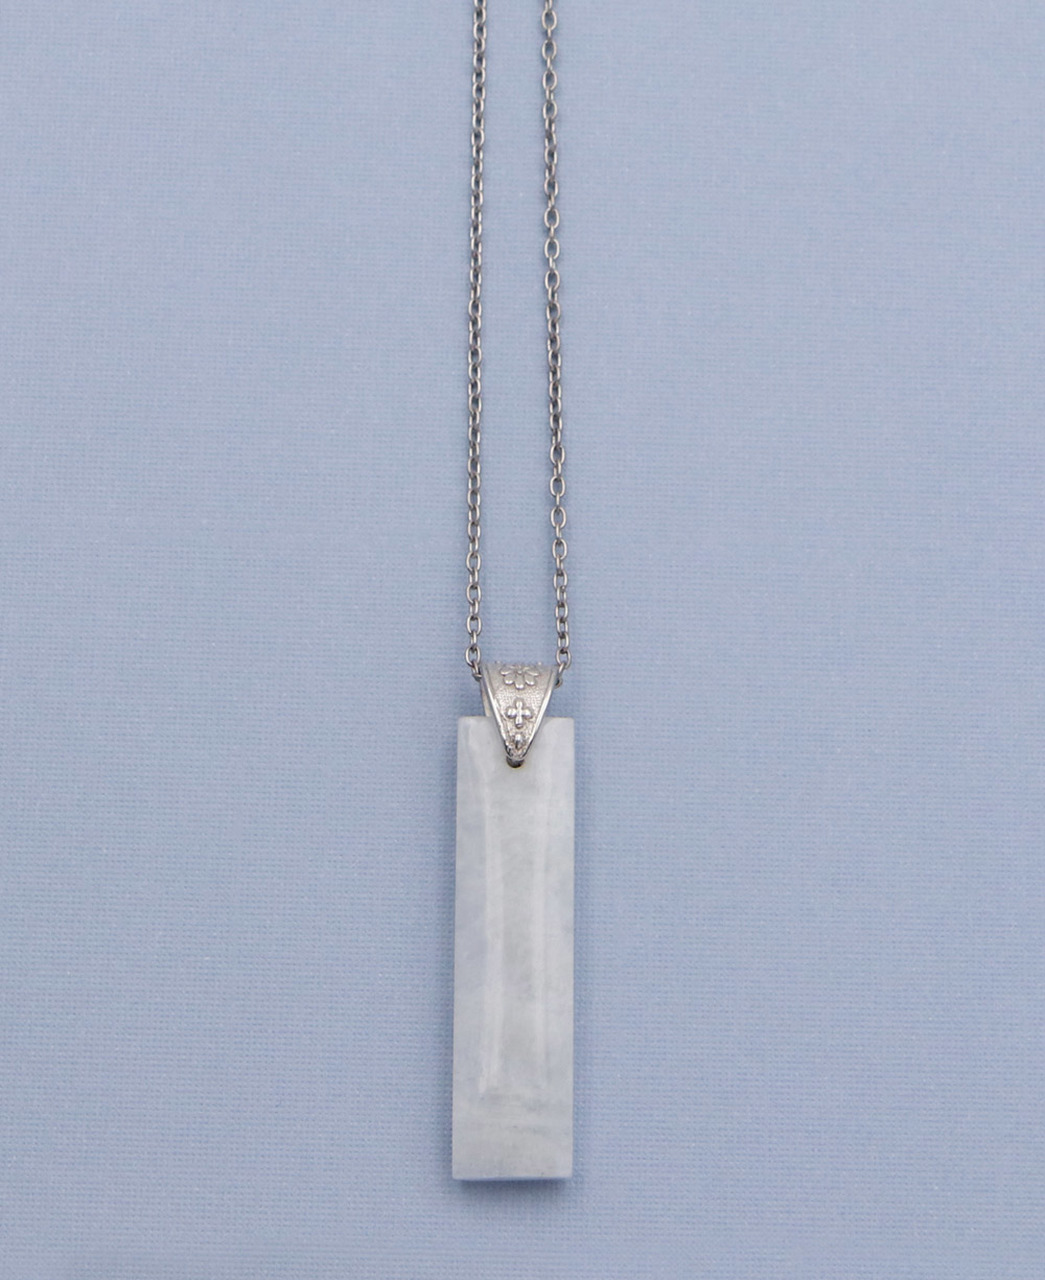
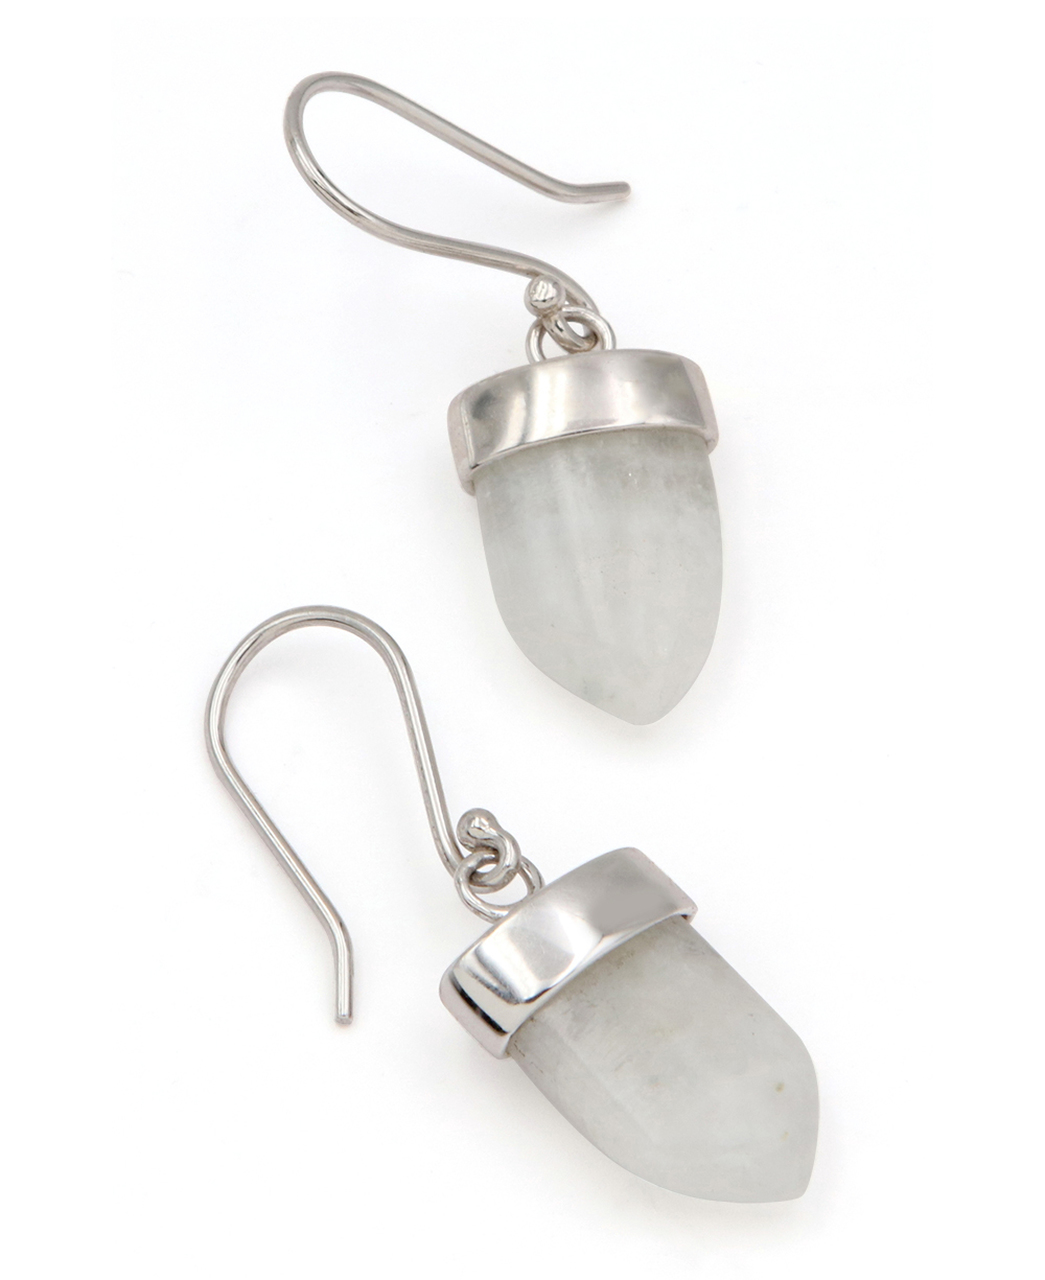
Moonstone
Connected to the cycles of the moon, moonstone promotes inner balance and harmony filling you with ‘Yin’ (feminine polarity) vibes and helping you draw peace from cycles and rhythms of nature. Moonstone is a gemstone associated with the Third Eye chakra which governs intuition and development of psychic powers, as well as the Solar Plexus chakra which in a centre of self-awareness and personal identity.
Any of the gems below are obtainable from the store’s sections Moonstone and Moonstone Jewellery.


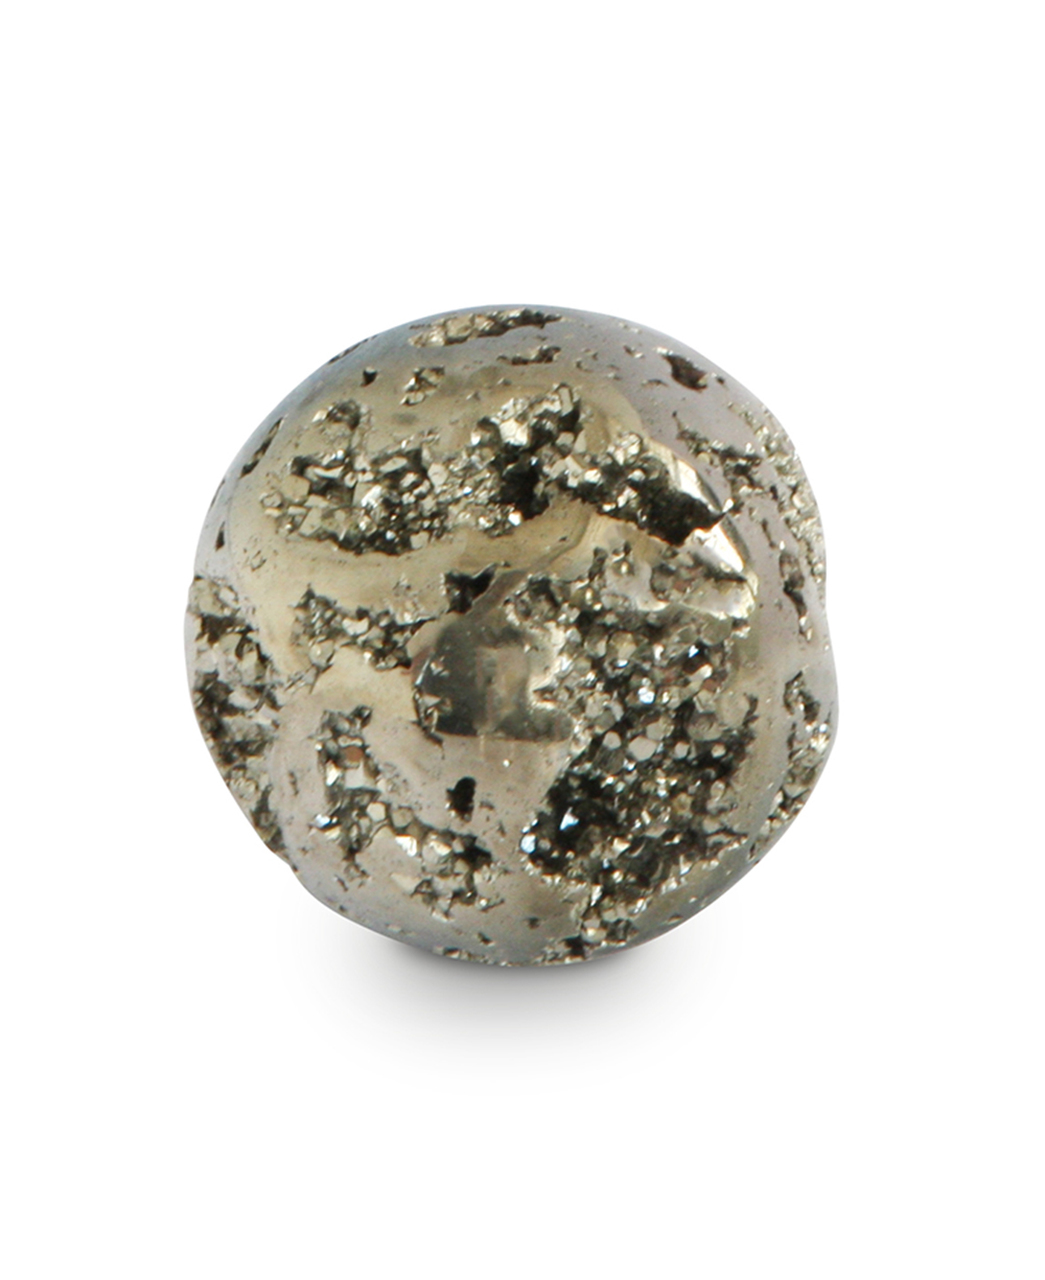
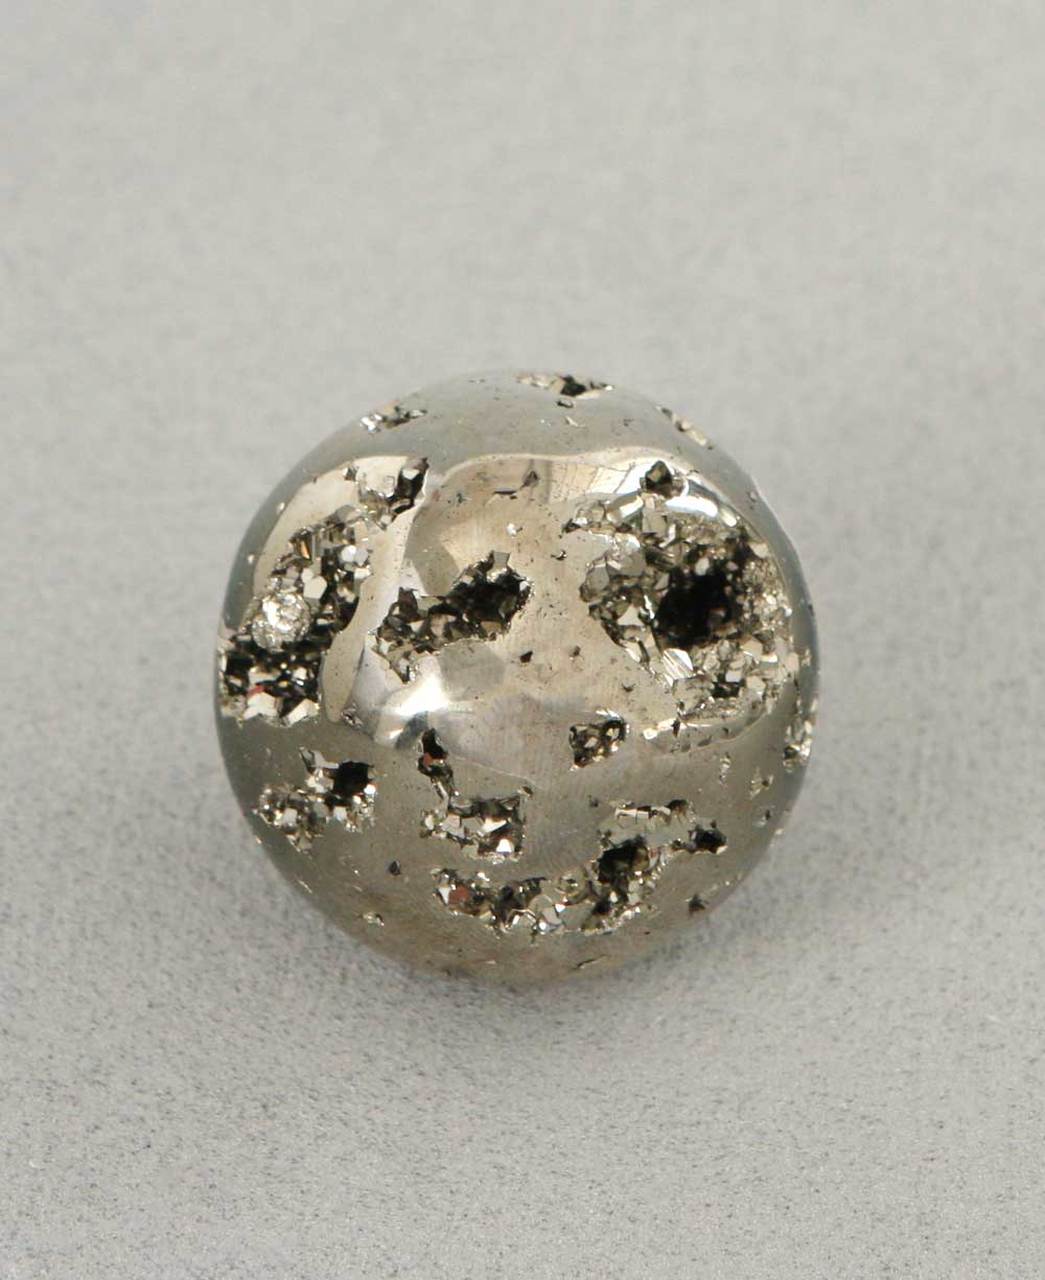
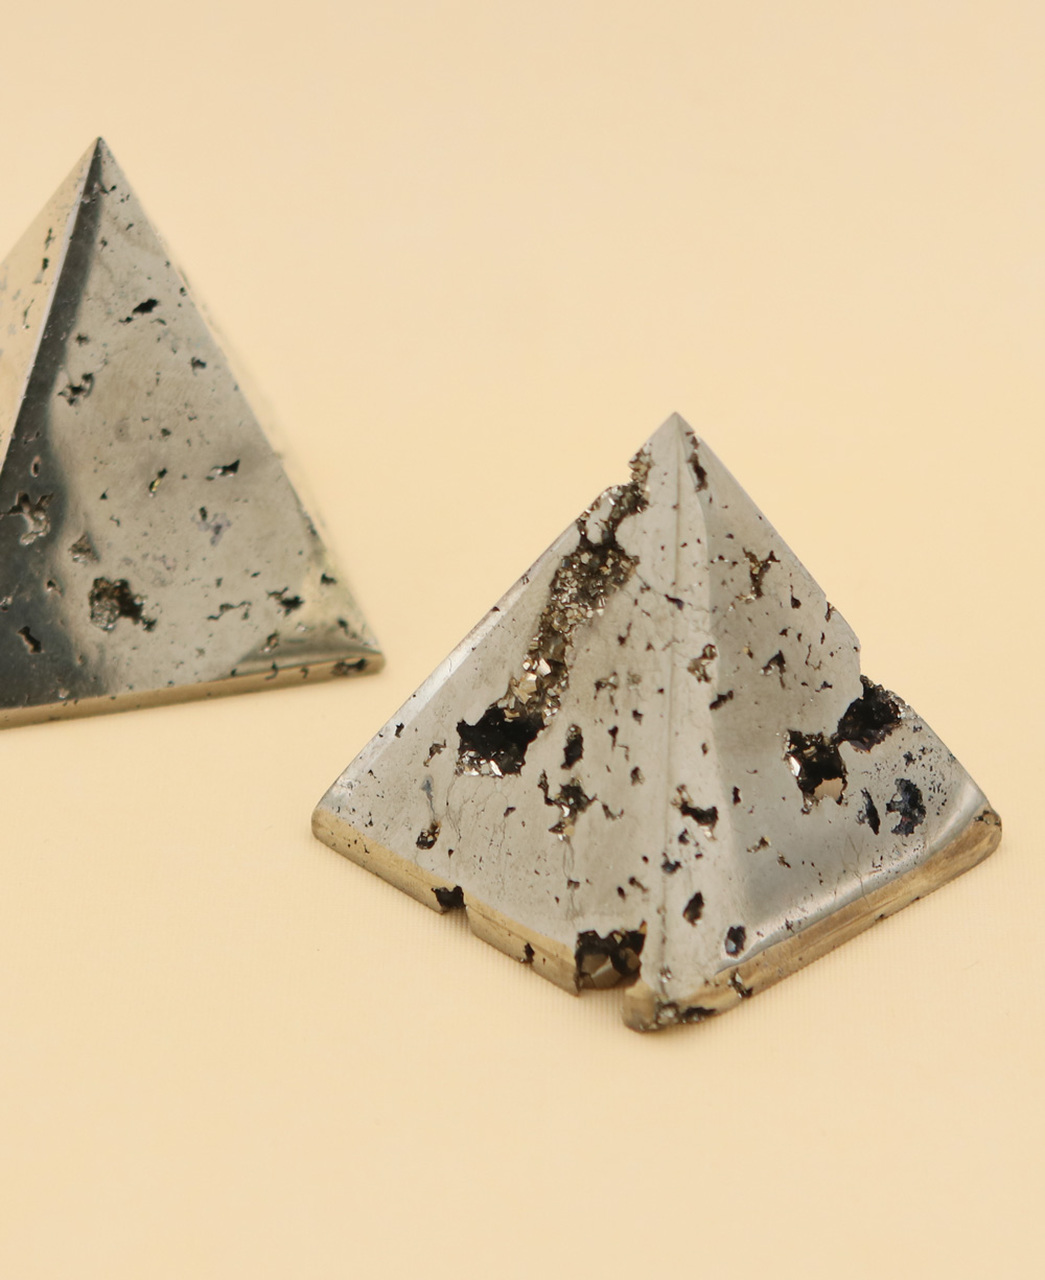
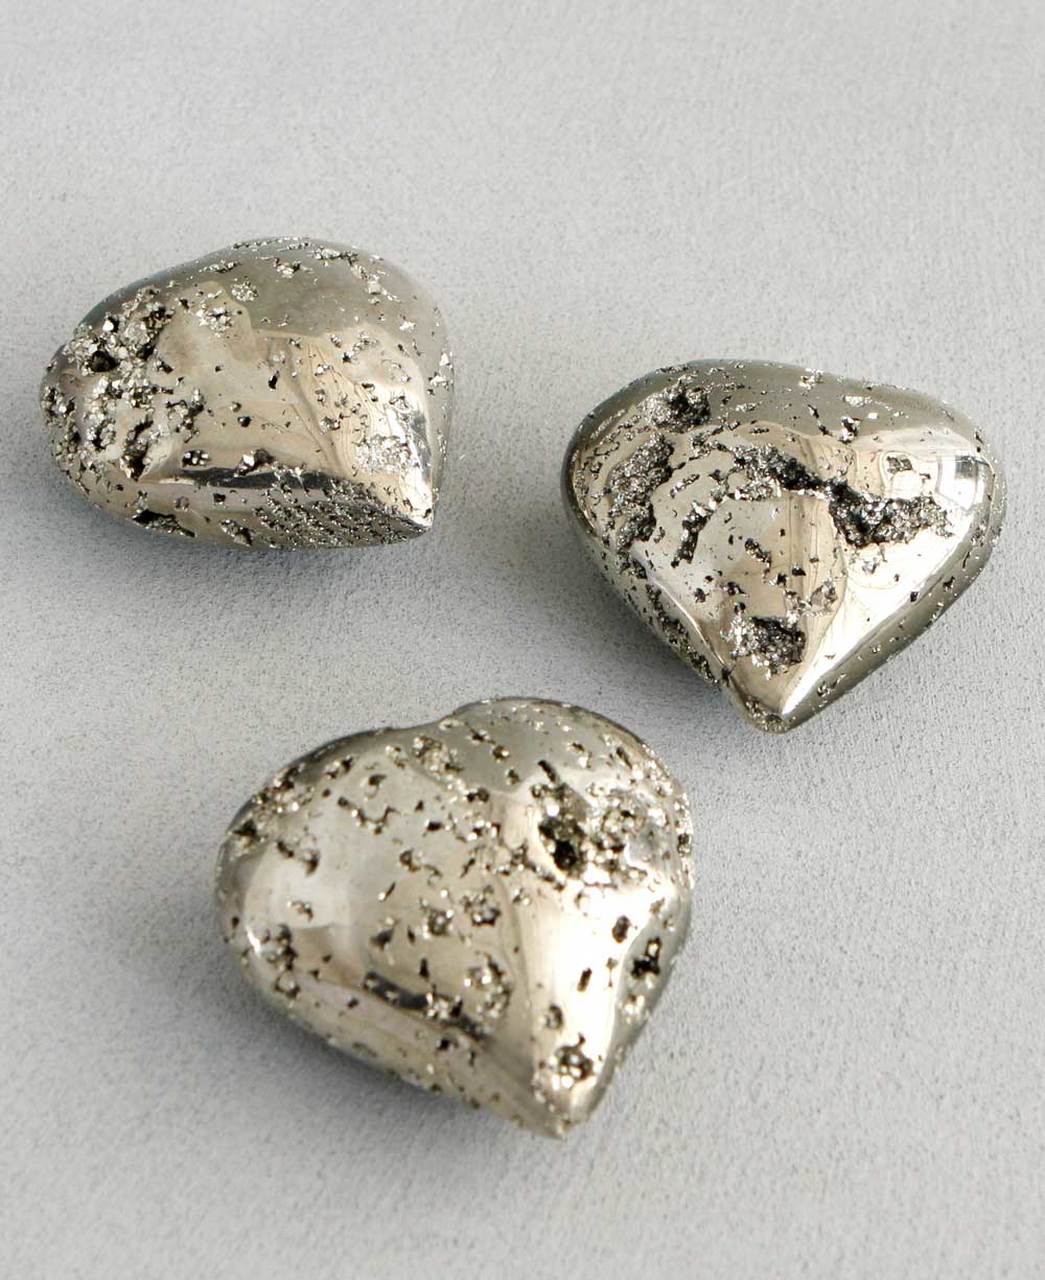
Pyrite
Giving an impression of being armed with intergalactic gold, Pyrite is known as a powerful auric shield, protecting you from negative energies and decreasing the harmful effects of environmental pollution. It is often used in energy medicine when working with the aura, i.e. for repairing tears in your aura and thus supporting your physical and emotional wellbeing.
It is also said to strengthen willpower and confidence, so it is a great stone to have near you when you need to accomplish important tasks.
The gallery items listed below can be found at the store’s section Pyrite, or, once you enter the store, by typing the item’s name in the search bar at the top of the page.


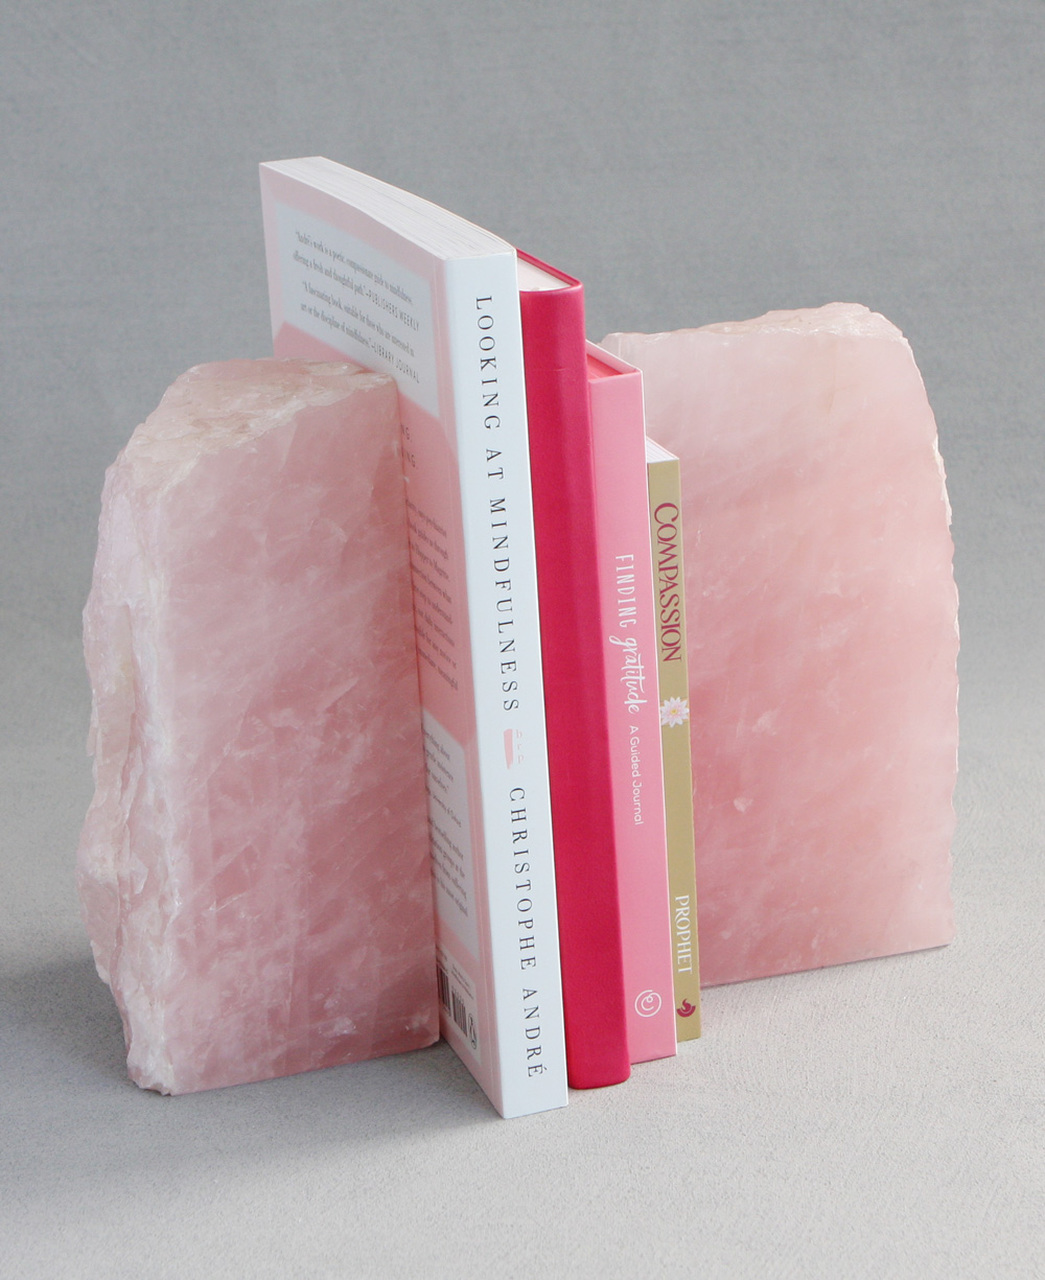
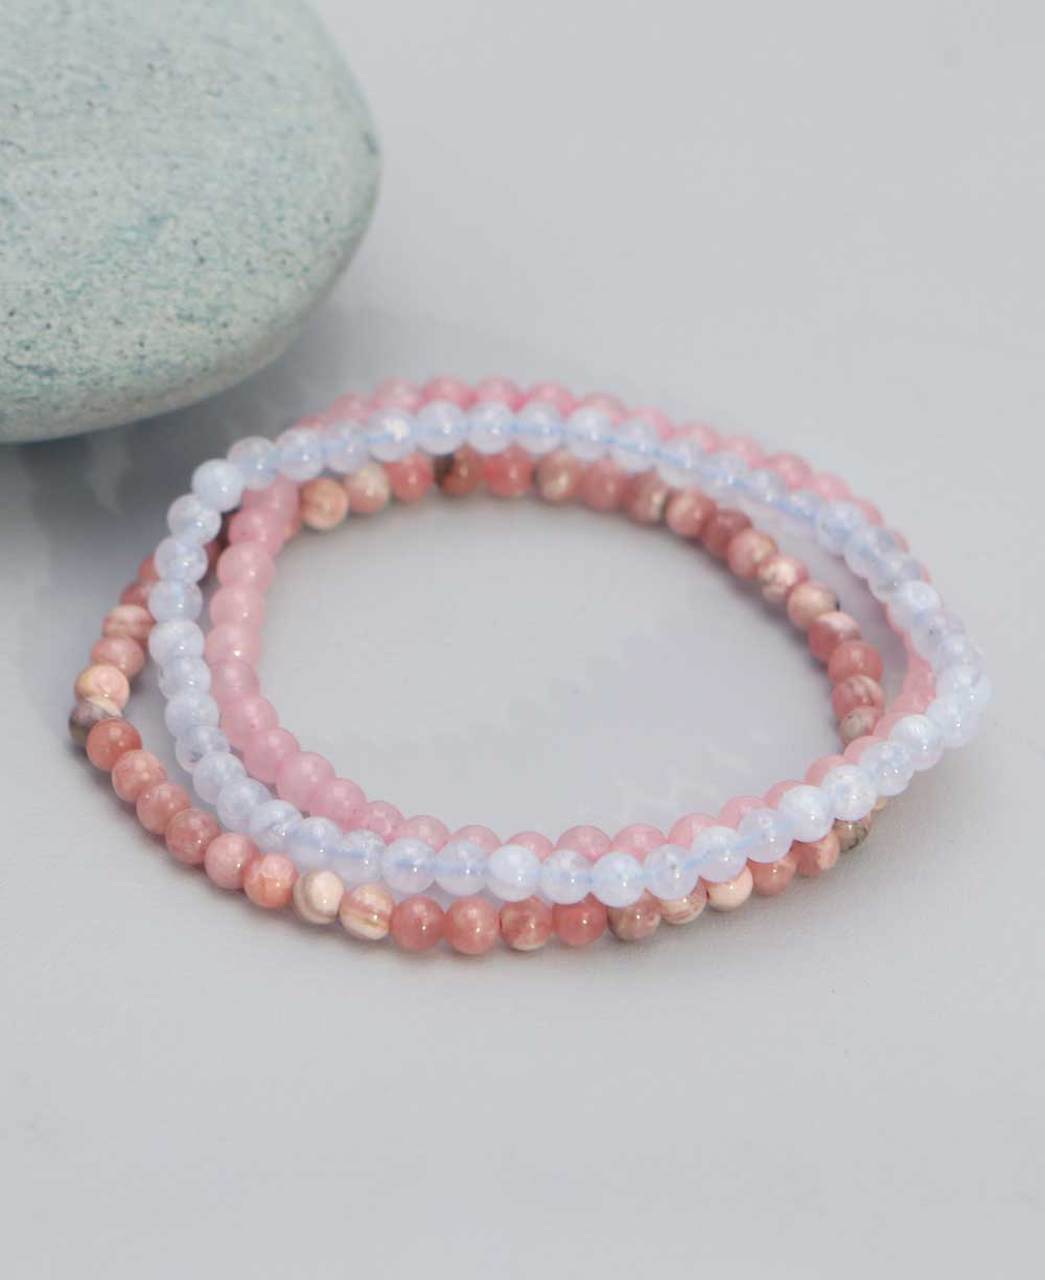
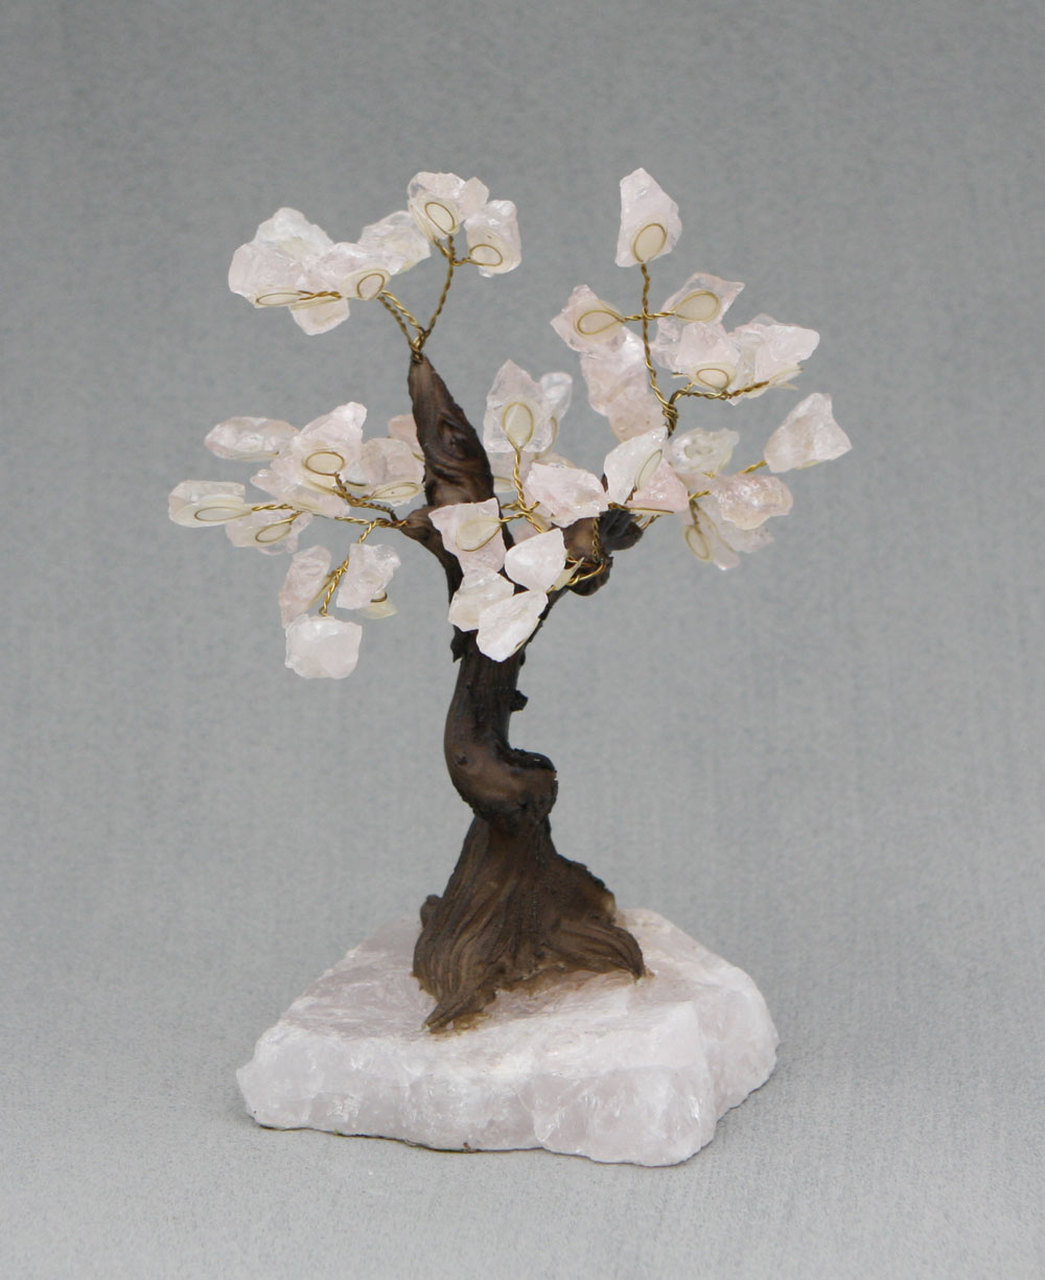
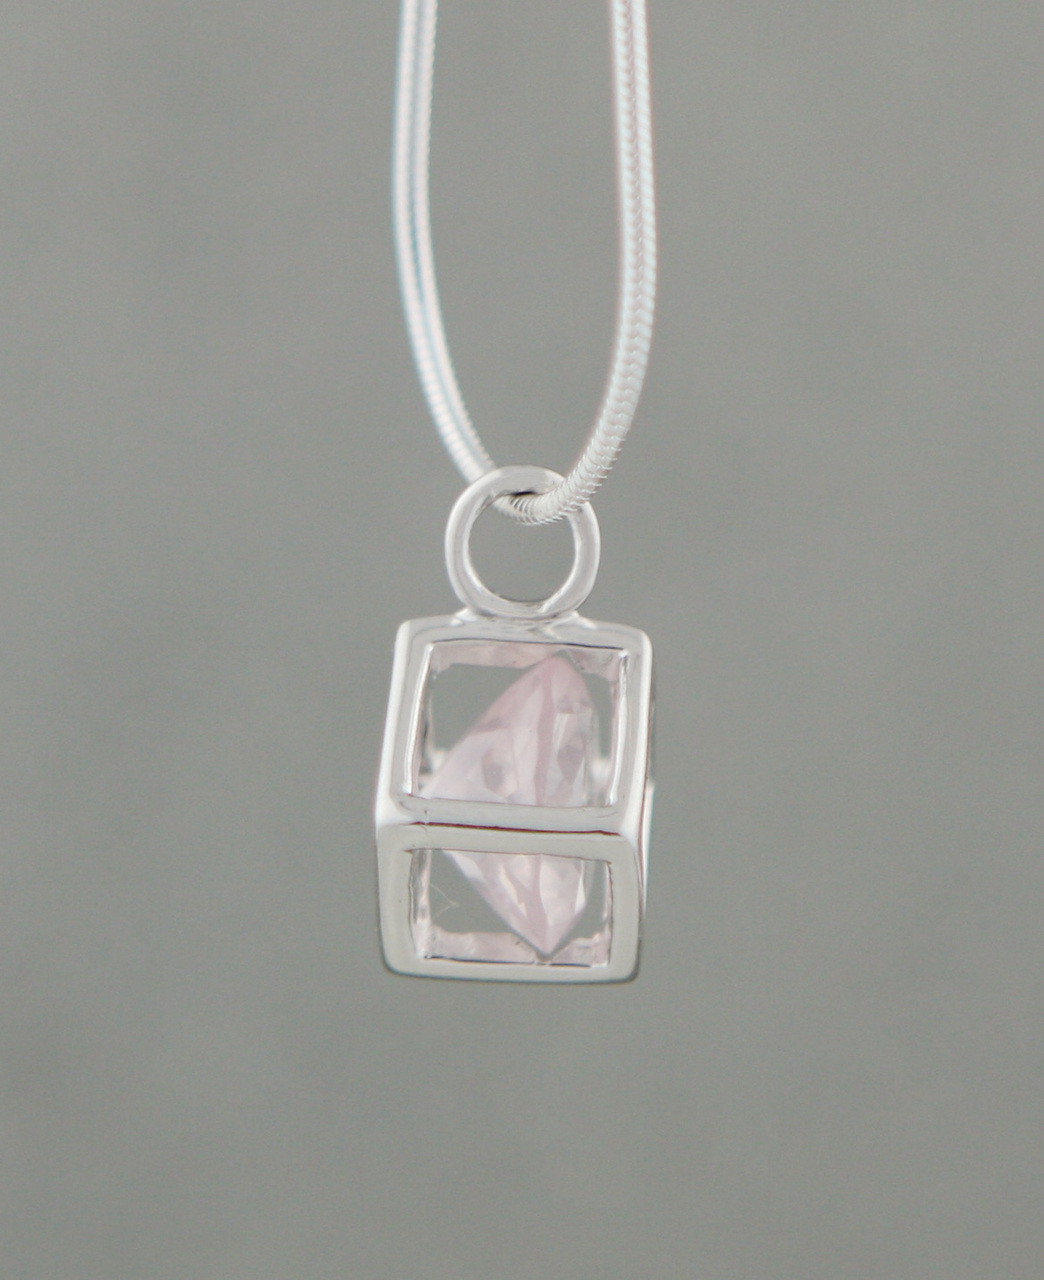
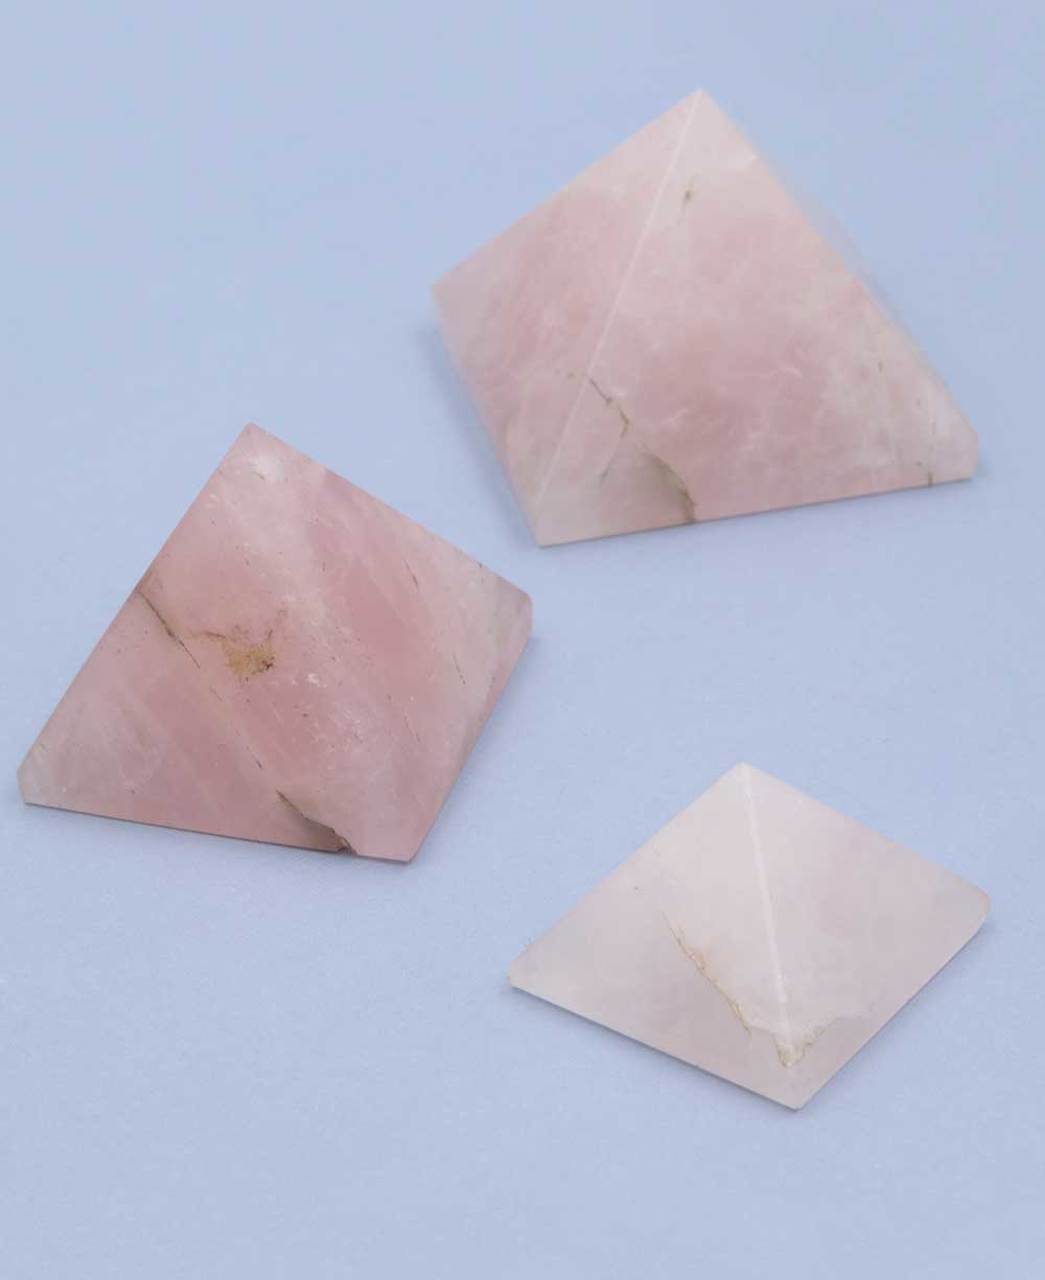
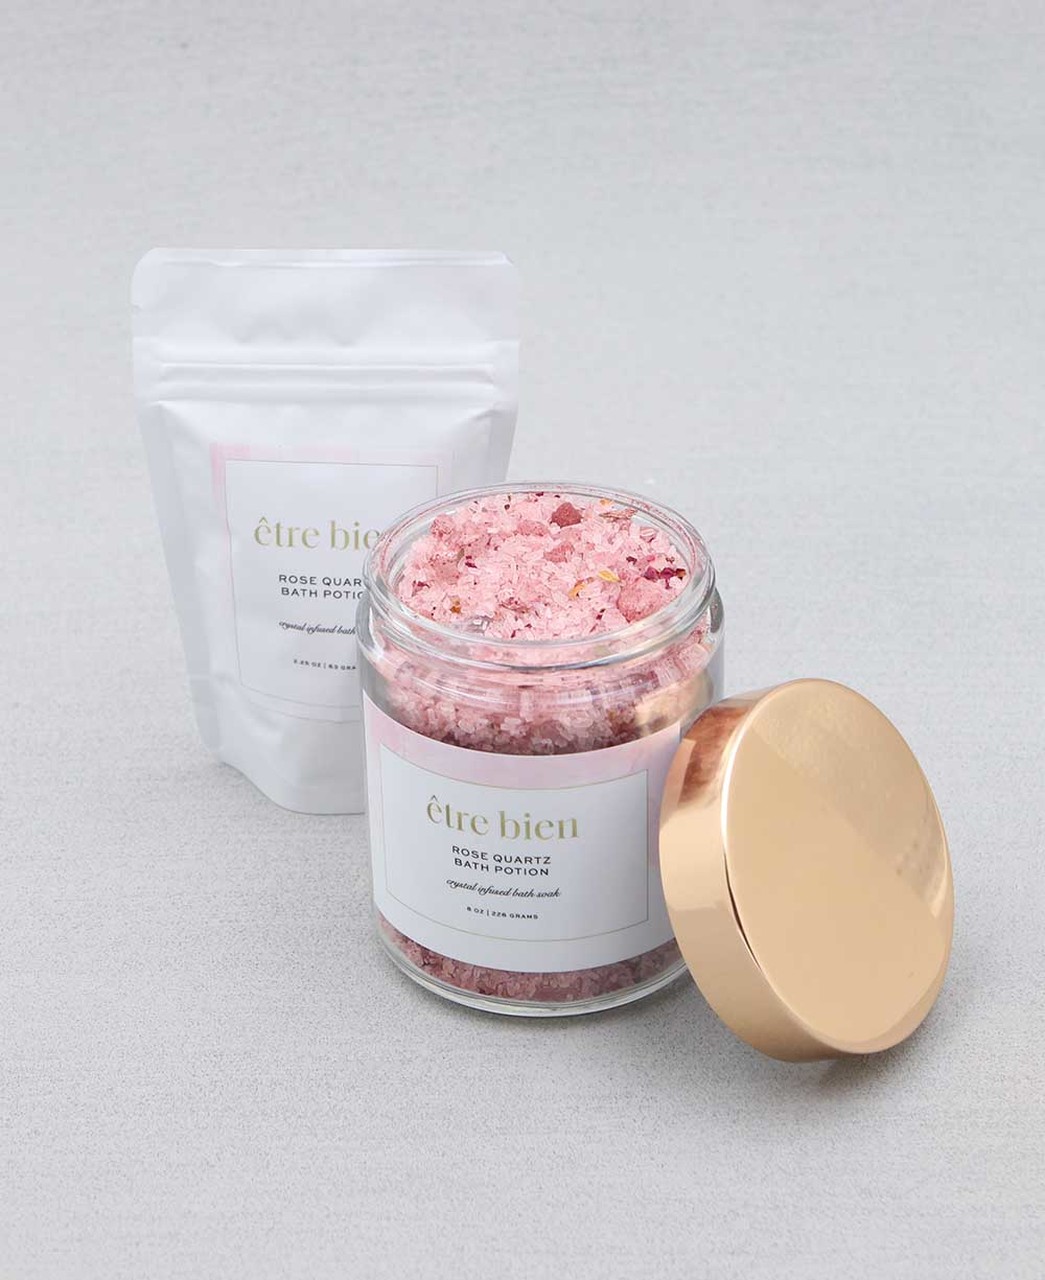
Rose Quartz
The tender, pink-hued crystal is known as a gem of love, compassion, trust, and harmony. It encourages forgiveness and unconditional love and promotes deep inner healing. It is associated with the 4th chakra (the Heart chakra). It is an excellent gem to have when we’d like more peace with others, and – of equal importance – with ourselves.
You can find any of the items below either under the store’s section Rose Quartz, or, once you enter the store, by typing the item’s name in the search bar at the top of the page.


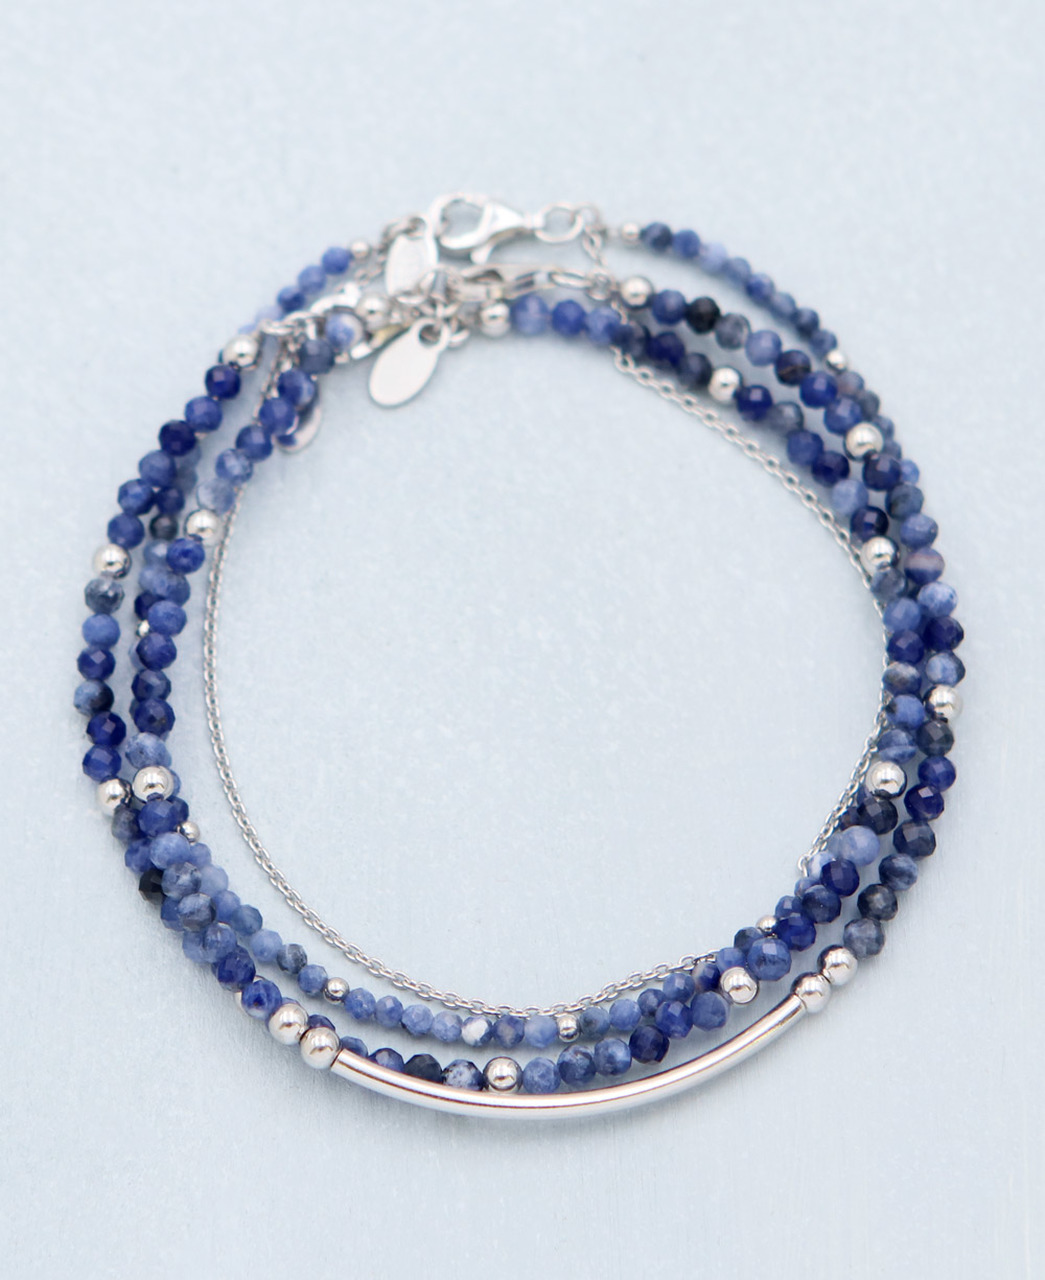
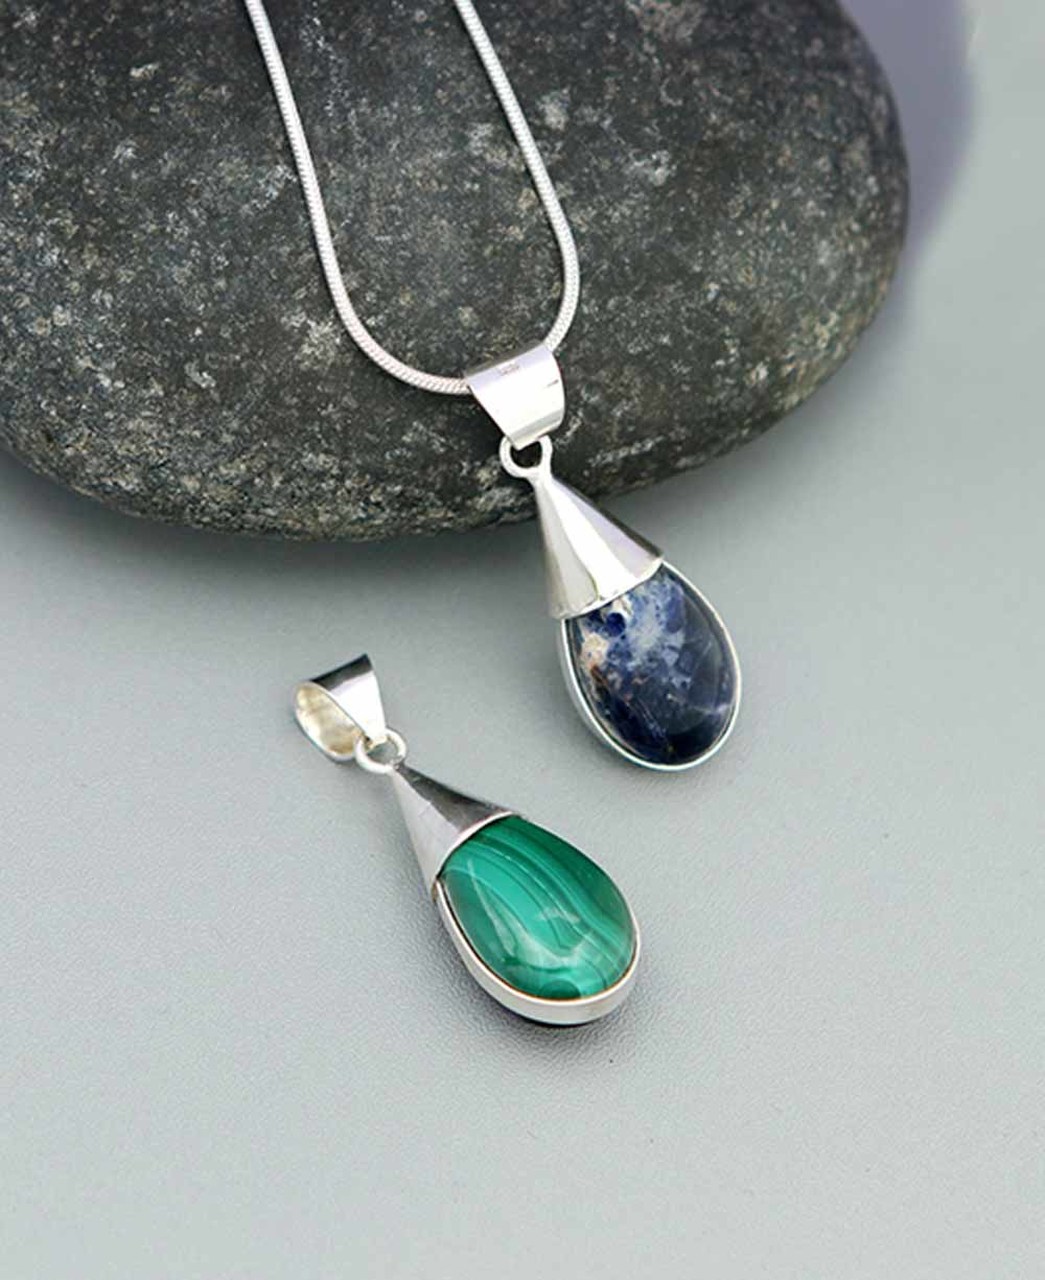
Sodalite
Sodalite is recognised by its clarifying and strengthening vibrations, and its ability to open the gates to inner wisdom.
The gem is associated with the 5th chakra (The Throat chakra), supporting truthful self-expression, so it is a great gemstone for improving confidence and self-esteem.
Its metaphysical properties are logic, intellect, and efficiency, and it is also said to strengthen a sense of community in groups. (A good gem to have in a place of work!)
You can access the items displayed in the gallery here.
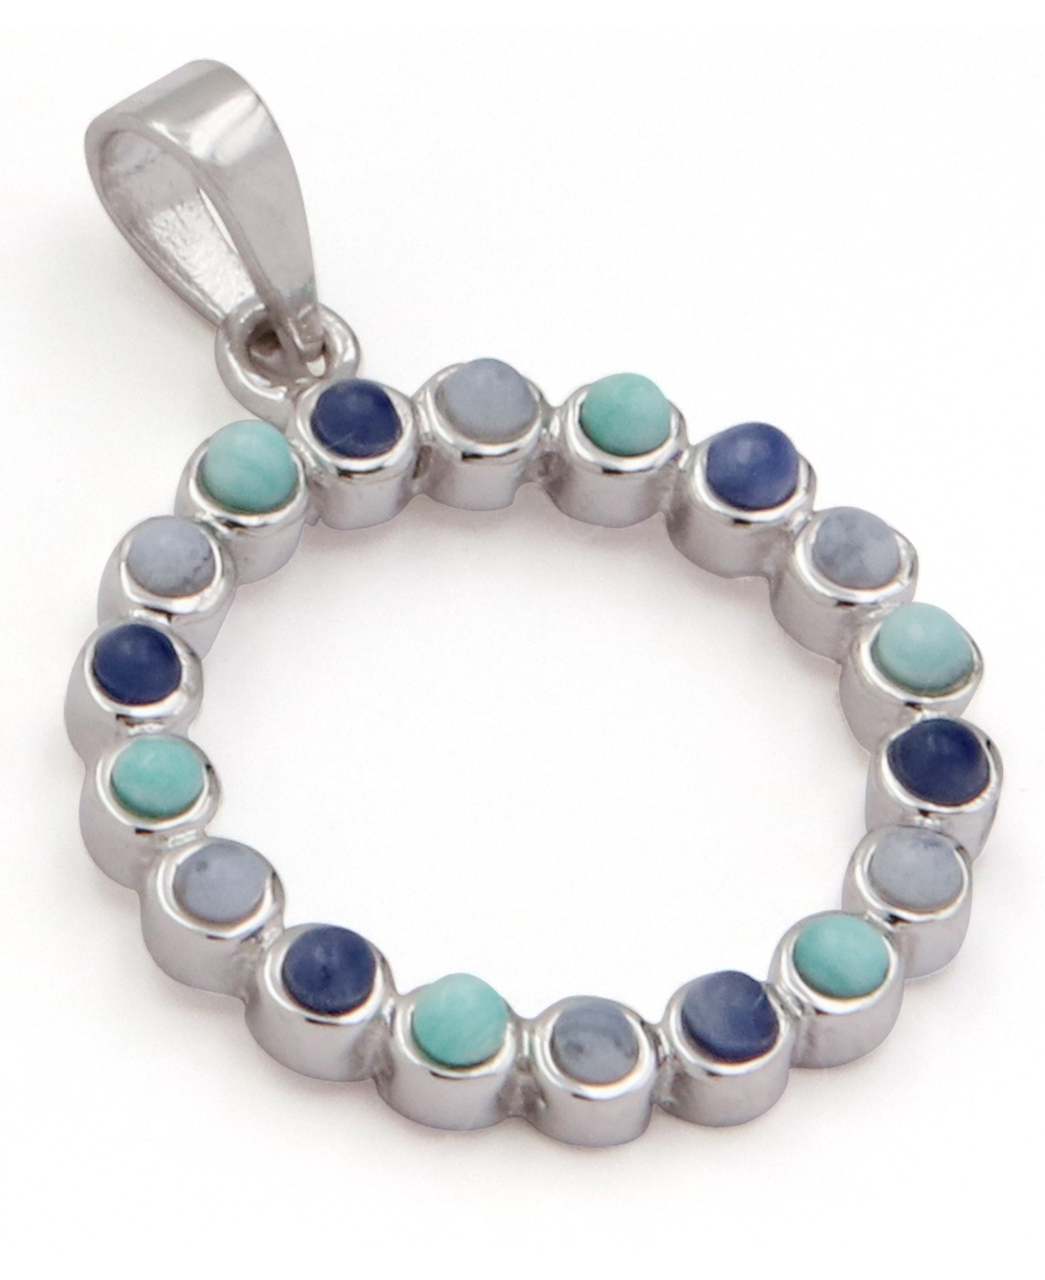
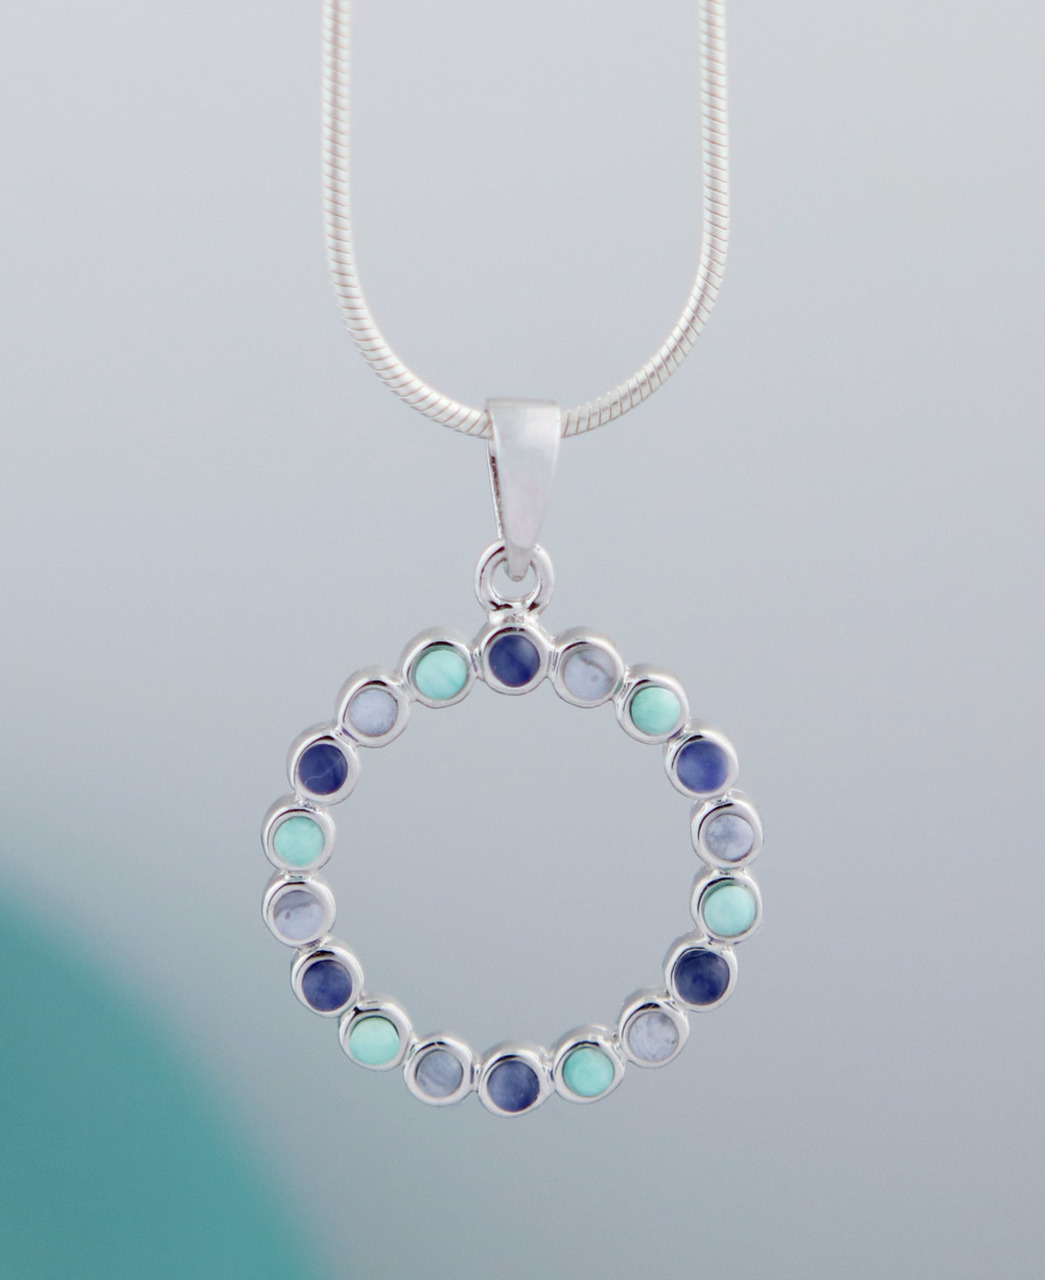

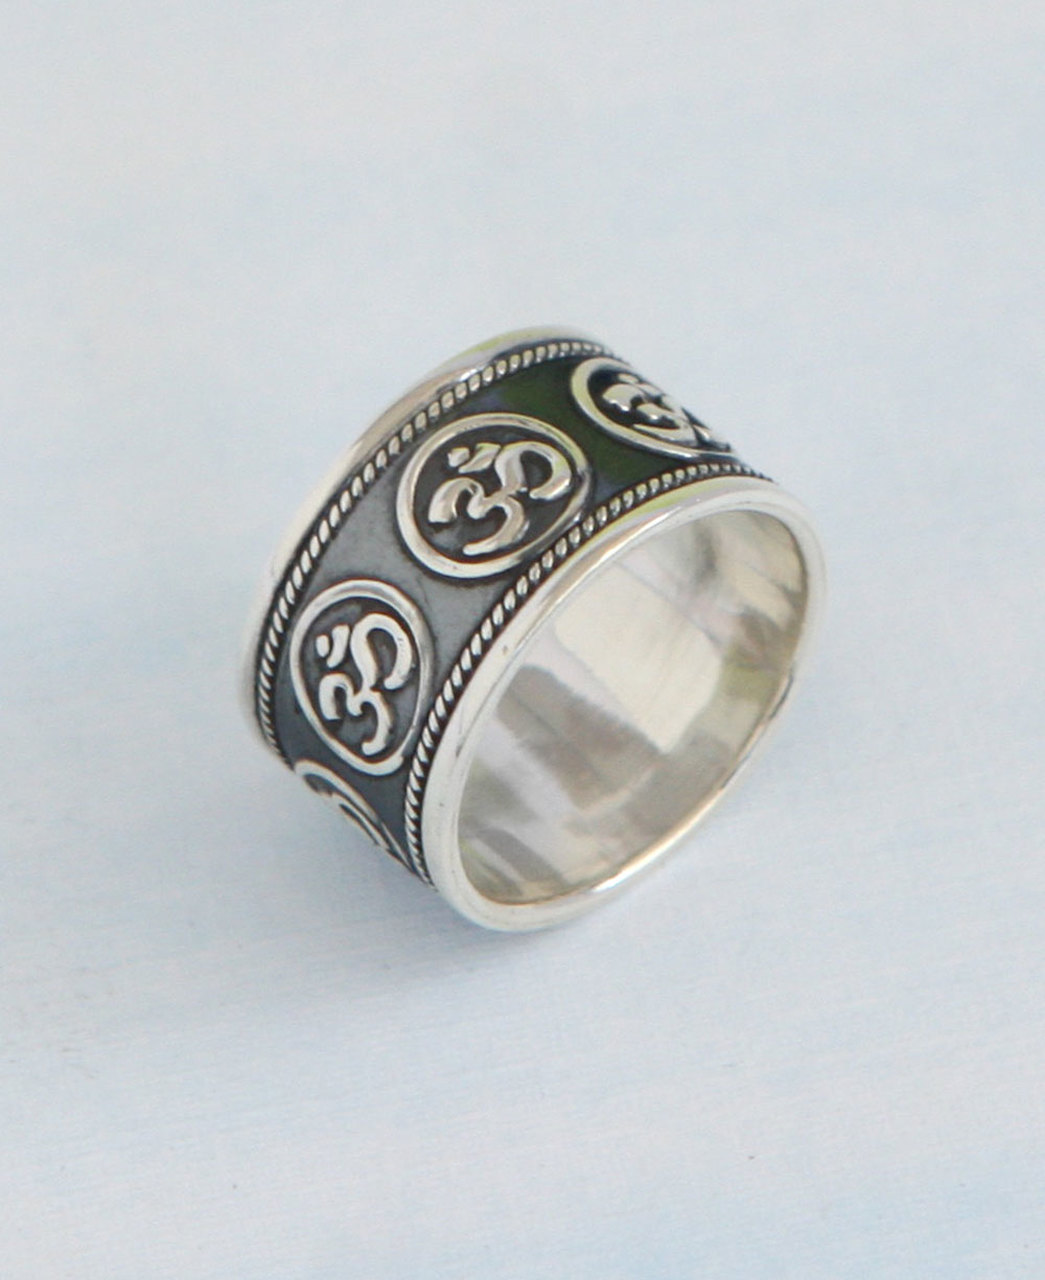
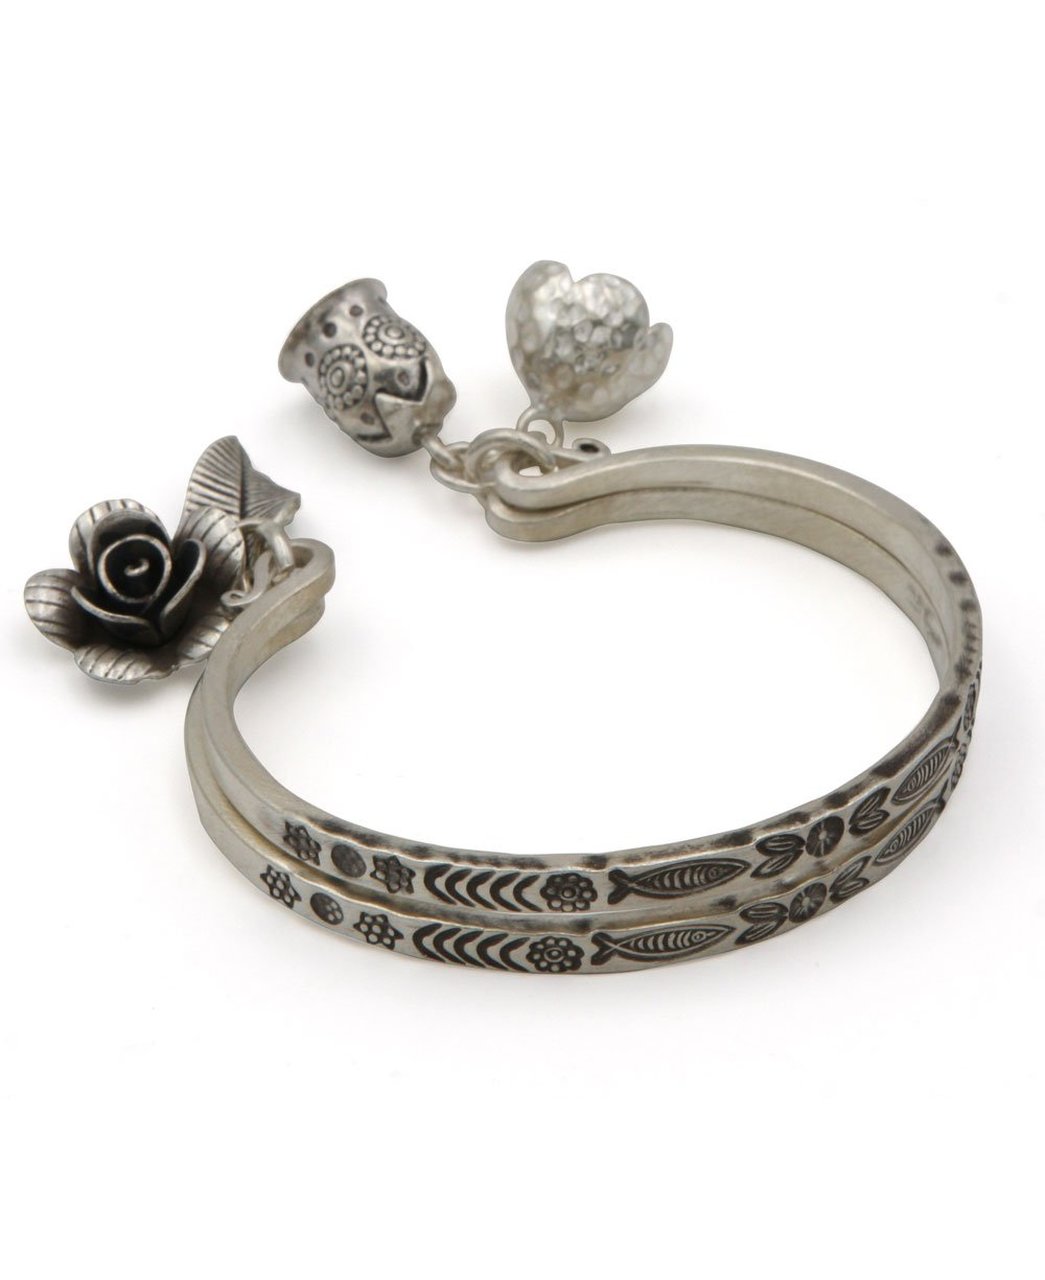
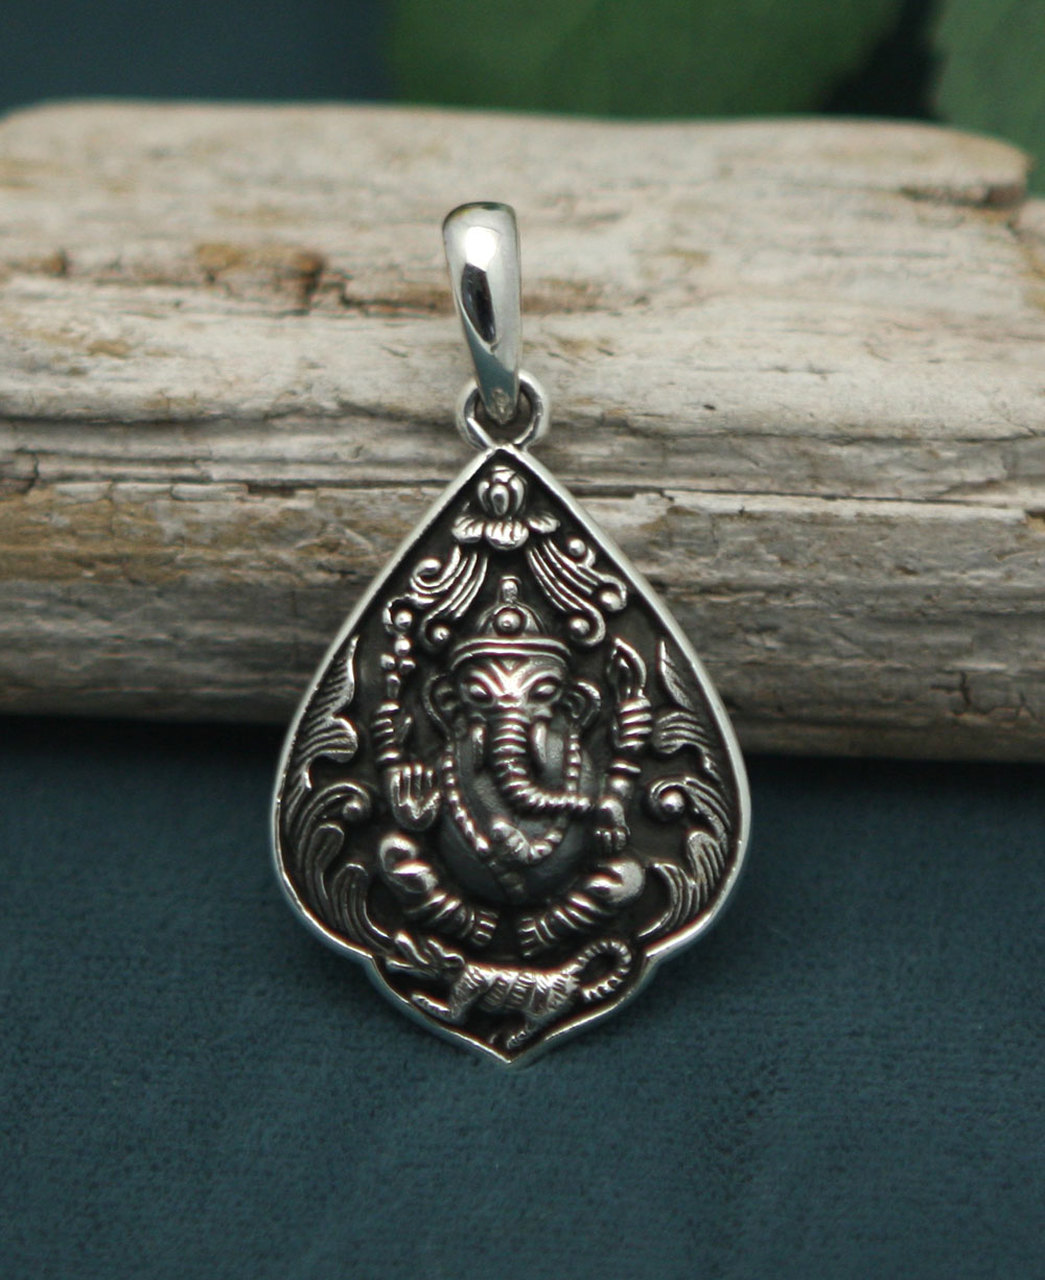
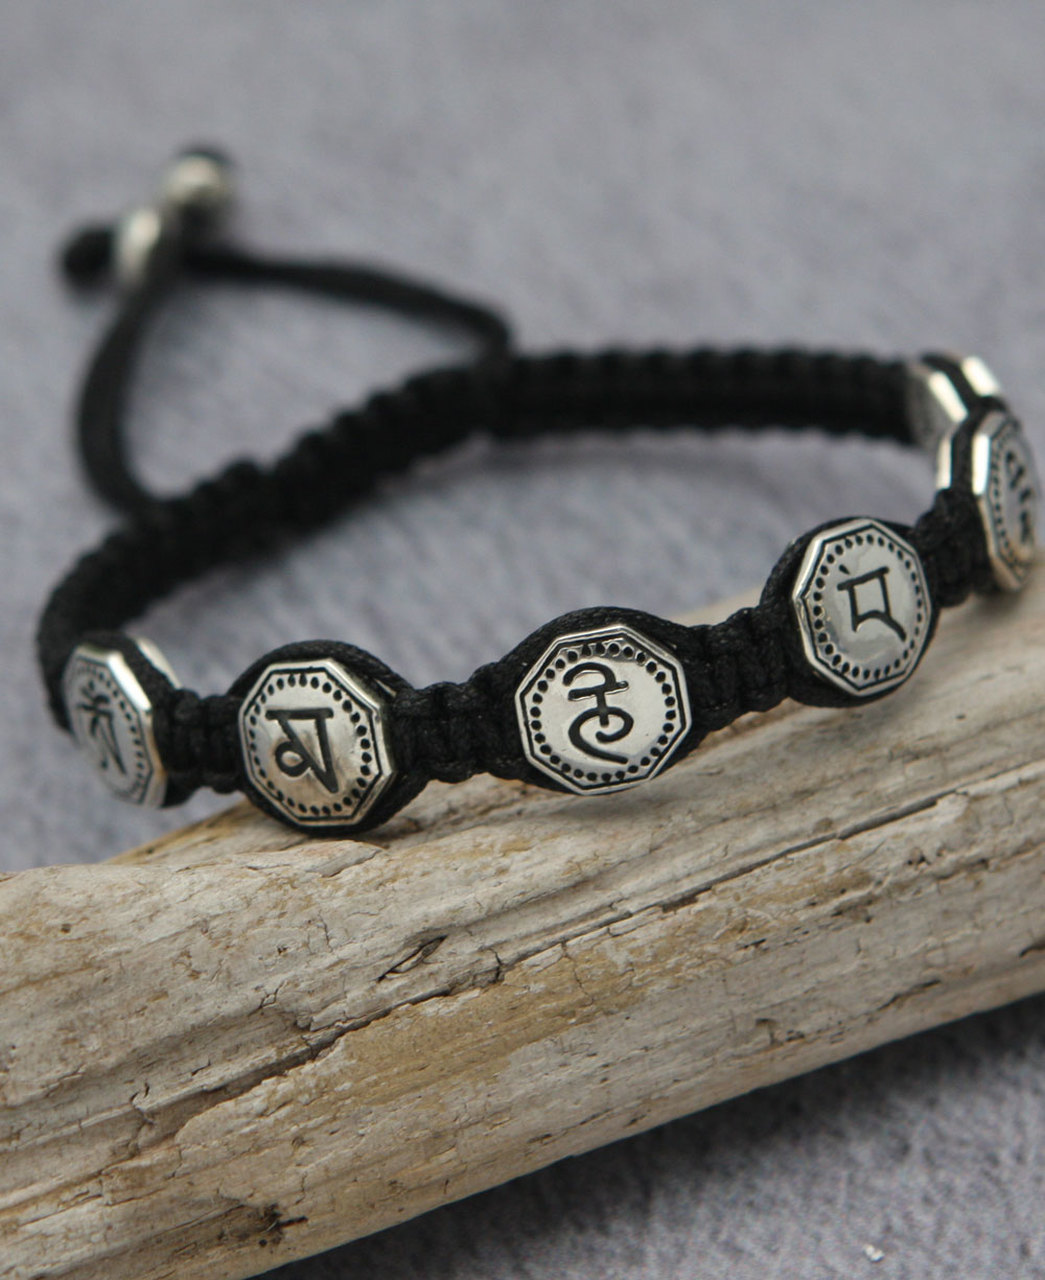
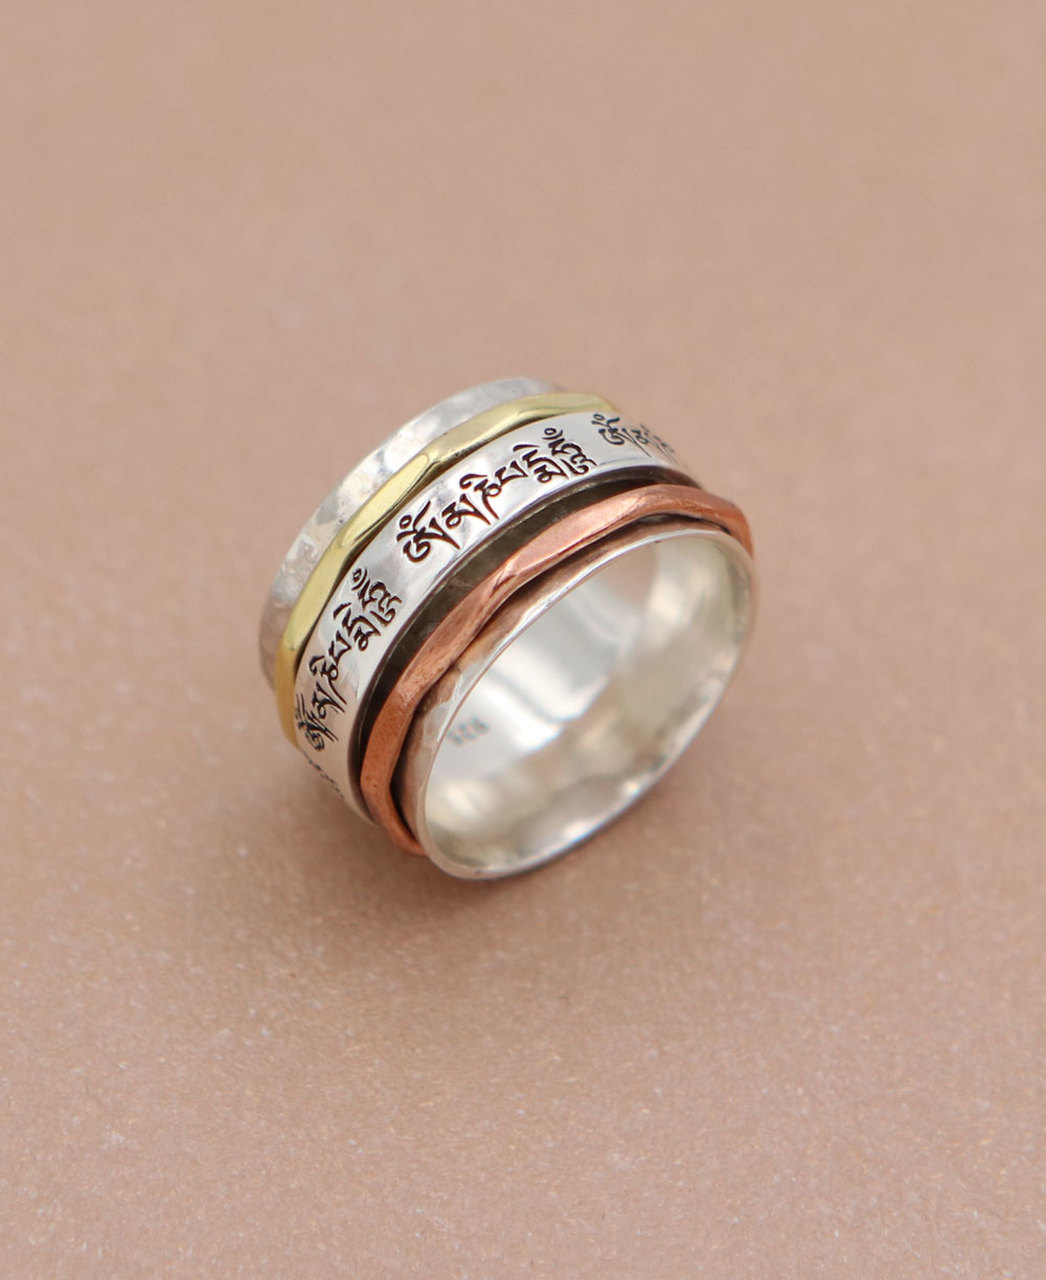
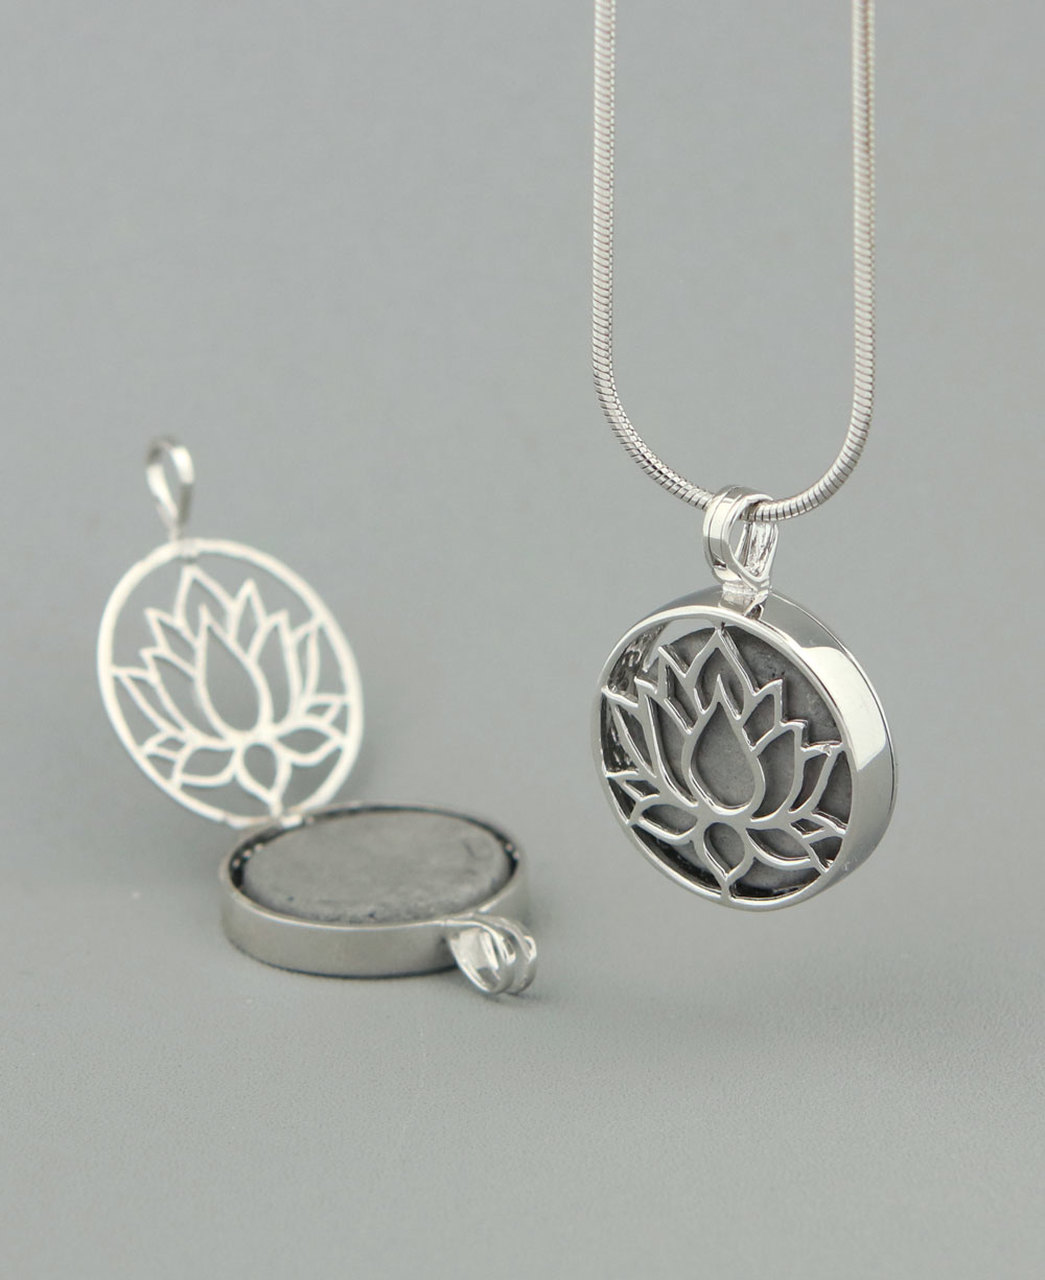
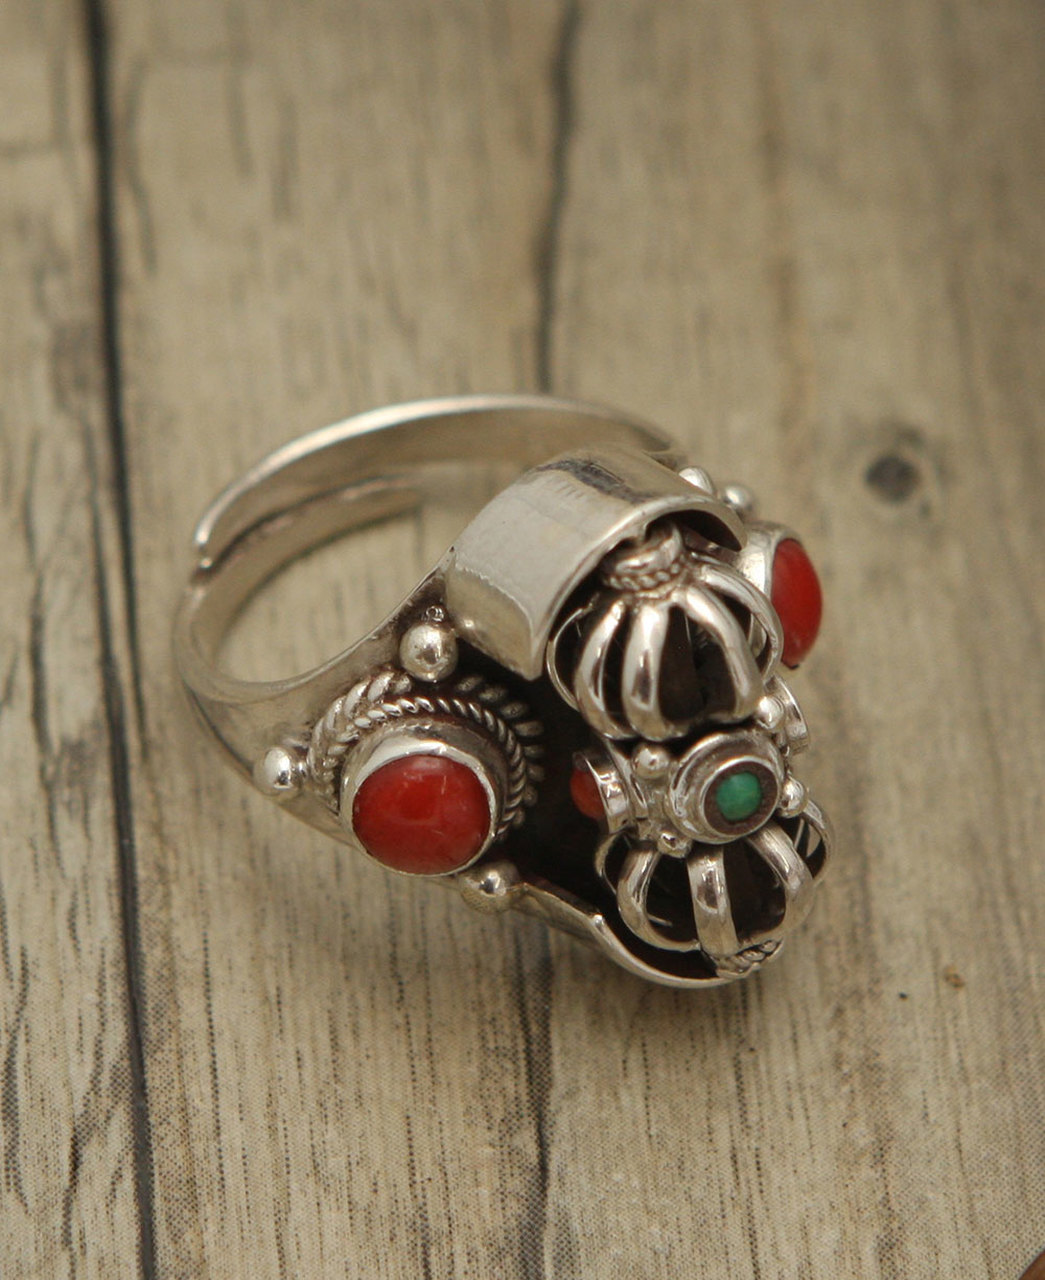
Sterling Silver Jewellery
Buddhagrooves’ range of sterling silver jewellery in pure form or with a combination of gemstones is vast, spanning well over 20 pages. If you like any of the items from this small sample, go to the general Jewellery section at Buddhagroove store and type in the name of your desired item in the search bar at the top of the page.


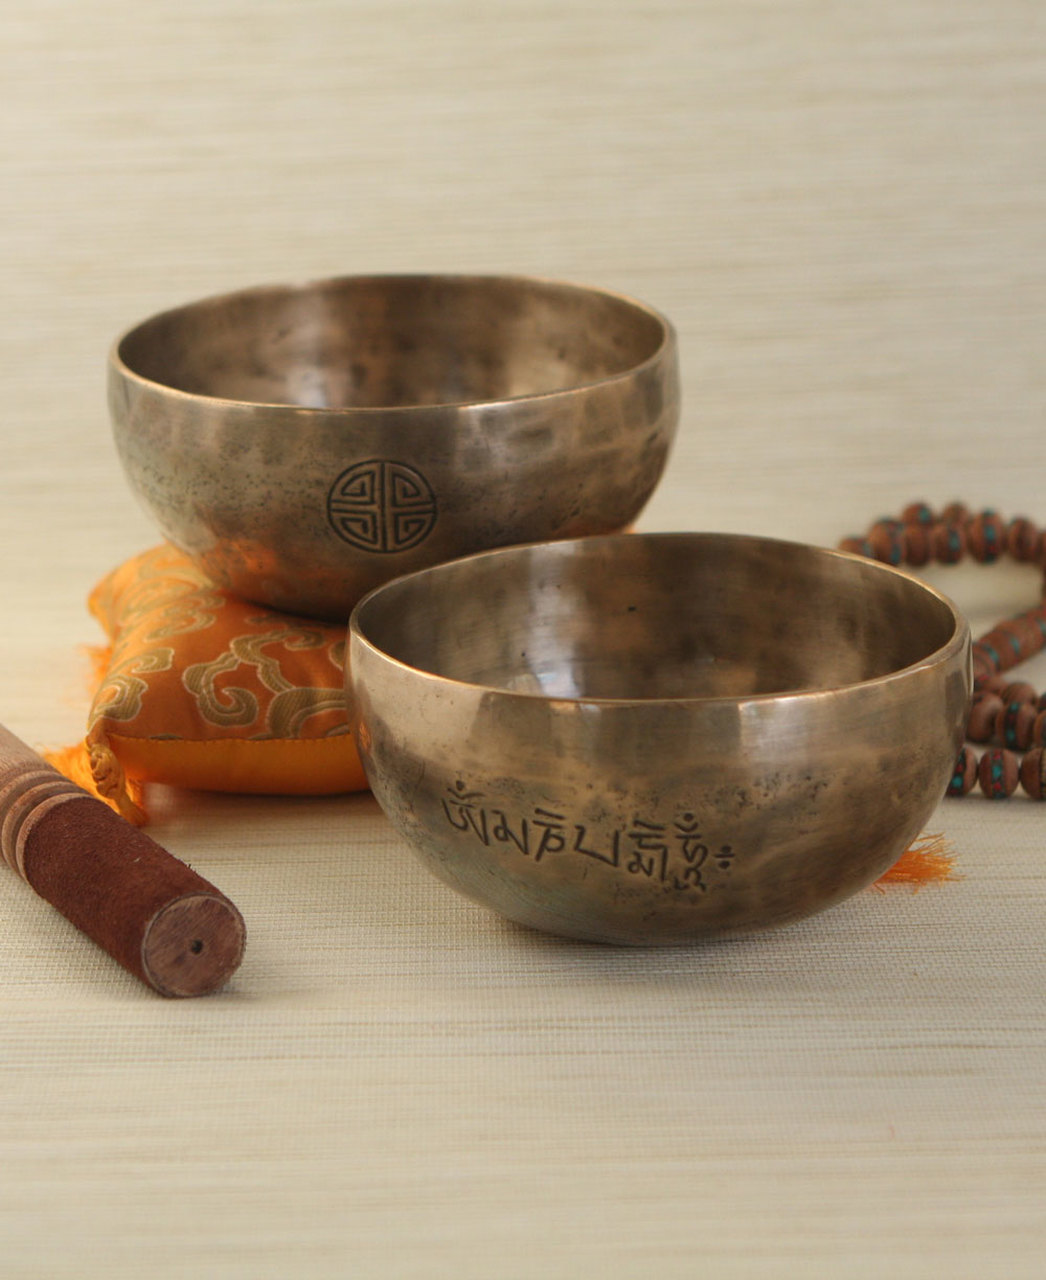
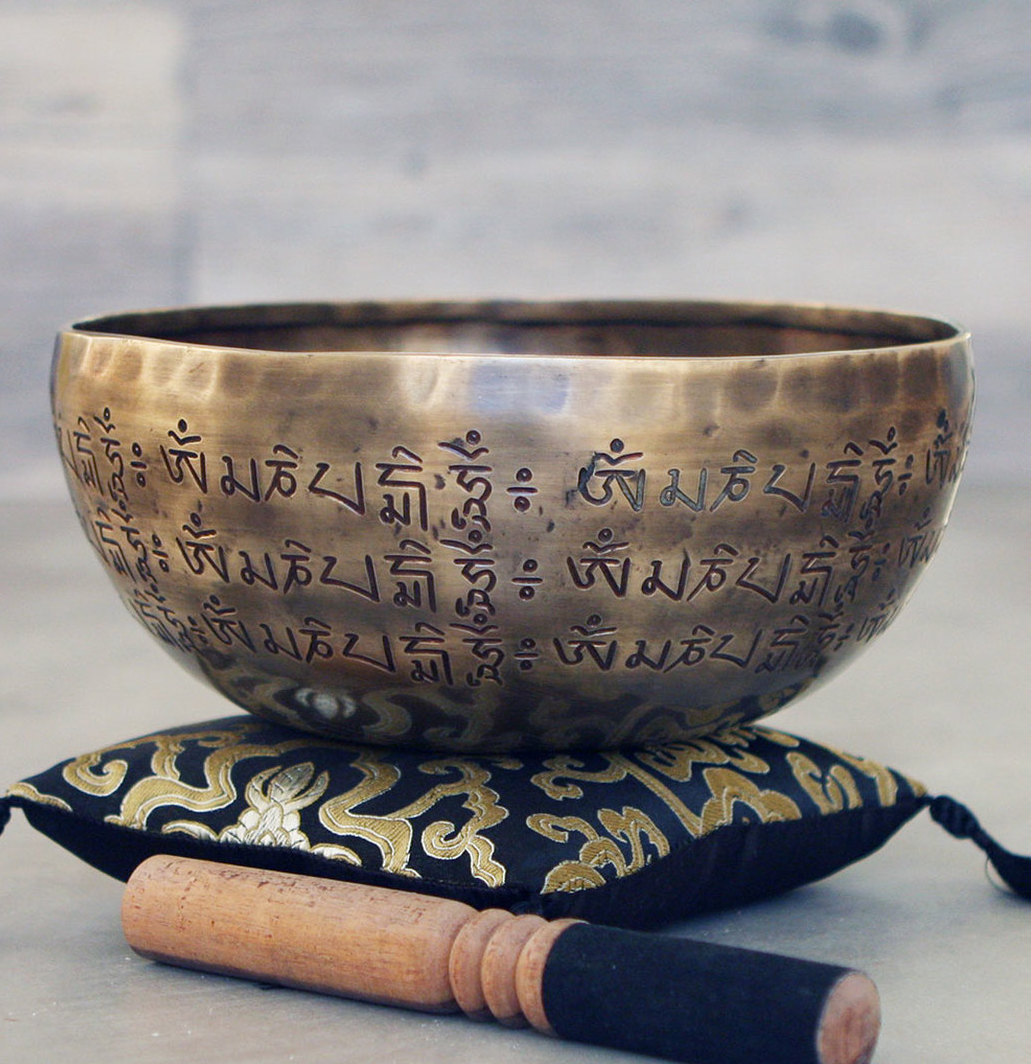
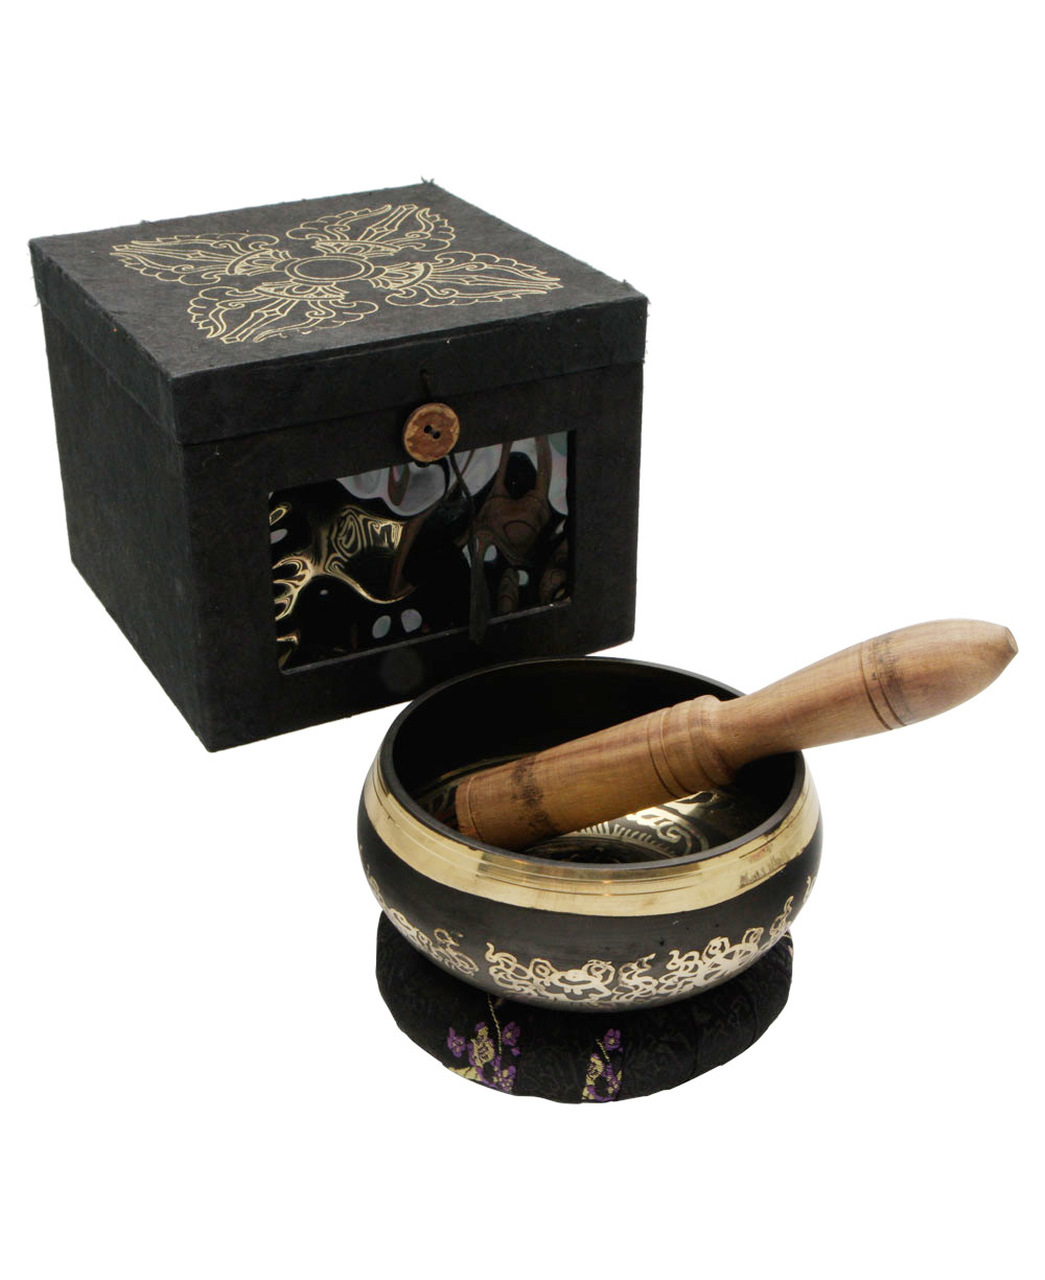
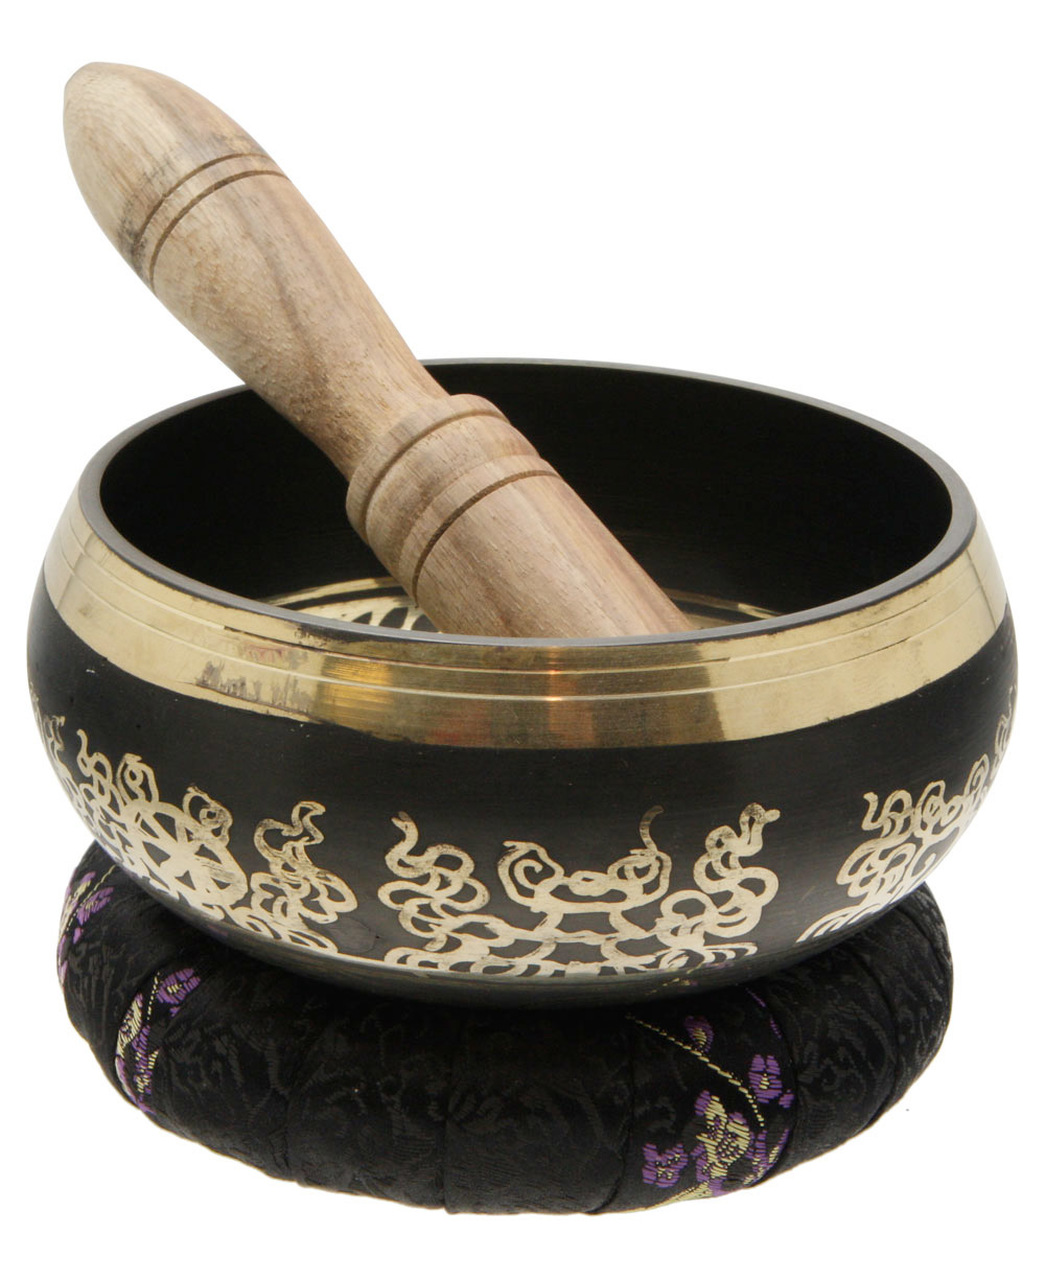
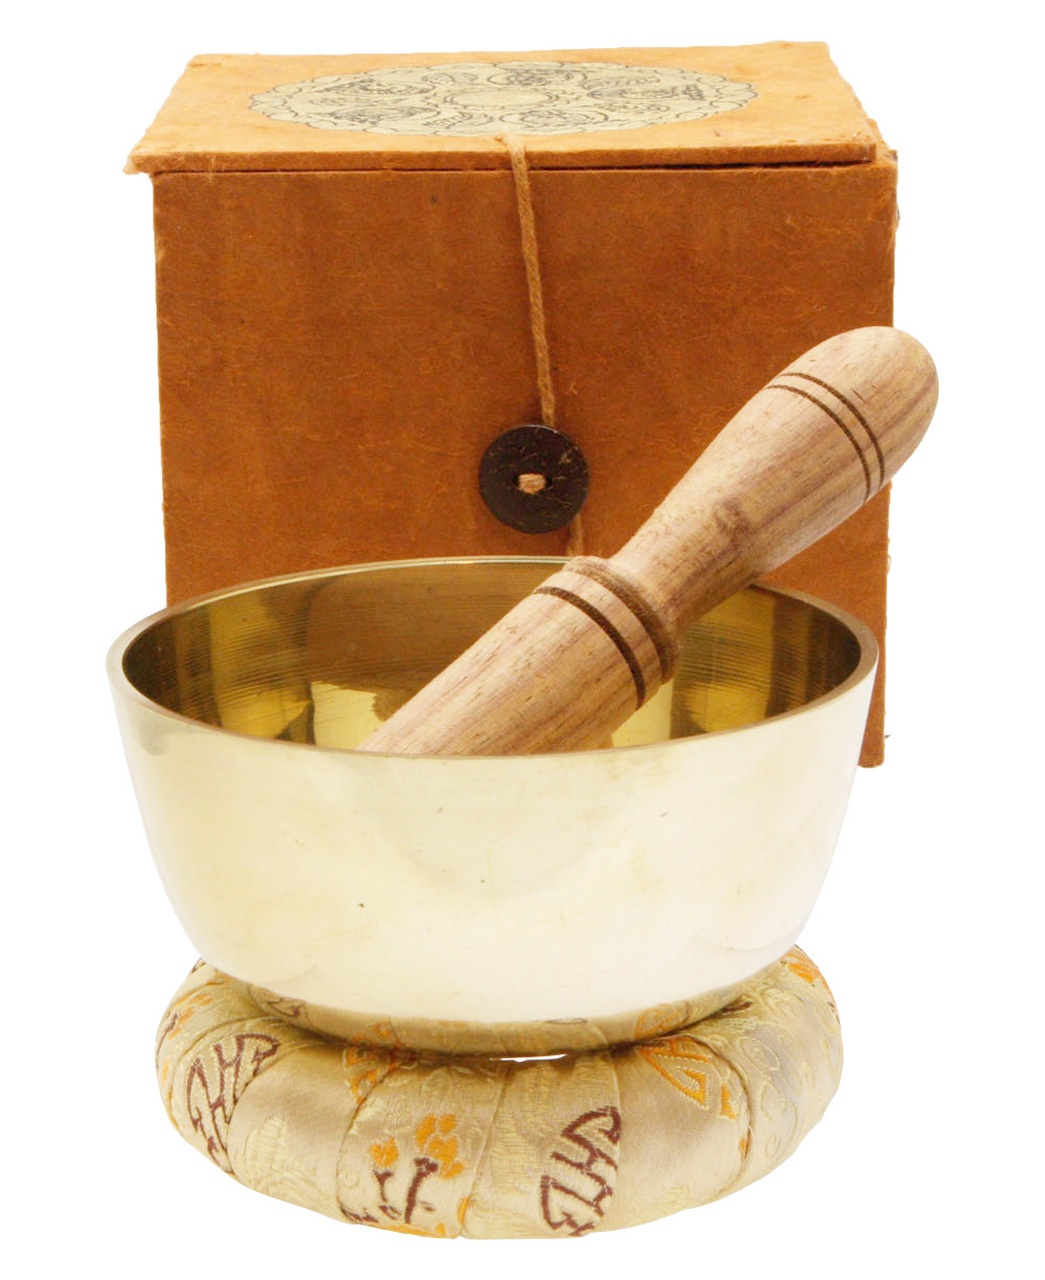
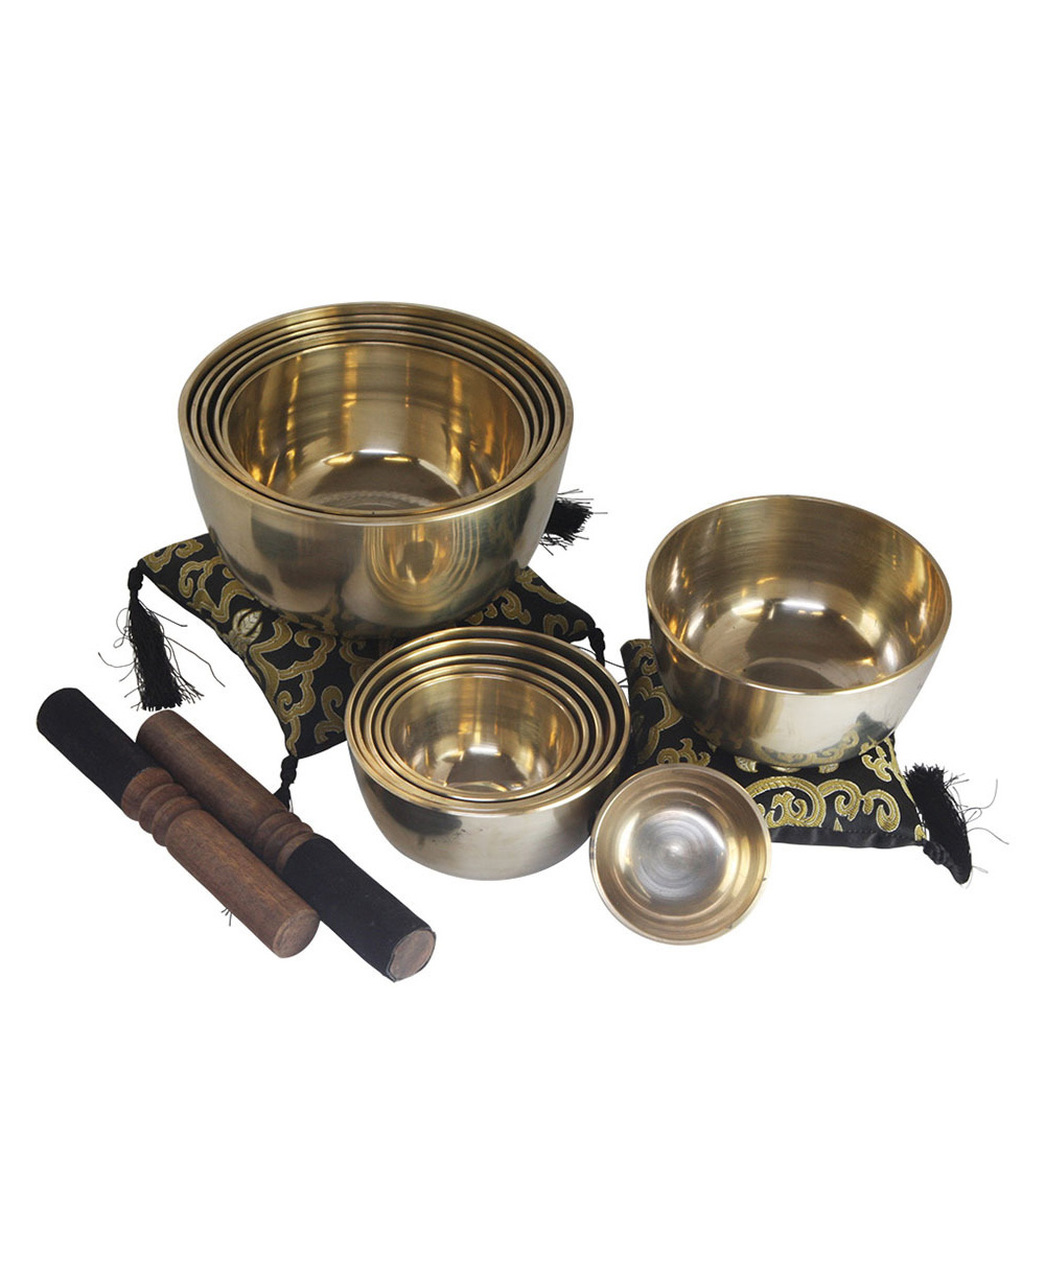
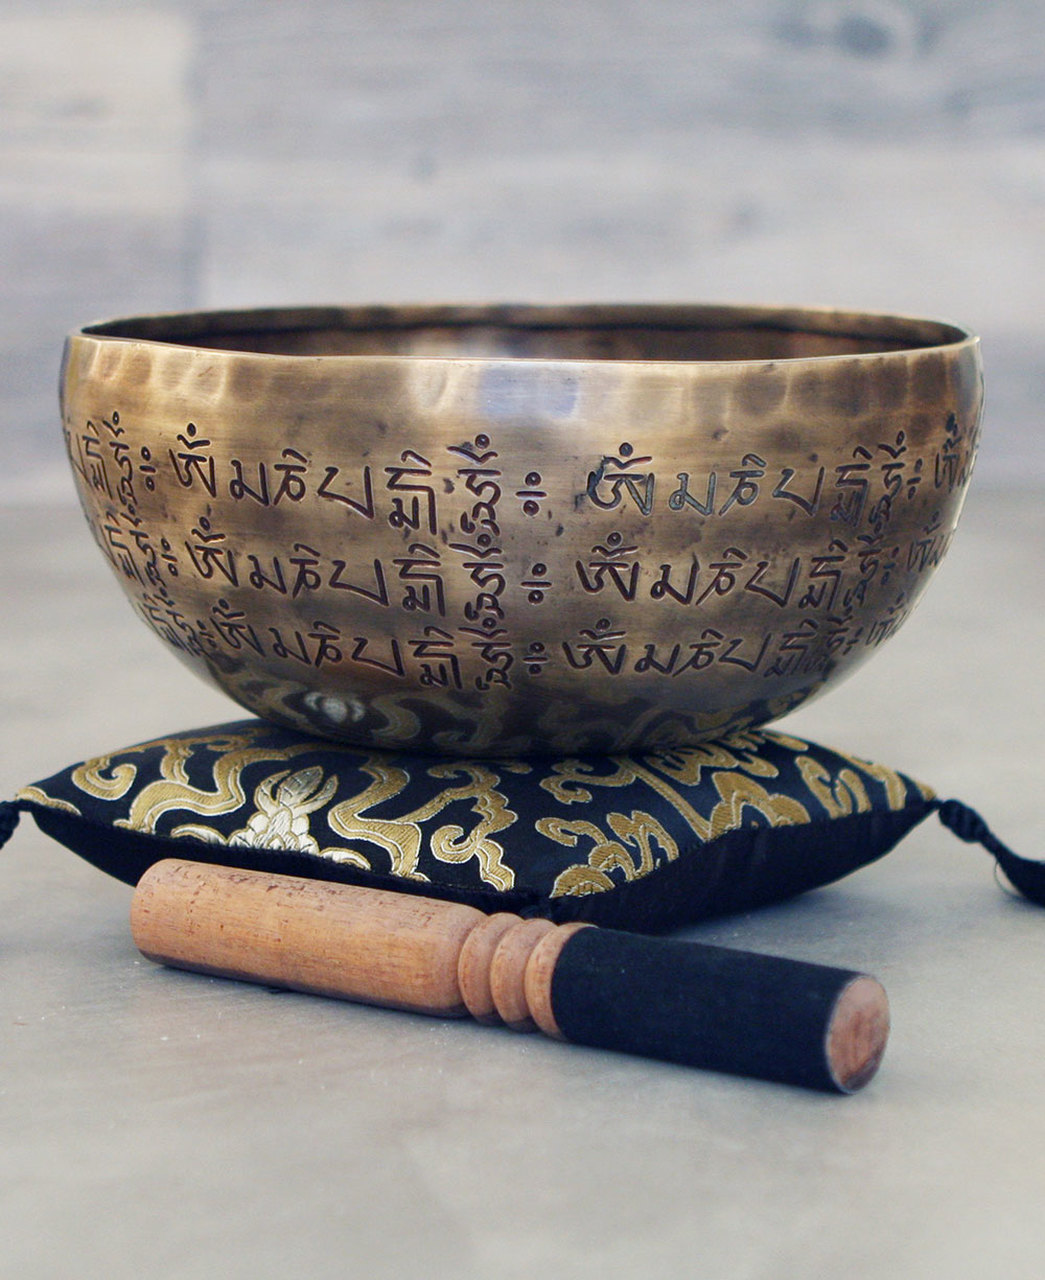
Singing Bowls
Singing bowls have long been used by Buddhist monks in meditation practice. When played, the bowl vibrates and produces a humming, expanding sound. The effect is created by striking the side of the bowl with a tool known as a mallet or striker, and then running the tool along the bowl’s ridge. This produces vibrations which we perceive as the characteristic deep tones, and which provide a profound relaxation effect.

I have recently seen a fascinating video from Nepal, where a sound healer and singing-bowl master Sudeep Lamsal demonstrates how to use the powerful frequencies of singing bowls to treat back pain, headaches, depression, and for chakra balancing.
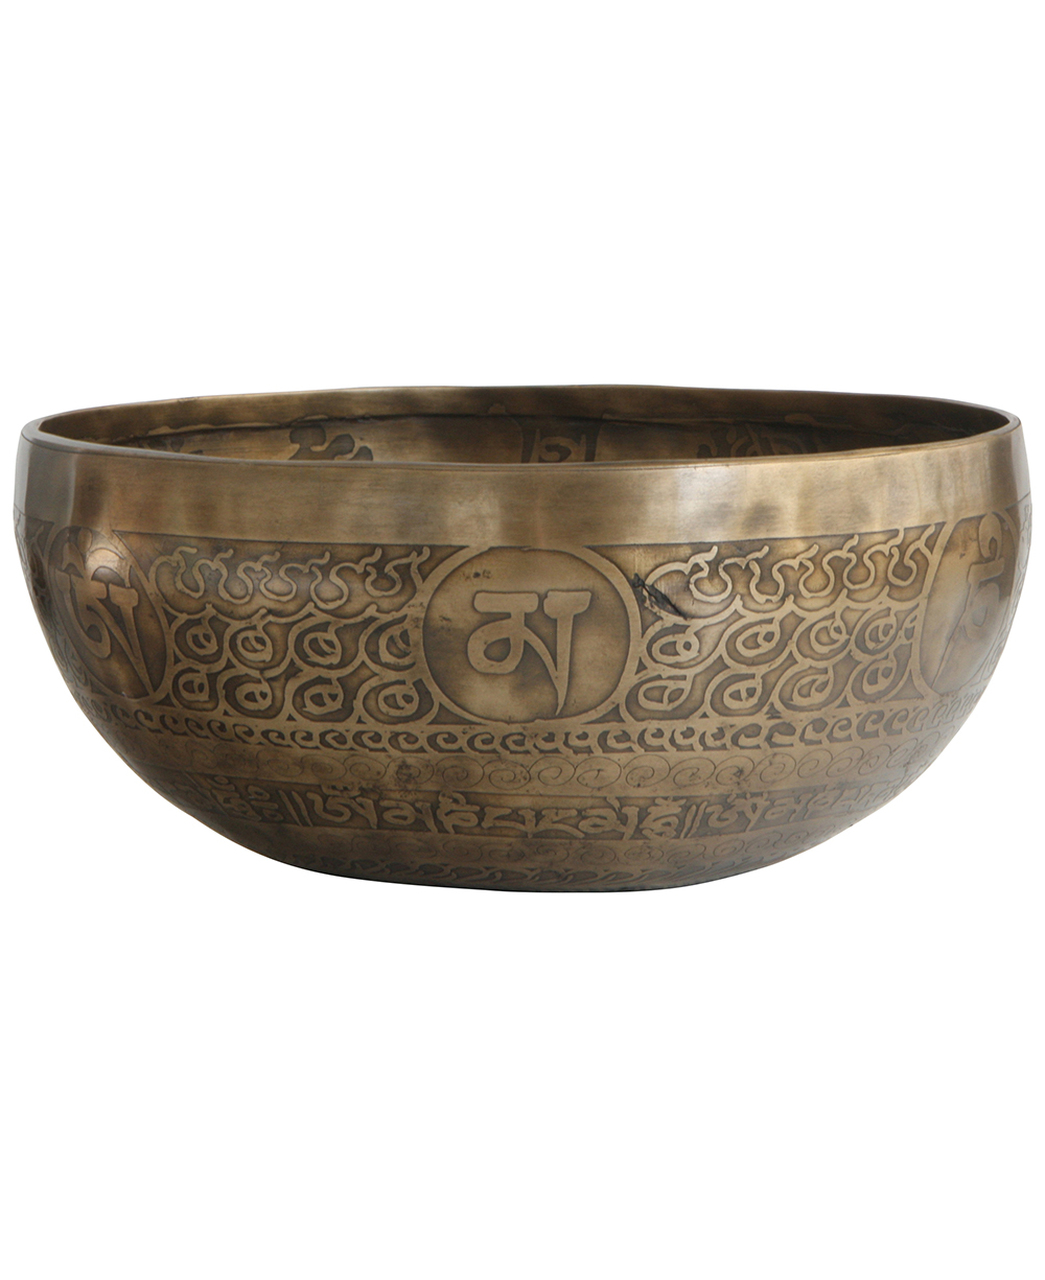
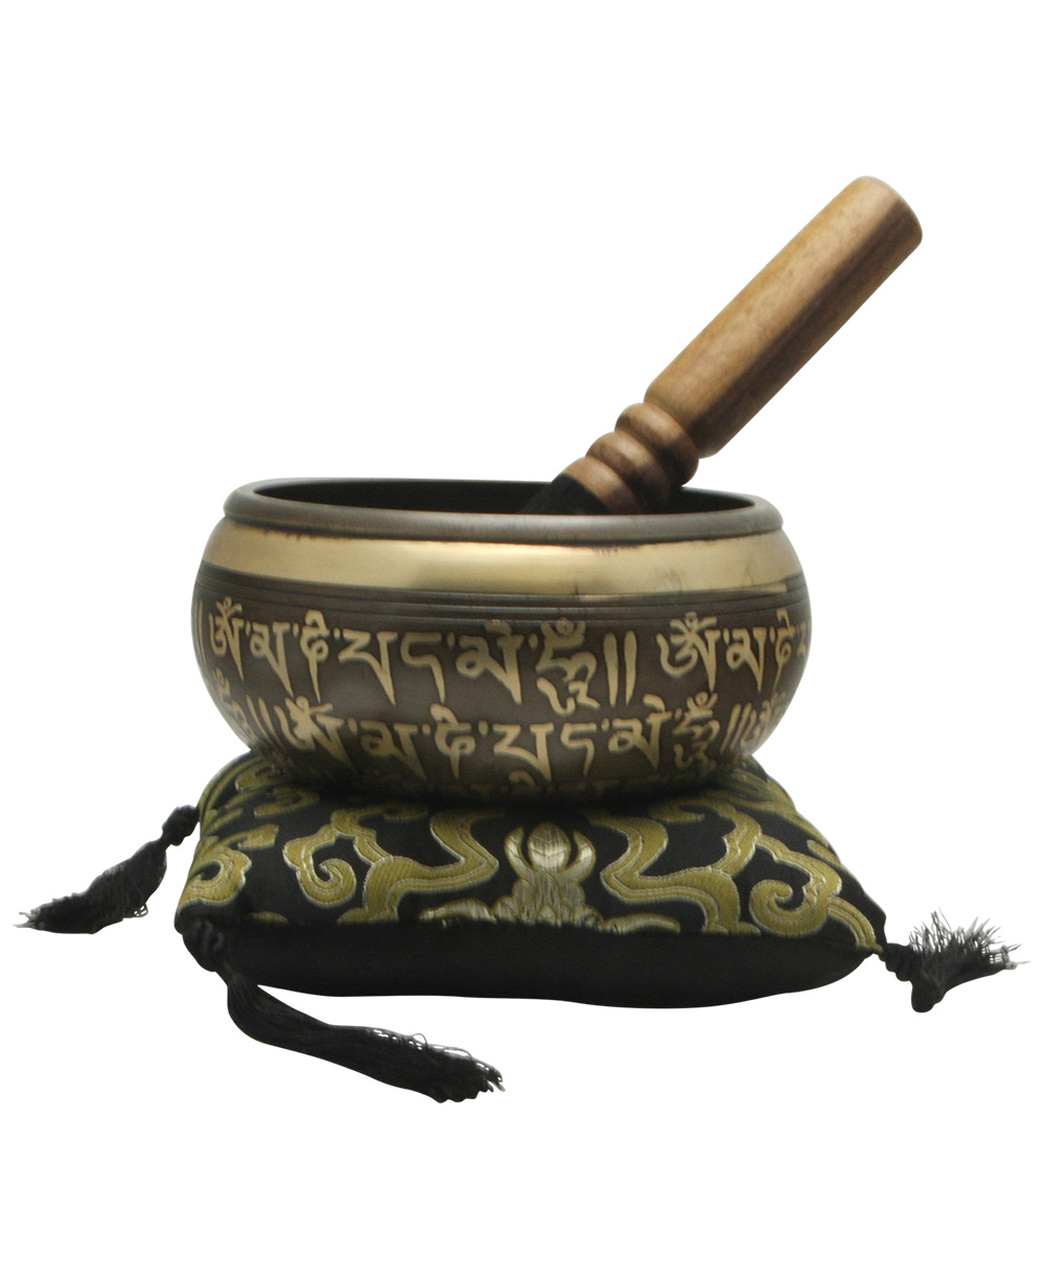
When you fill a singing bowl with water and start circling the rim of the bowl with the stick (maintaining contact with the rim), the water will start ‘dancing’. Particles of water will react to the sound’s vibrations.
As we consist of about 70 percent of water, the singing bowl’s frequencies can have a powerful healing effect on our body. I highly recommend watching this 6-minute video.
Enjoy walking through the gallery of these ancient instruments that can bring harmony to your home and keep you healthy. You can find each of them at Buddhagroove’s store under the section Singing Bowls.


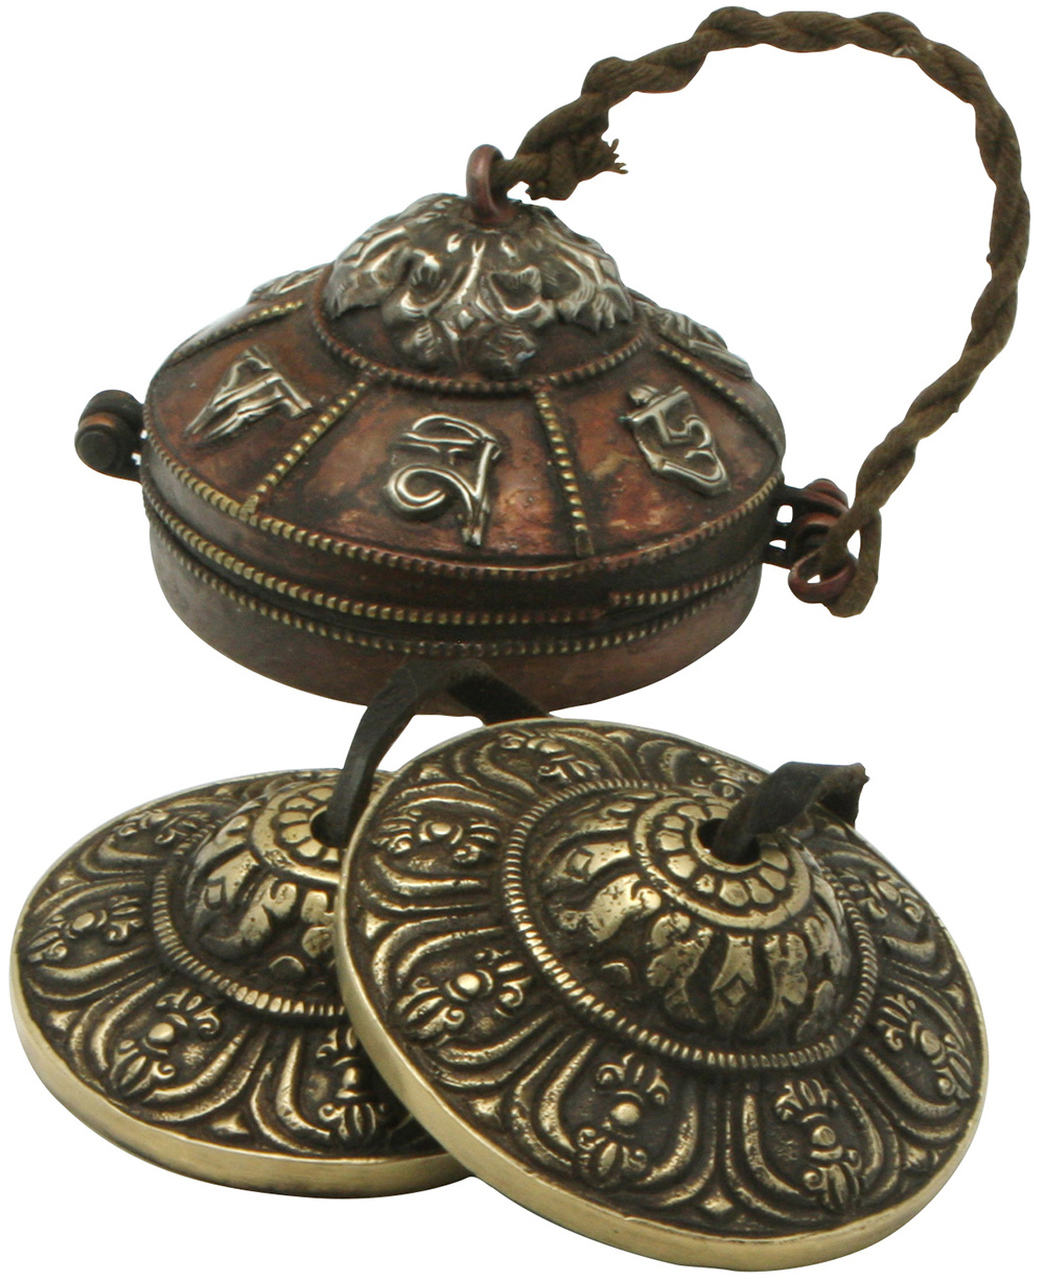
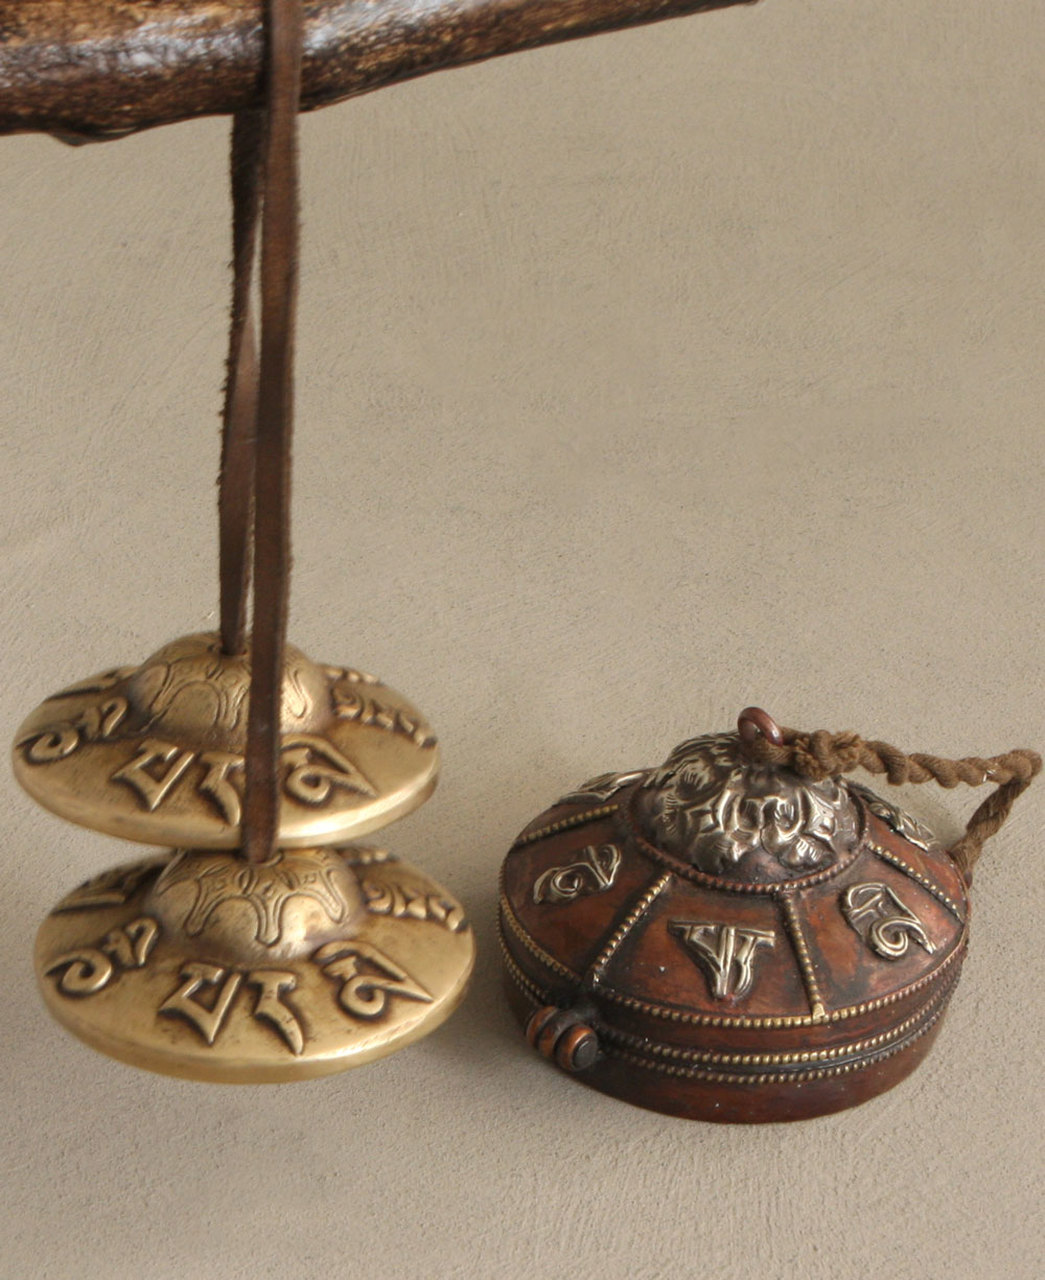
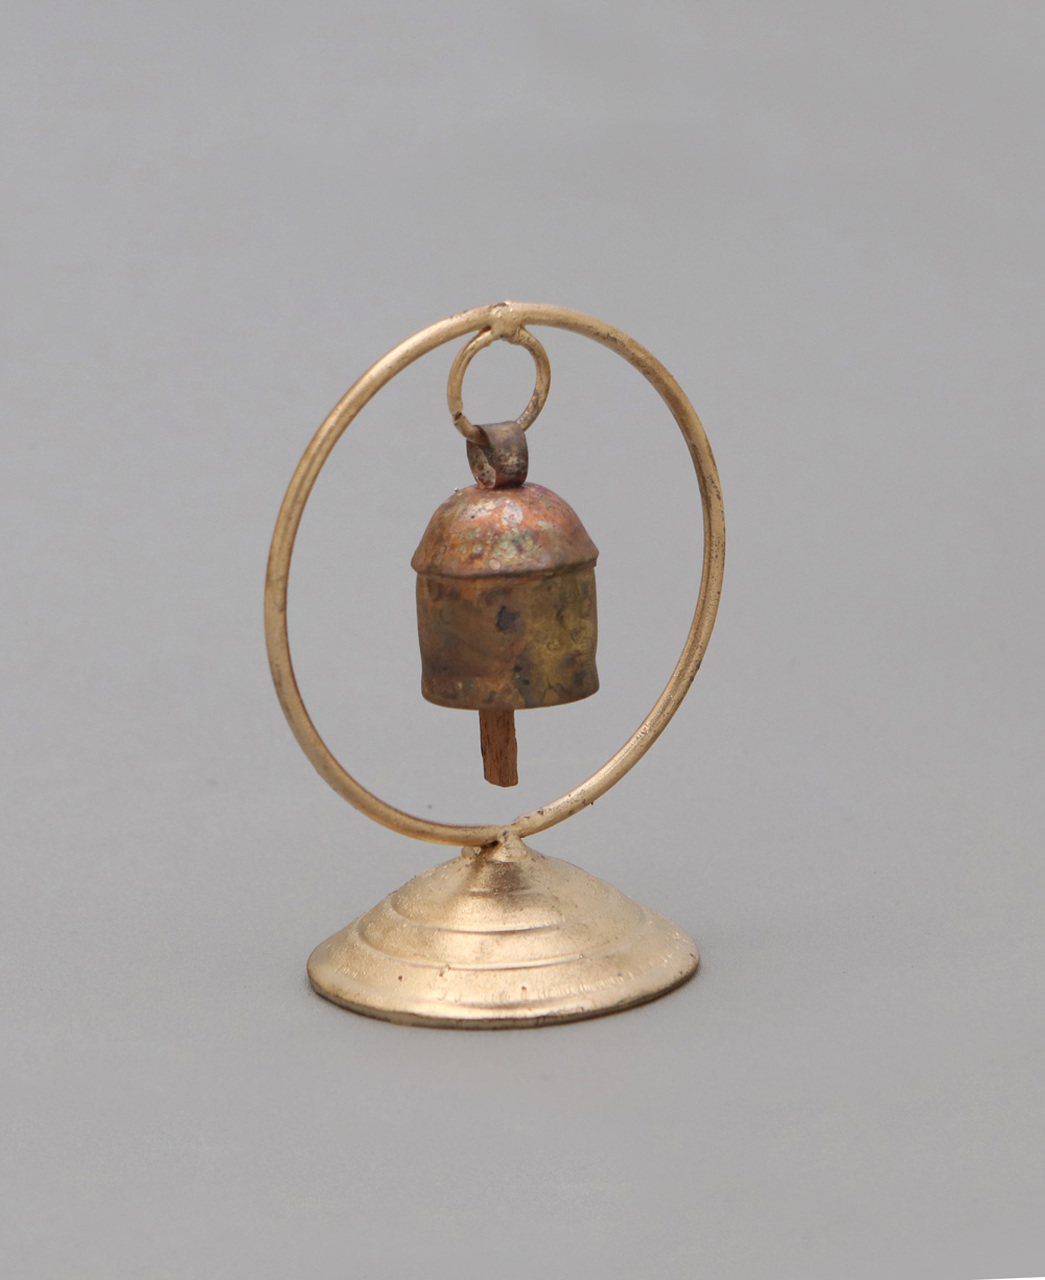
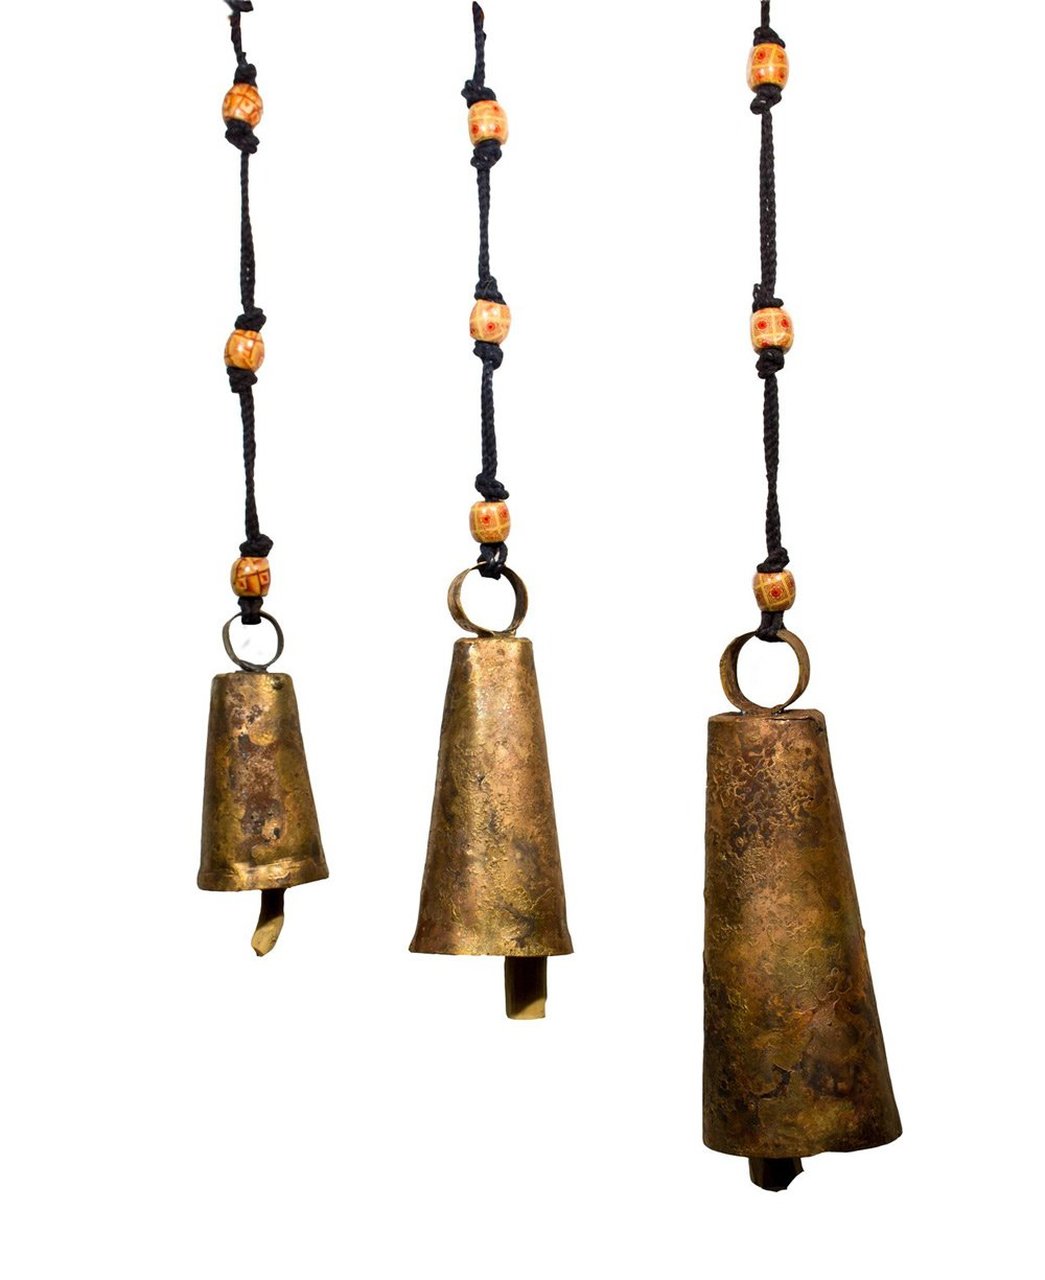
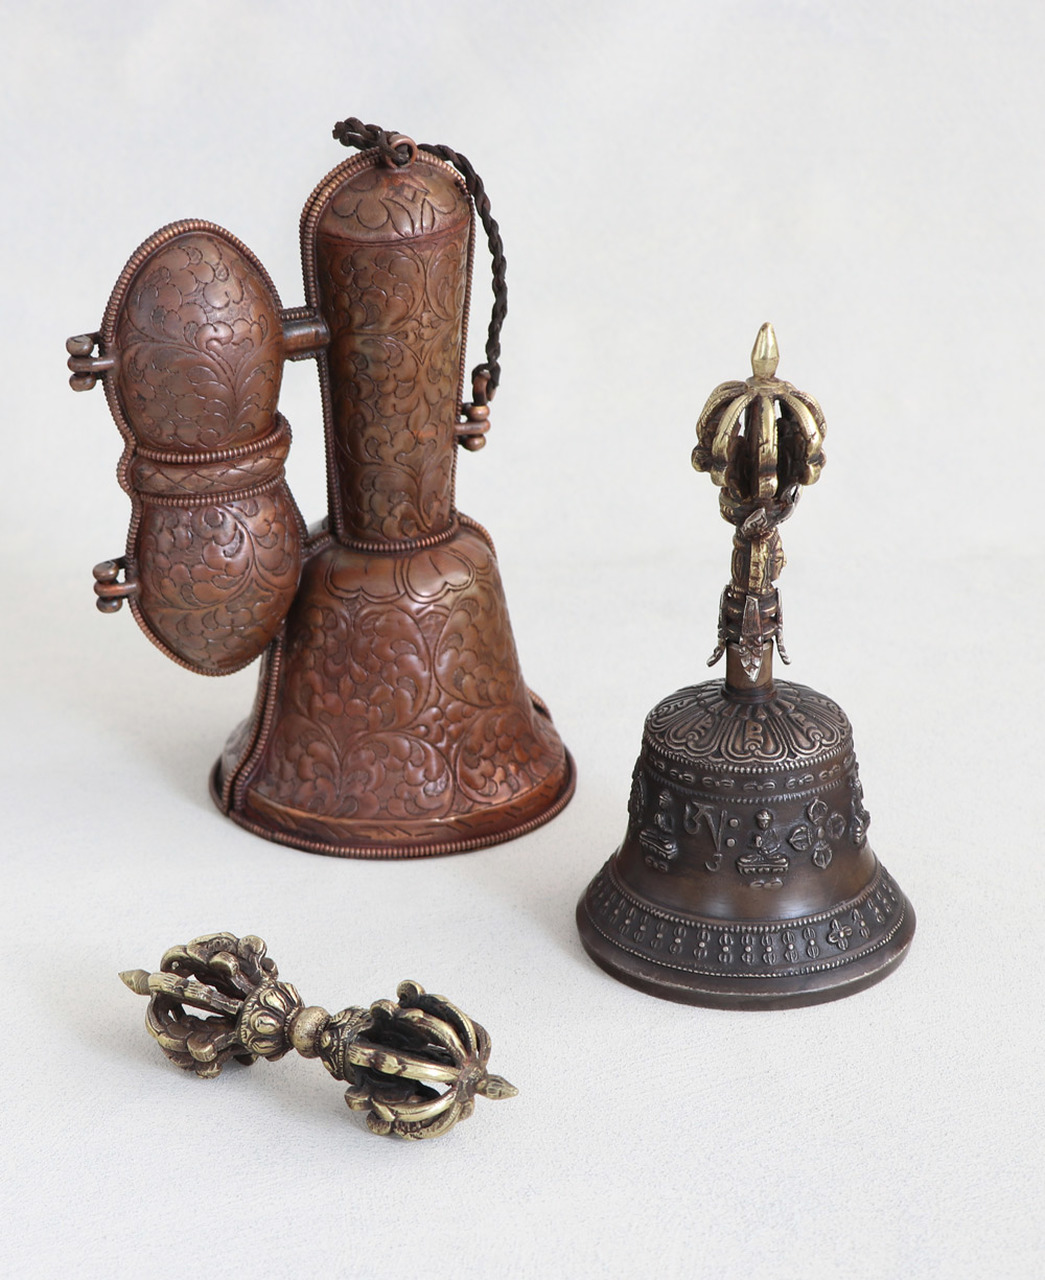
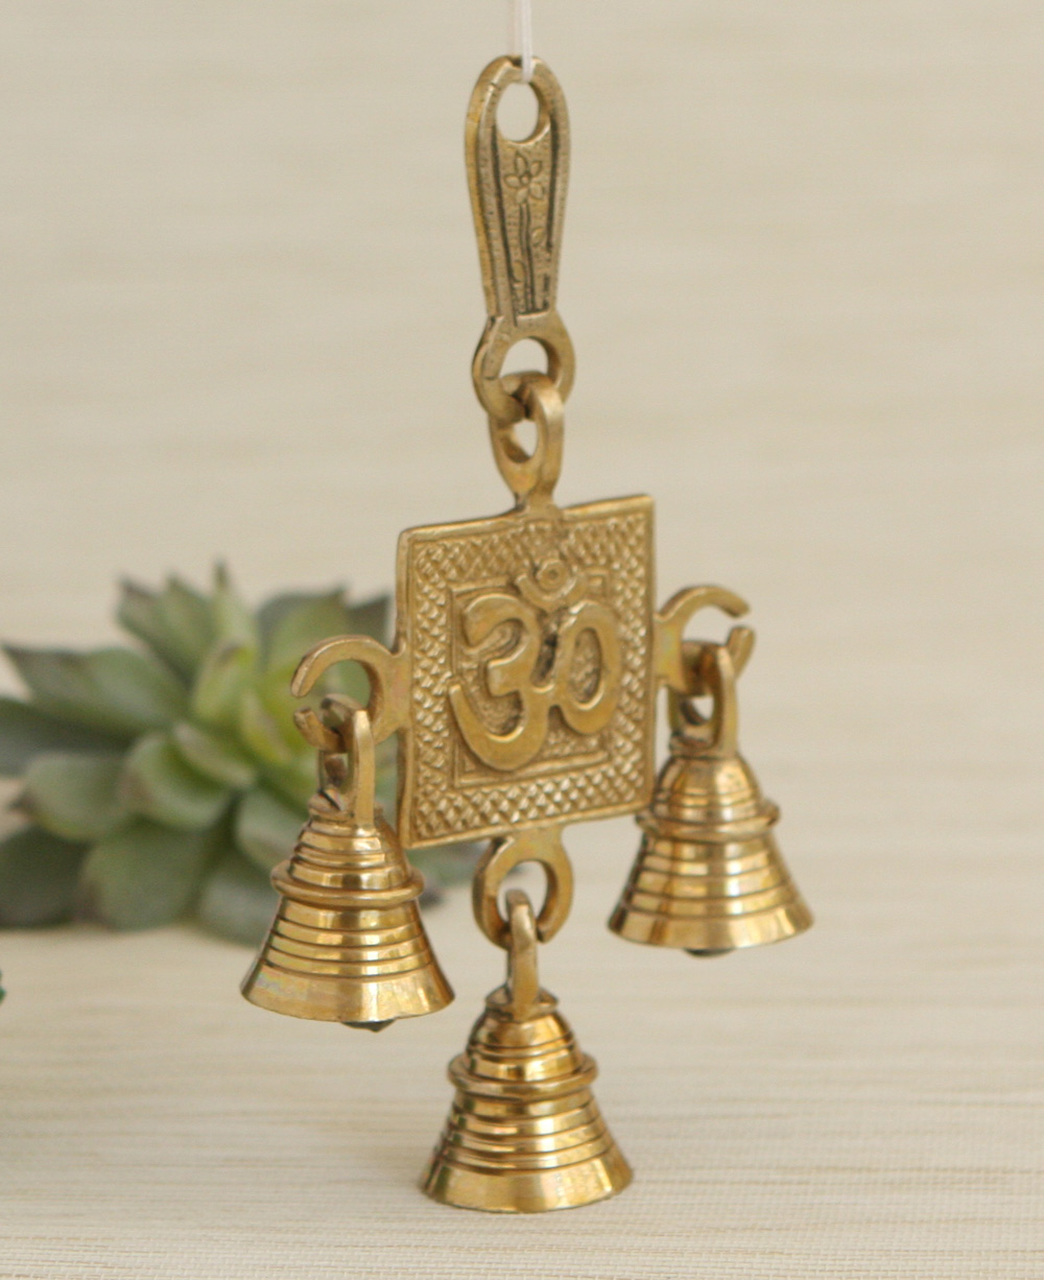
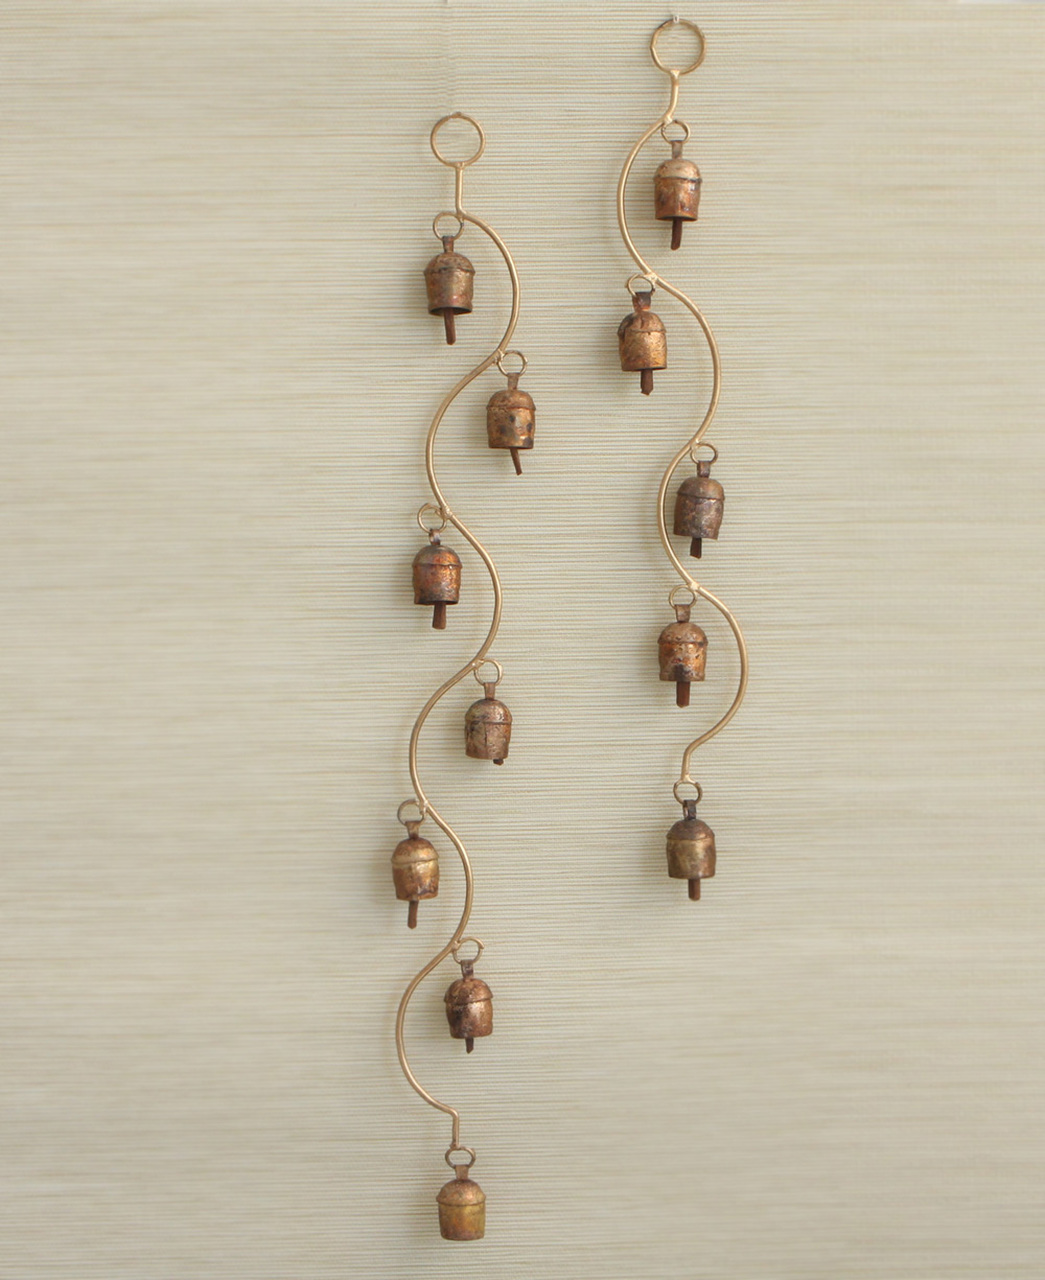
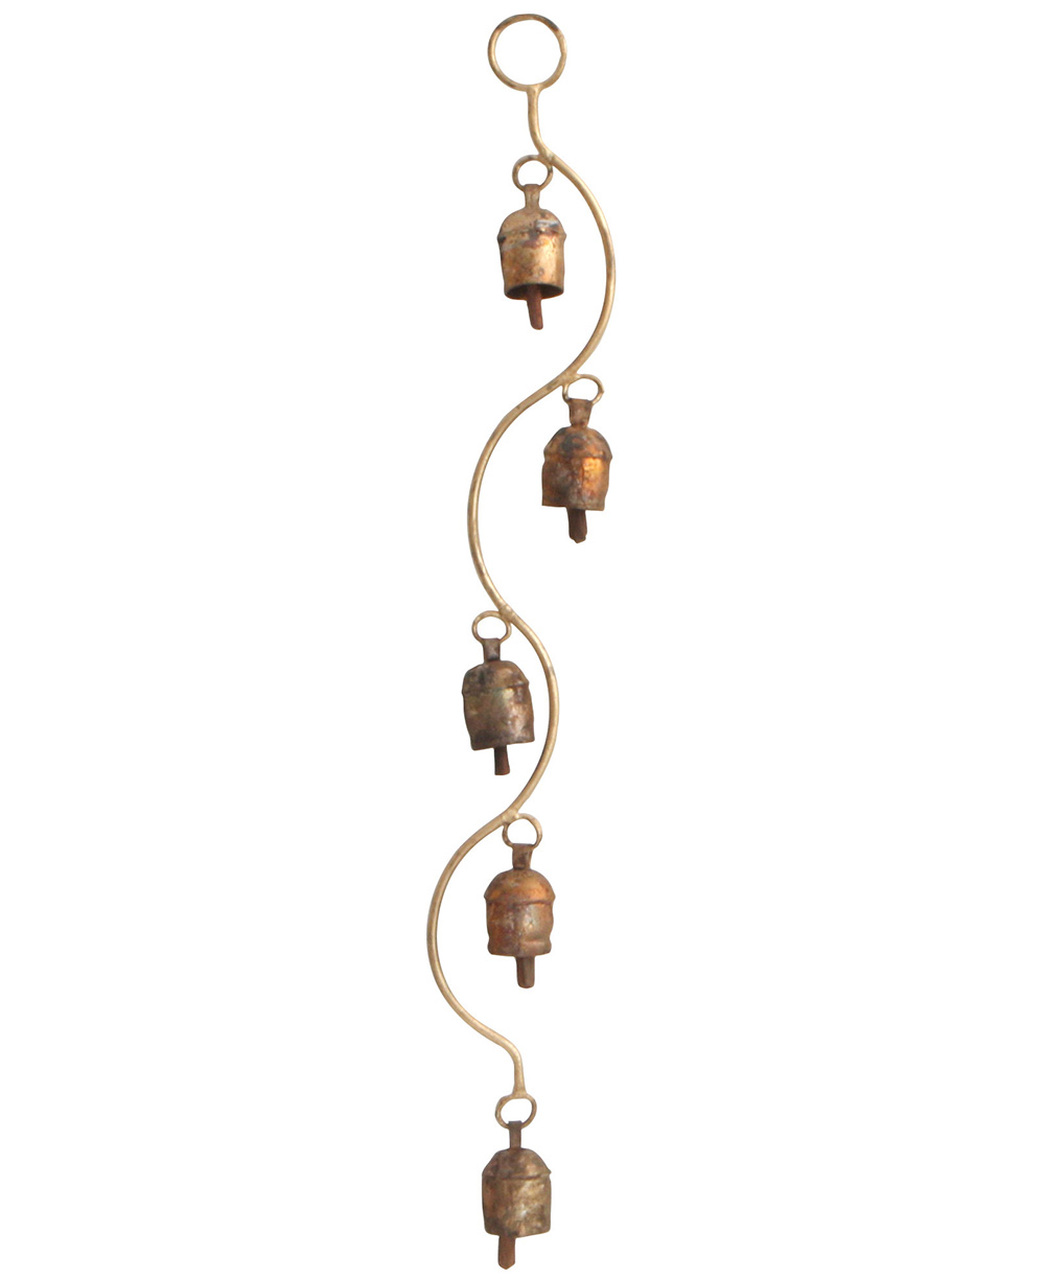
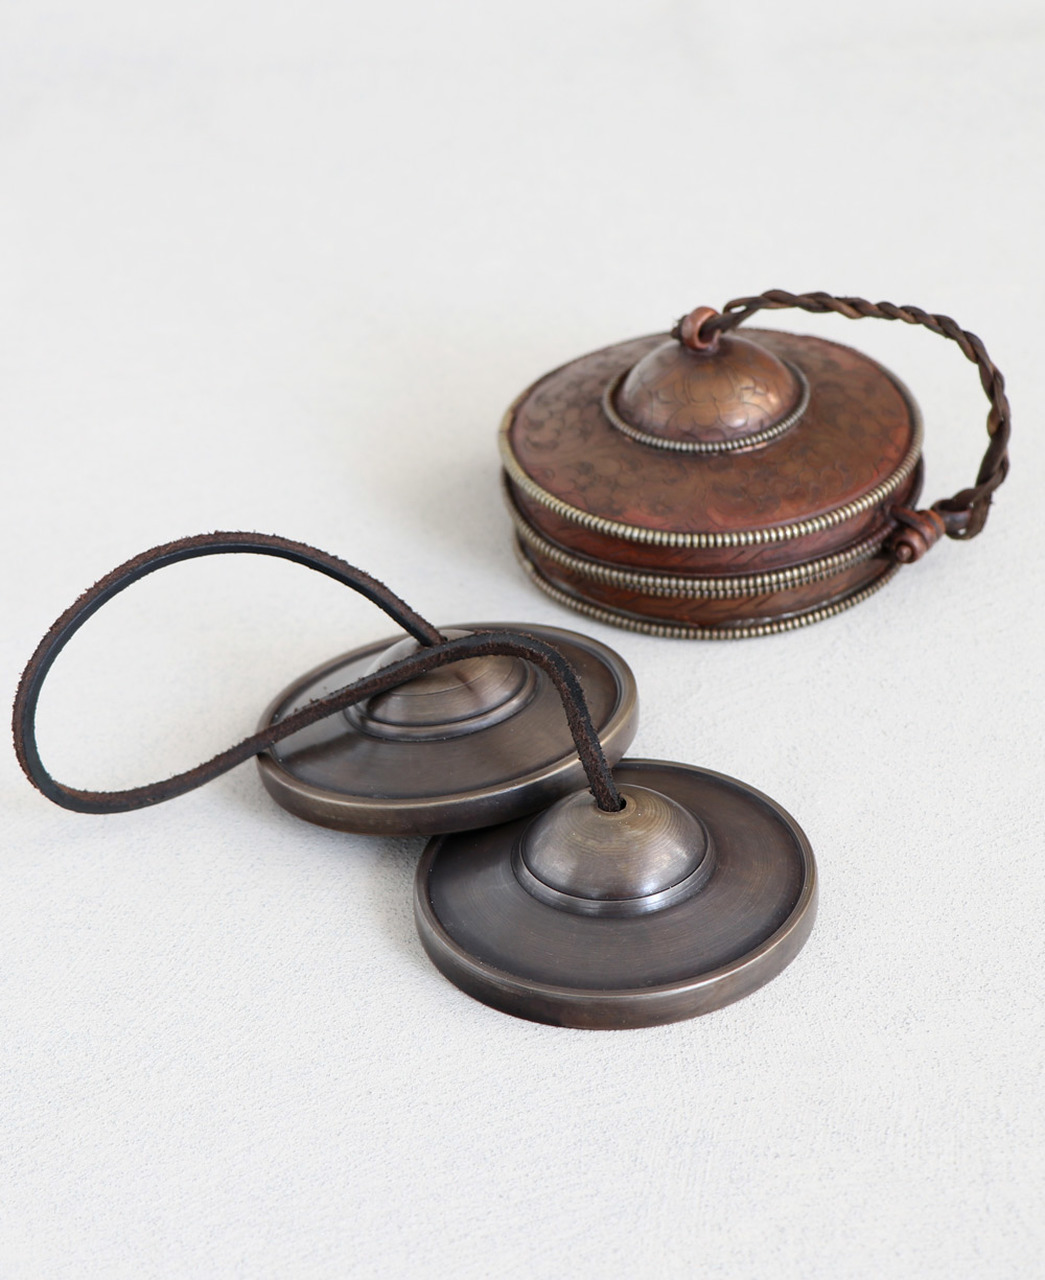
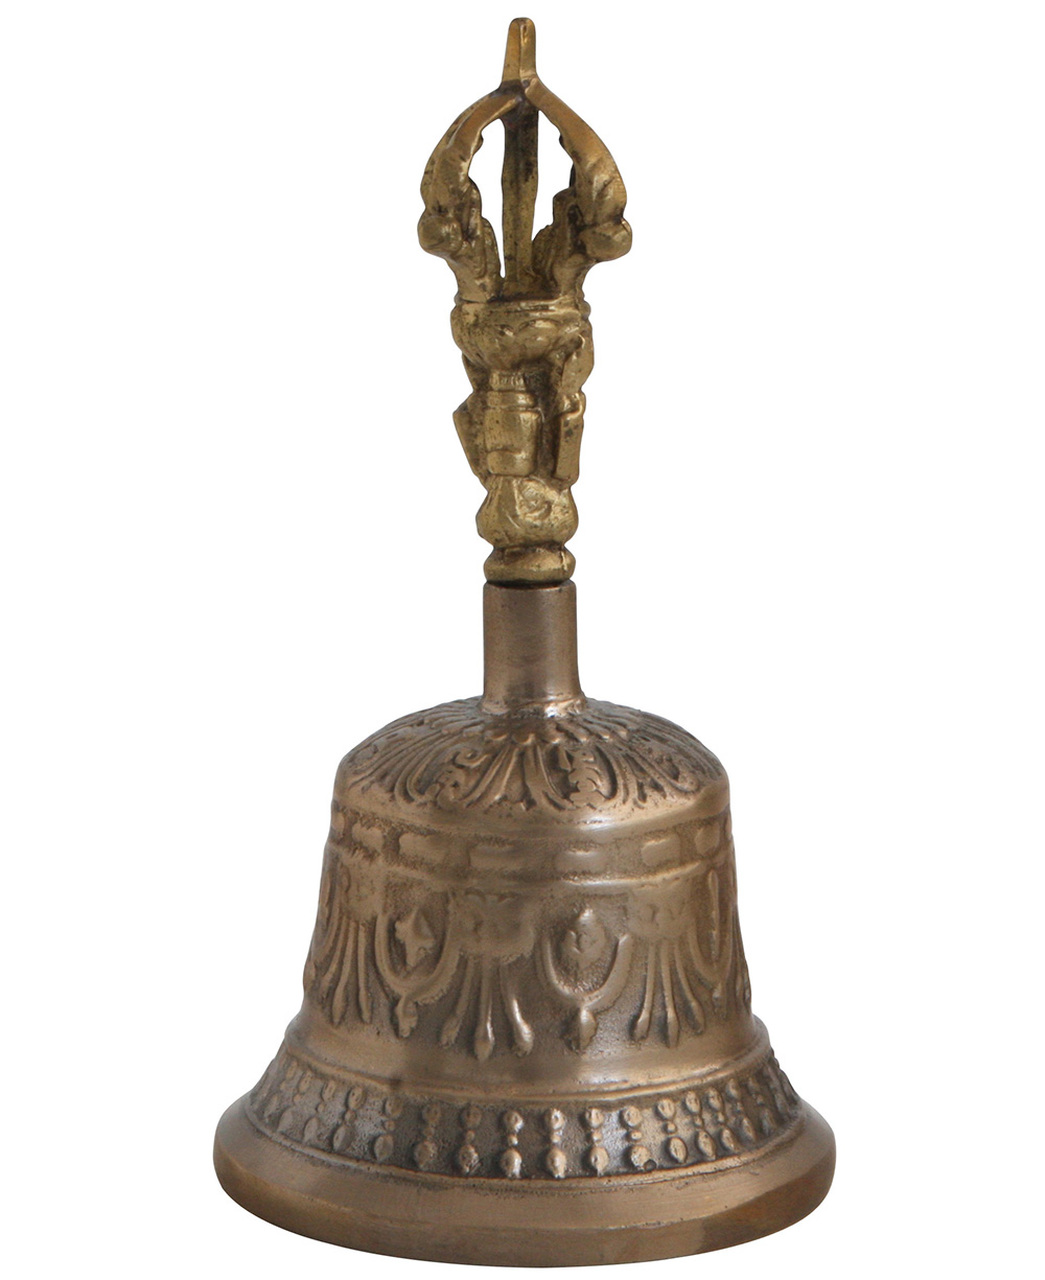
Tingshas, Cymbals, Bells and Chimes
Tingshas are circular chimes joined by a leather string, often used in mindfulness and meditation practice to help focus the mind. When struck, the chimes make a bright, ‘celestial’ sound that keeps on resonating for a surprising length of time. Most of the bells and chimes below are available under the section Tingshas and Bells, and a small number of them are from the category Accents.

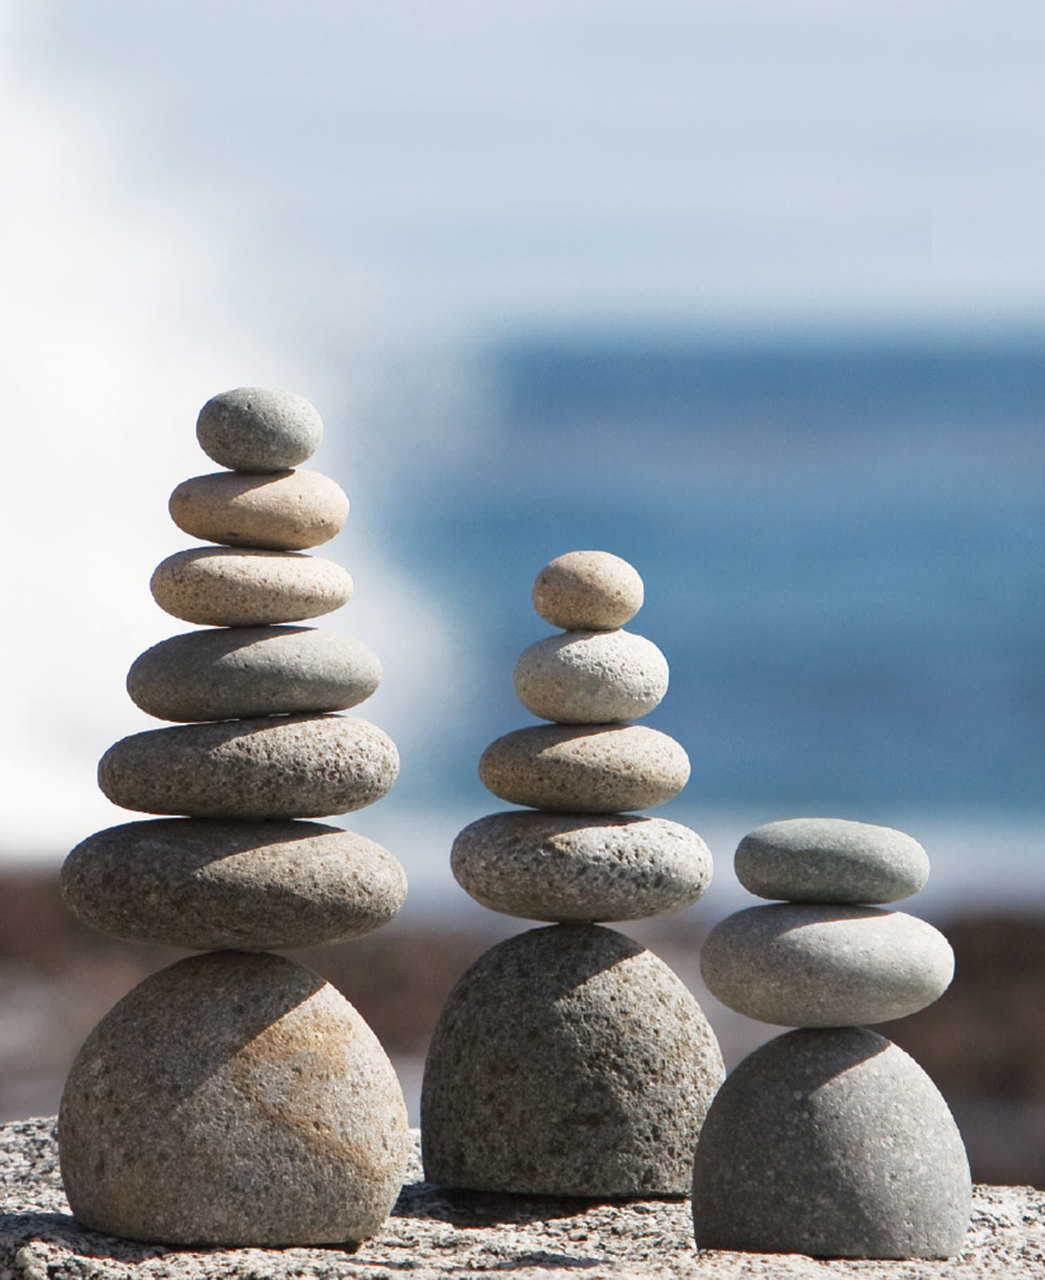
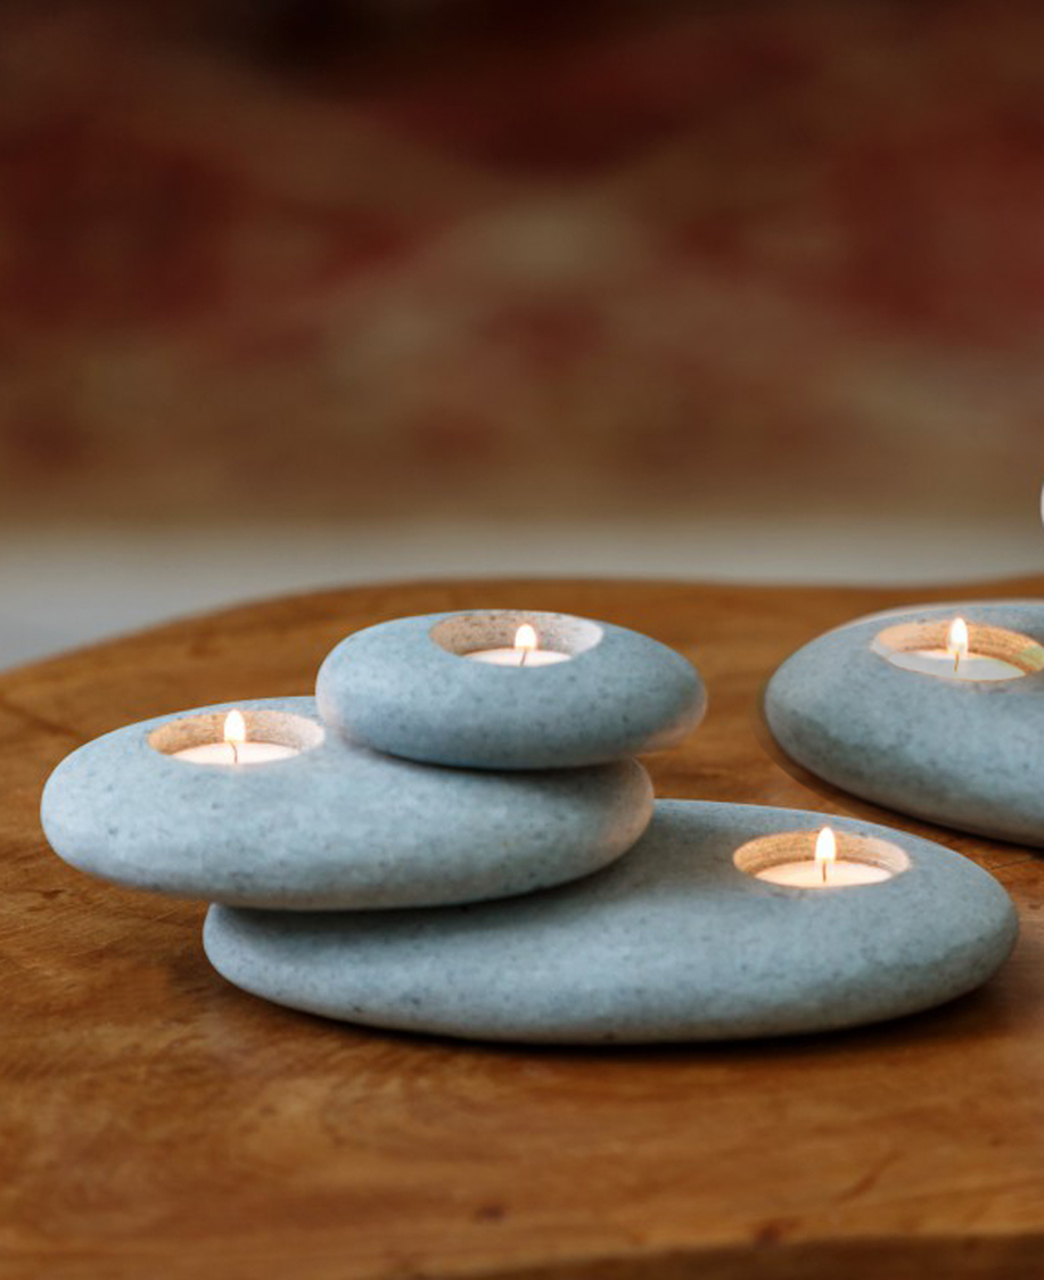
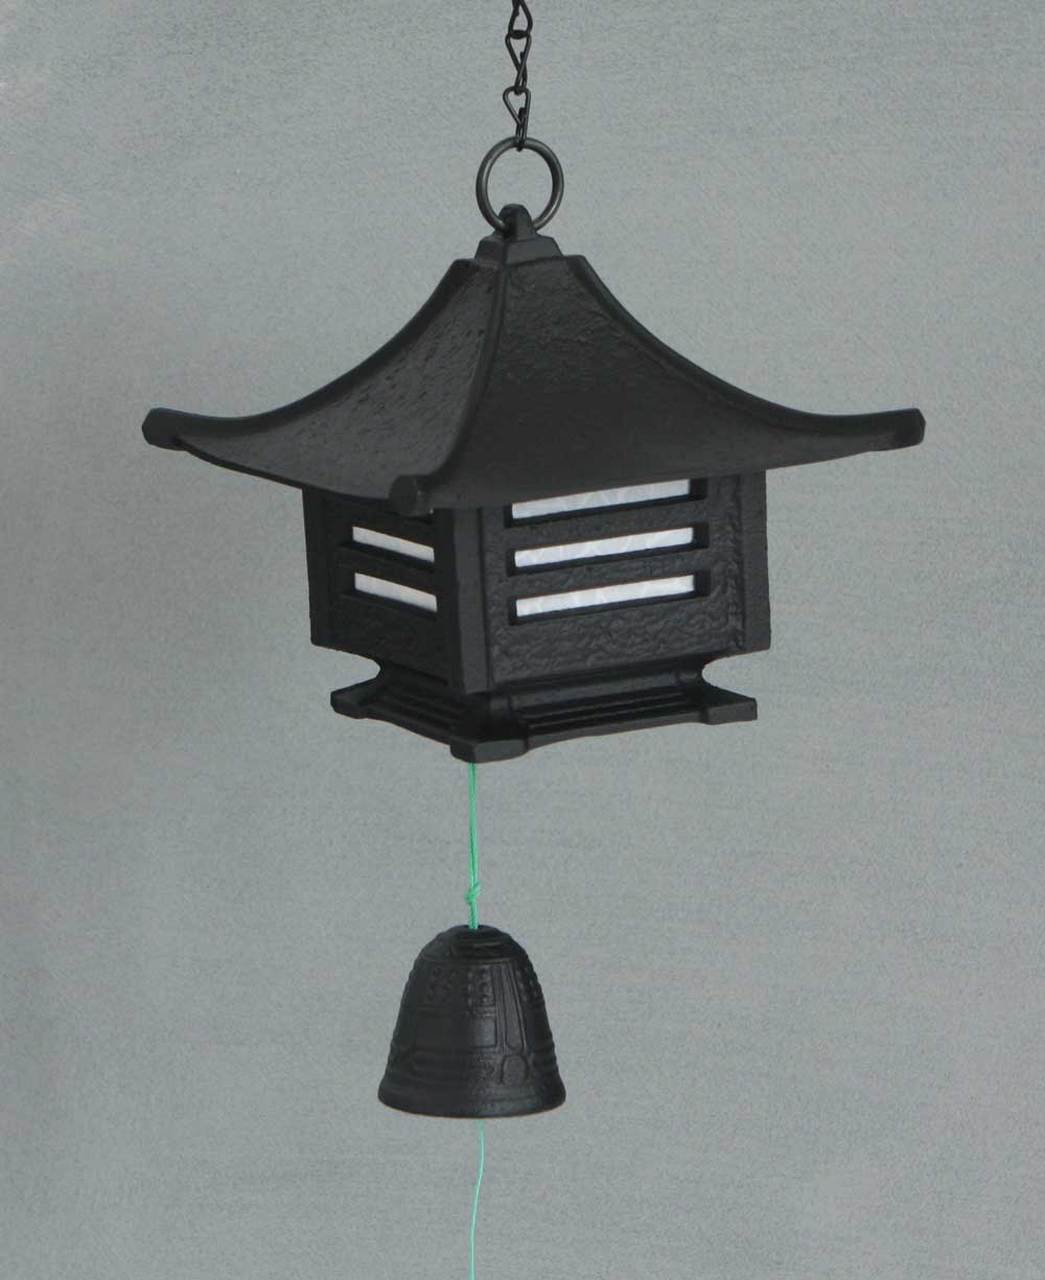
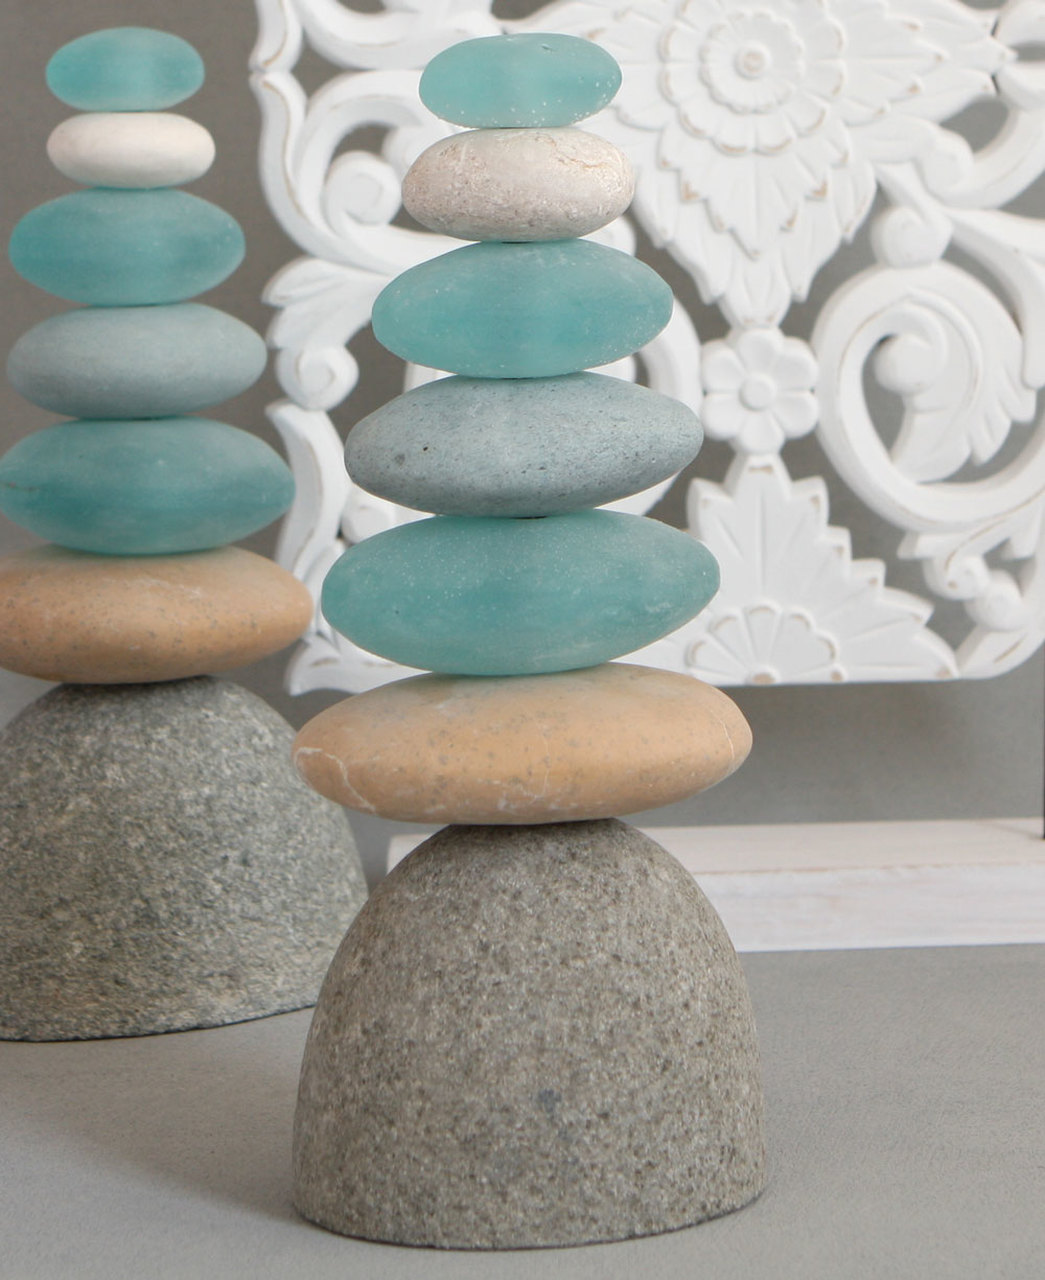
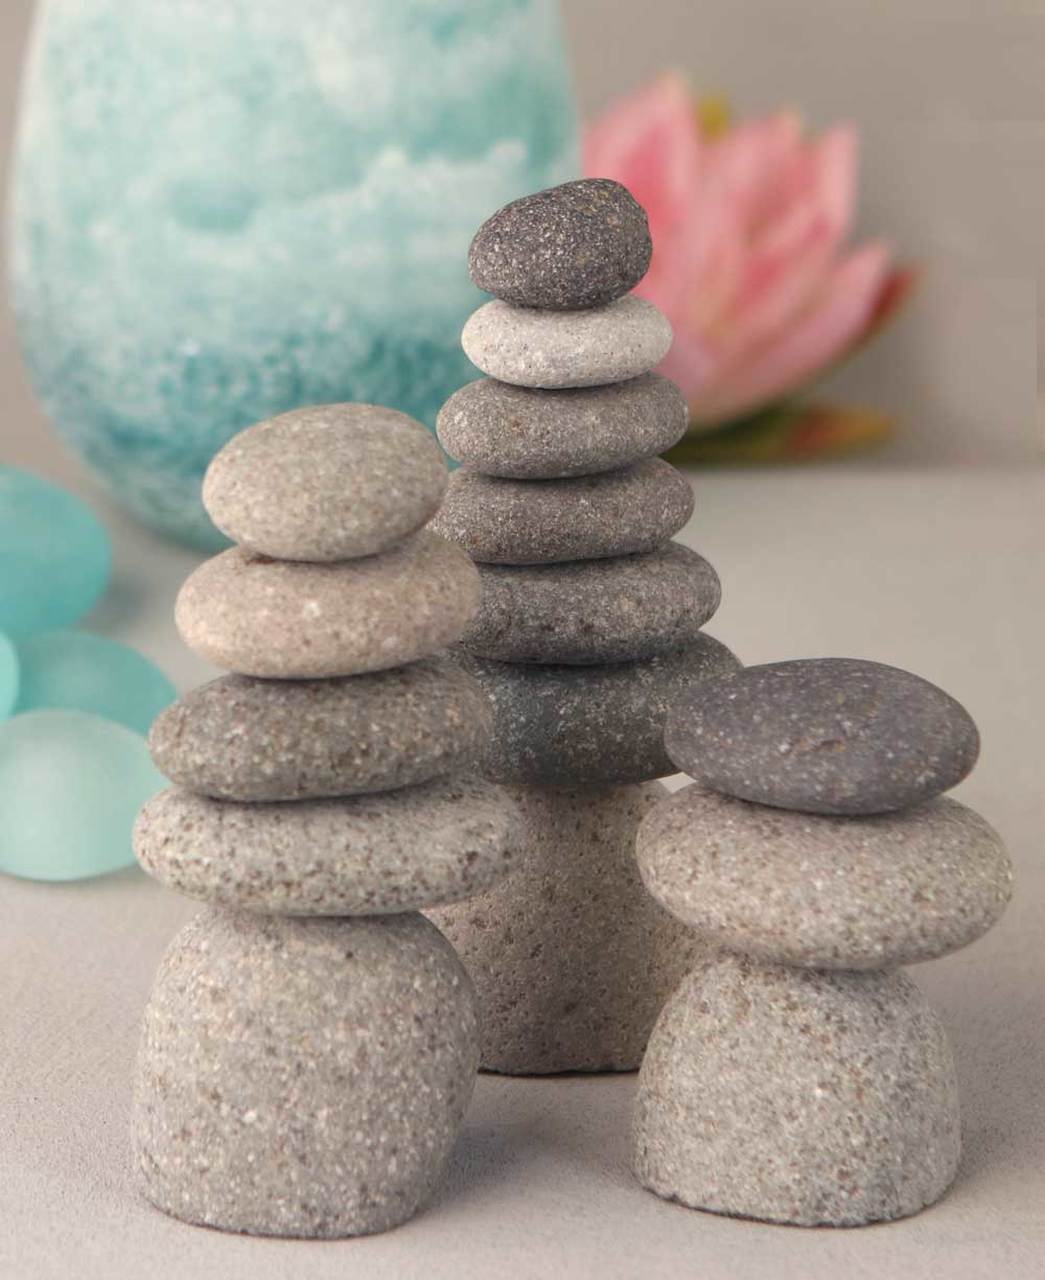
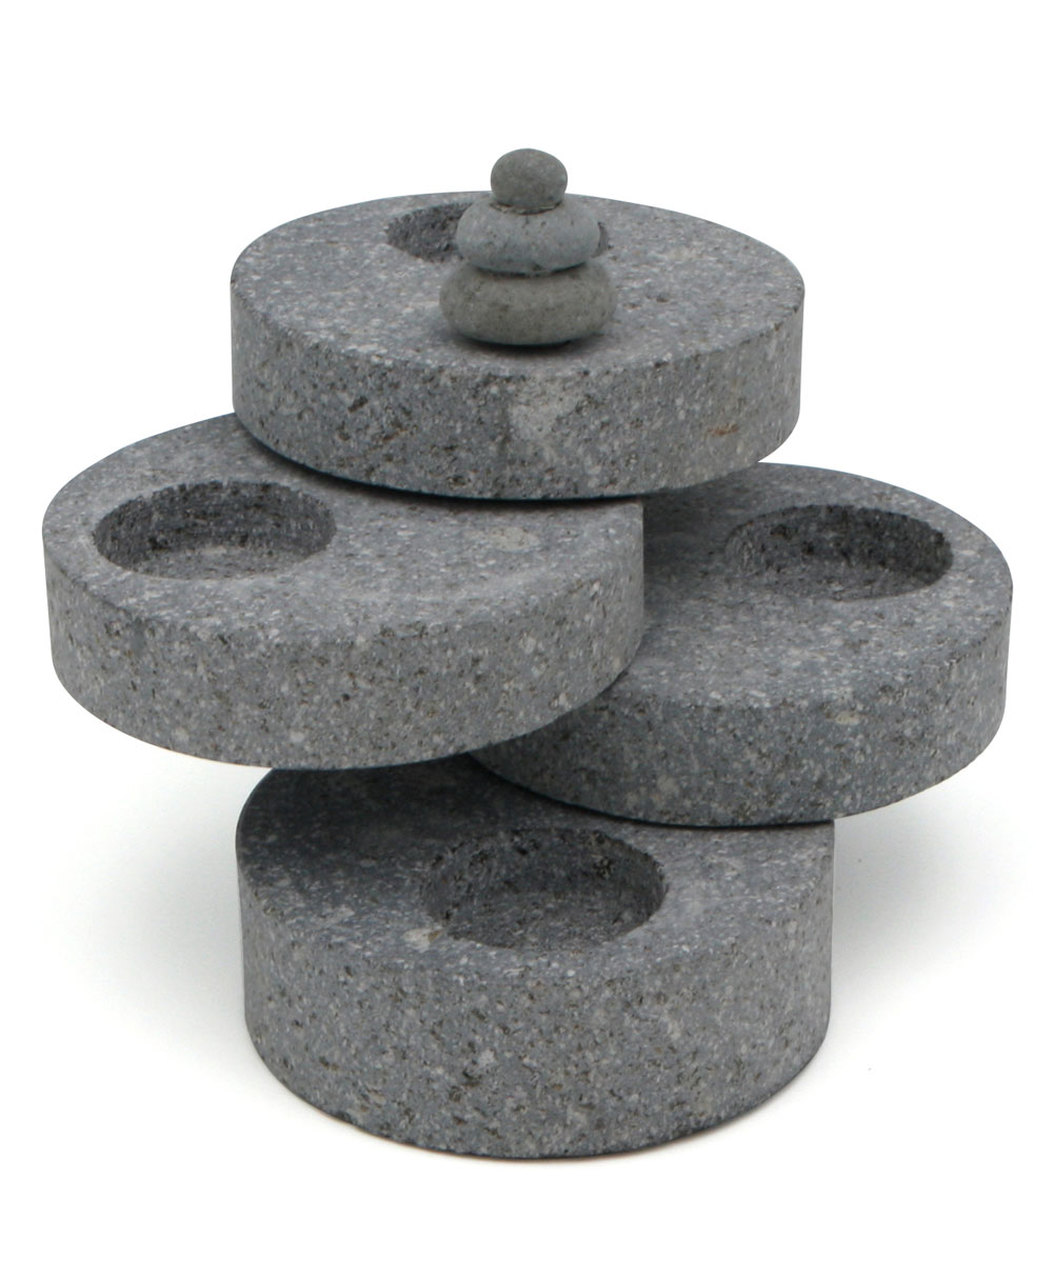
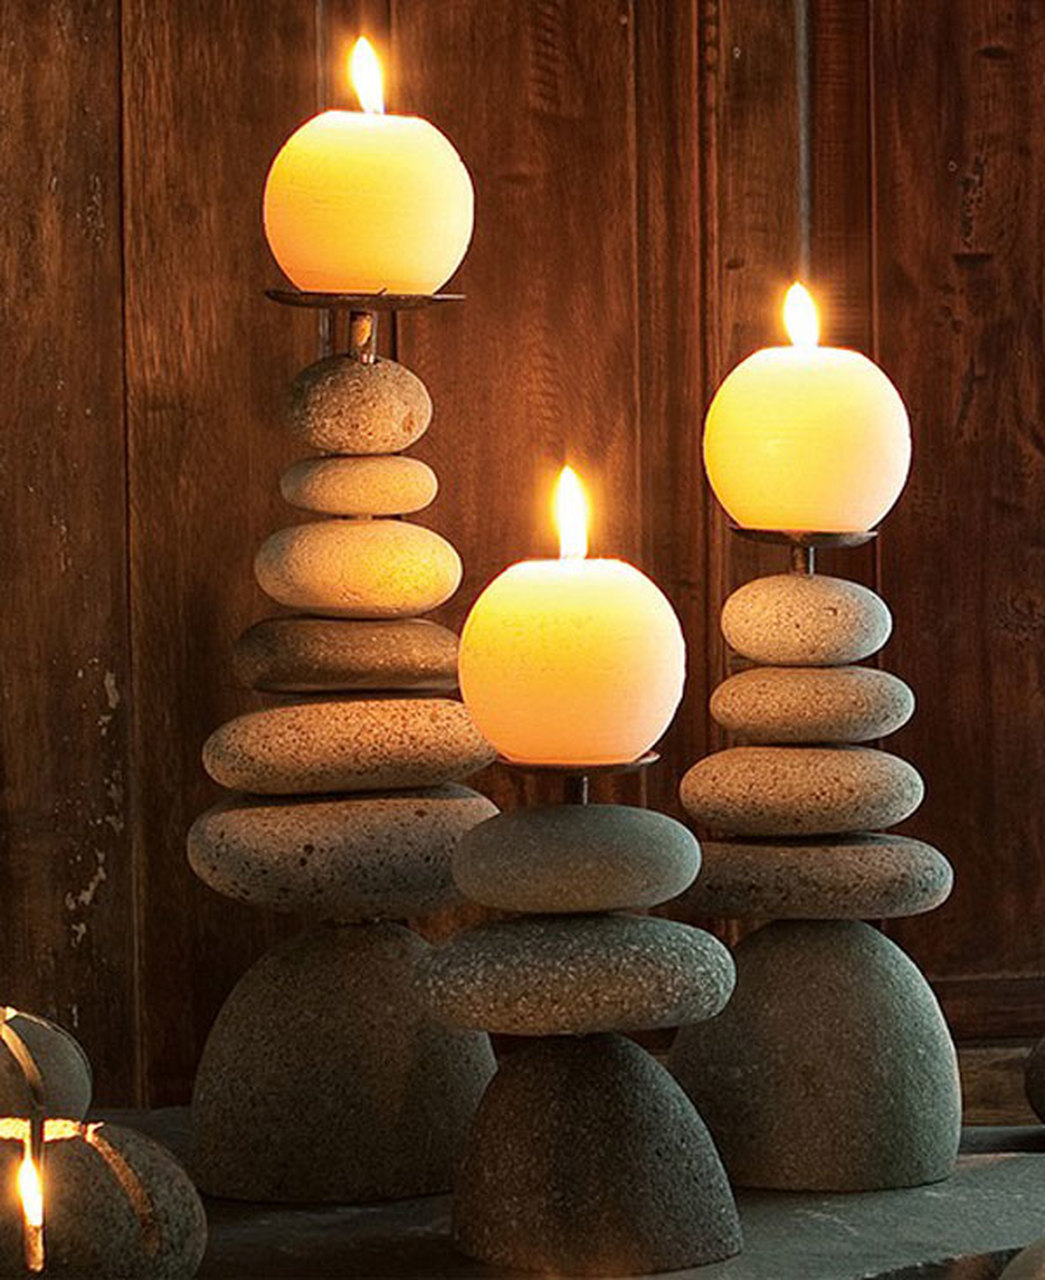
Zen Home – Zen Garden
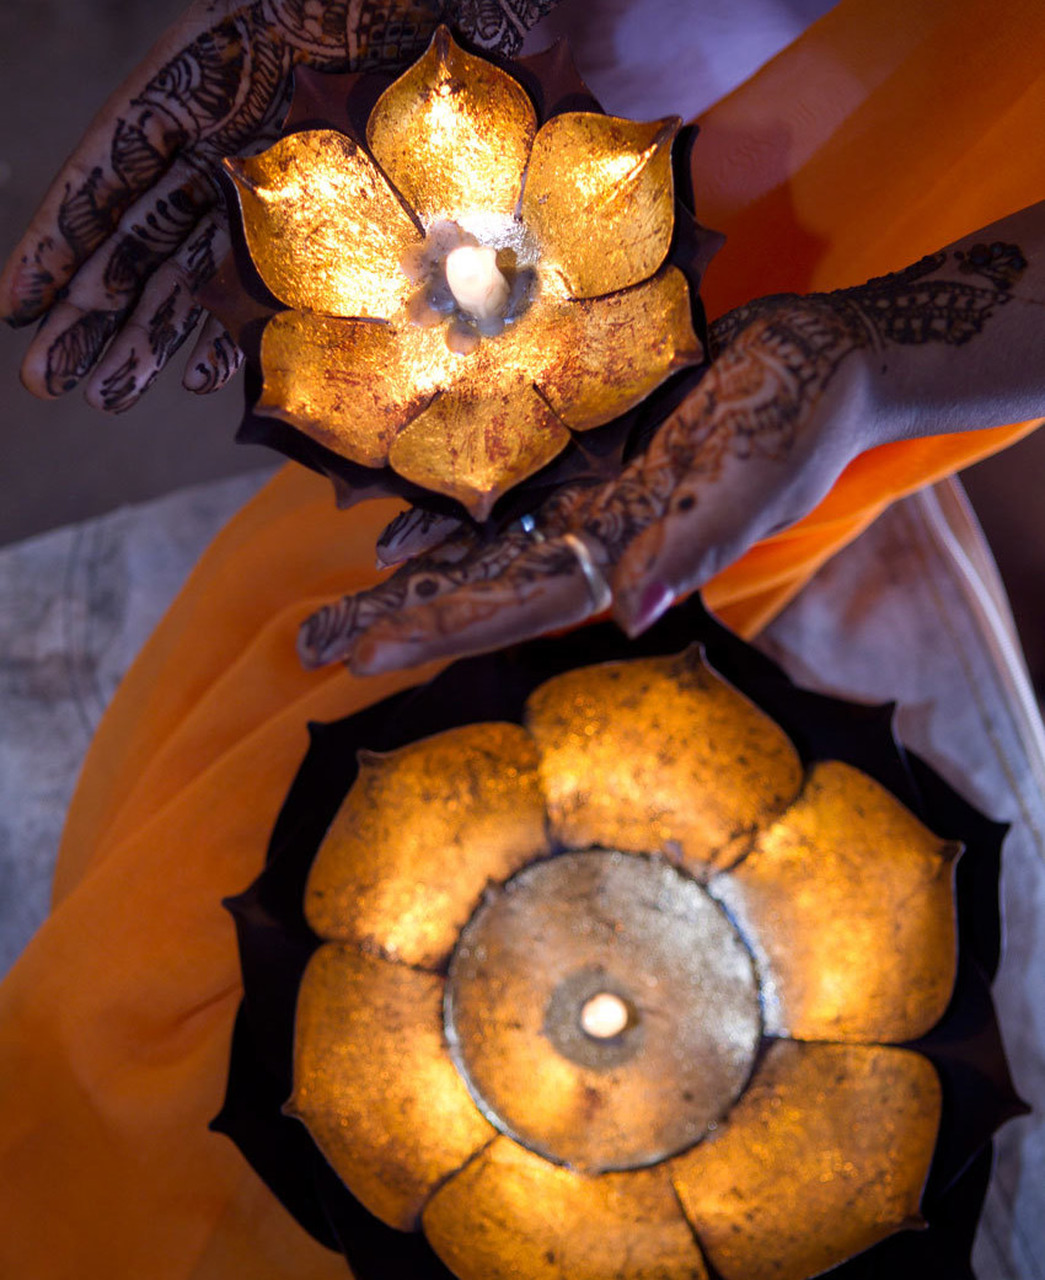
So far I’ve only encountered the sweet, gravity-defying pebbles stacked upon each other in pictures with inspirational quotes. I used to think they were just temporarily glued together for the effect. What a nice surprise it was to find out that these formations are actually made to stay in this soul-lifting shape.
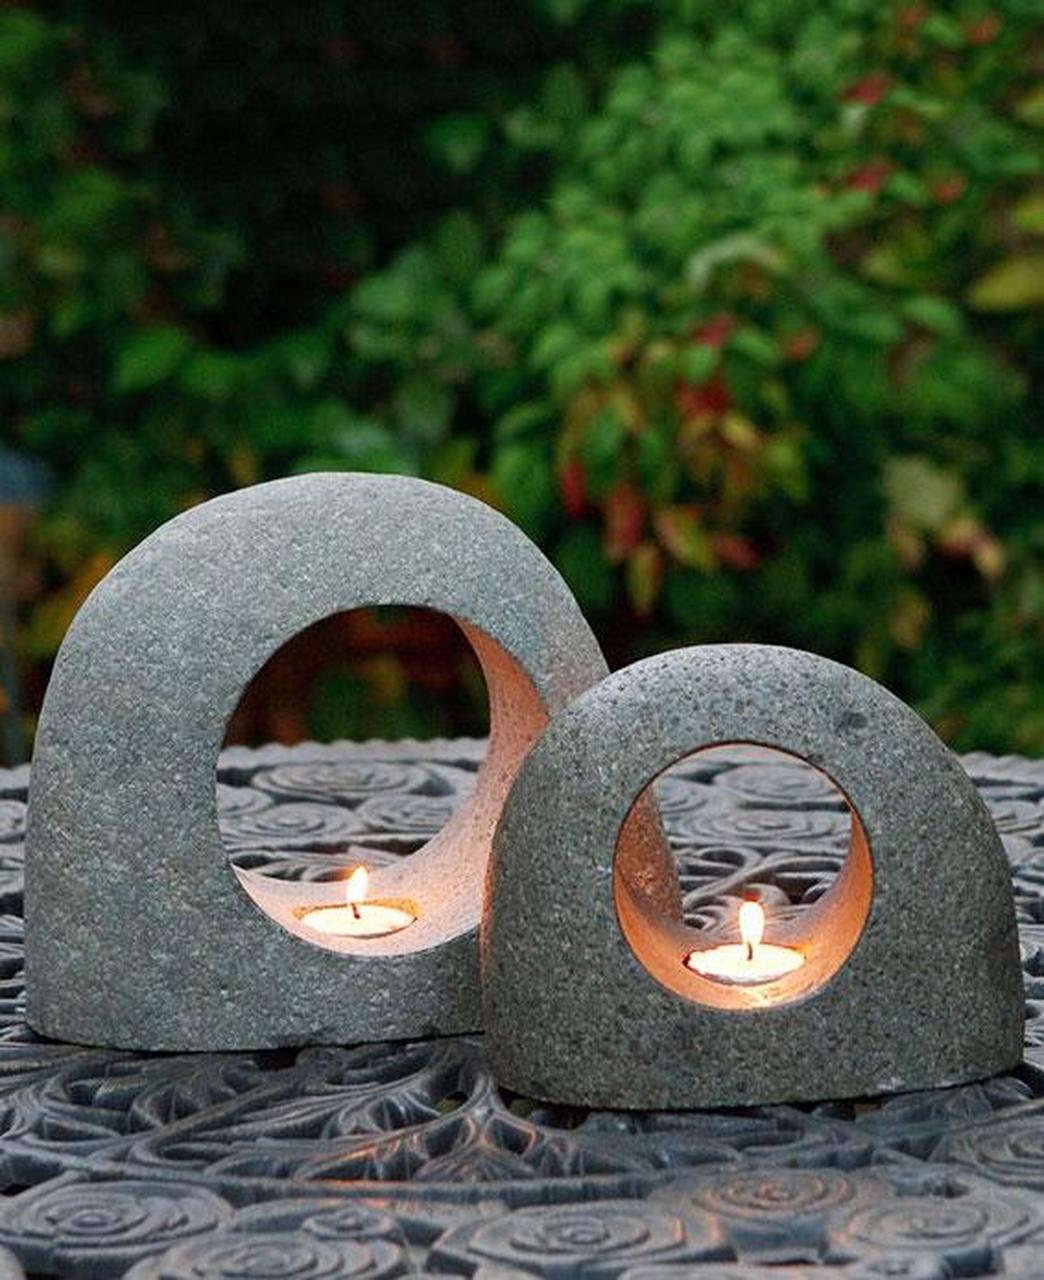
The candleholders and the cast-iron pagoda wind chime are also hard to resist. You can start designing your own Zen space by visiting the section Garden Accents.

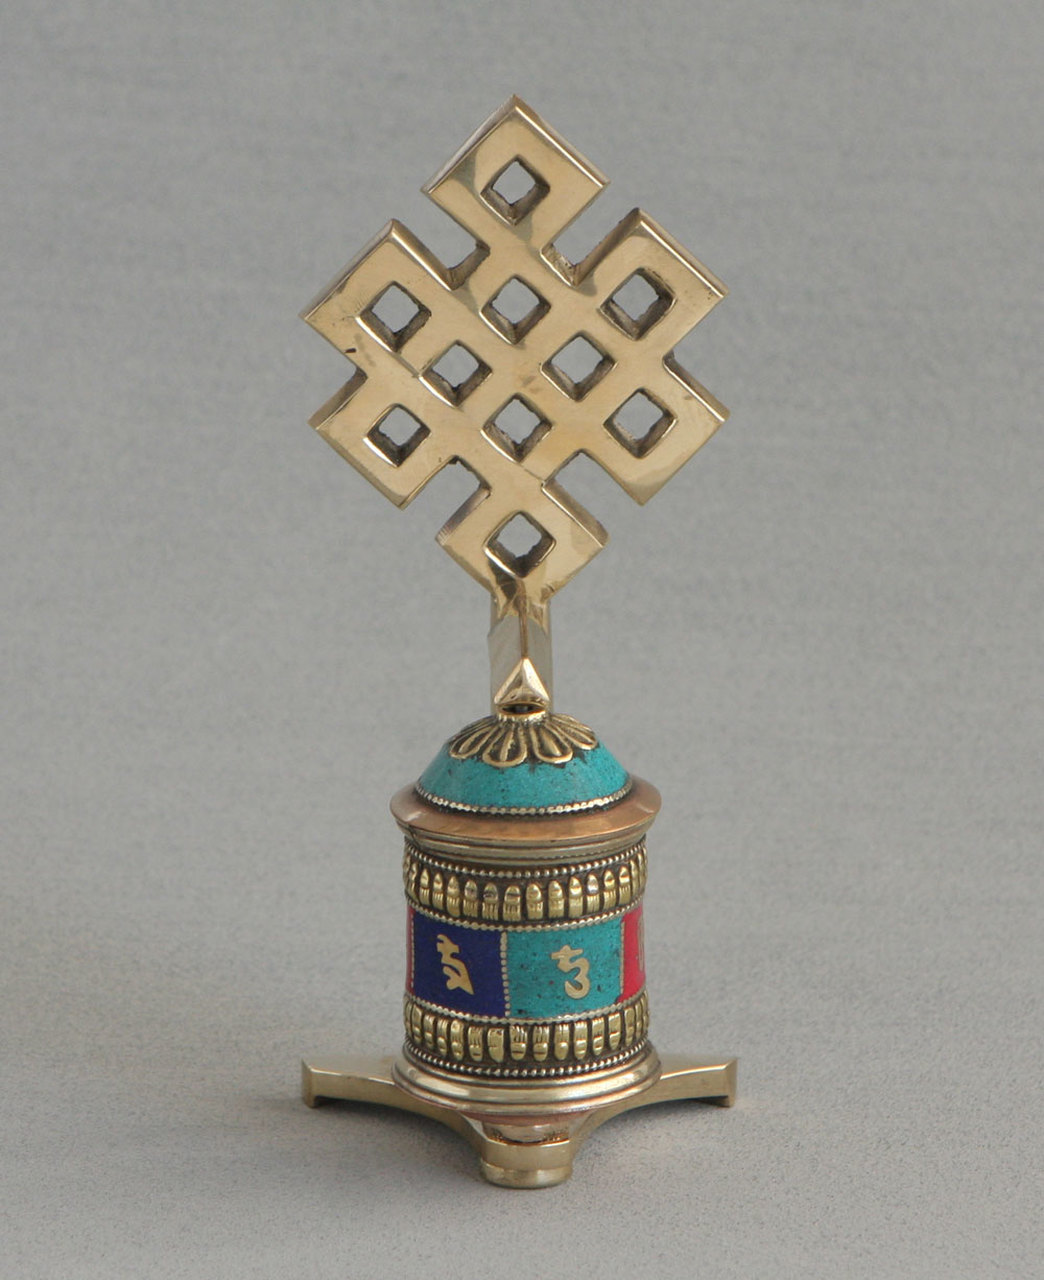
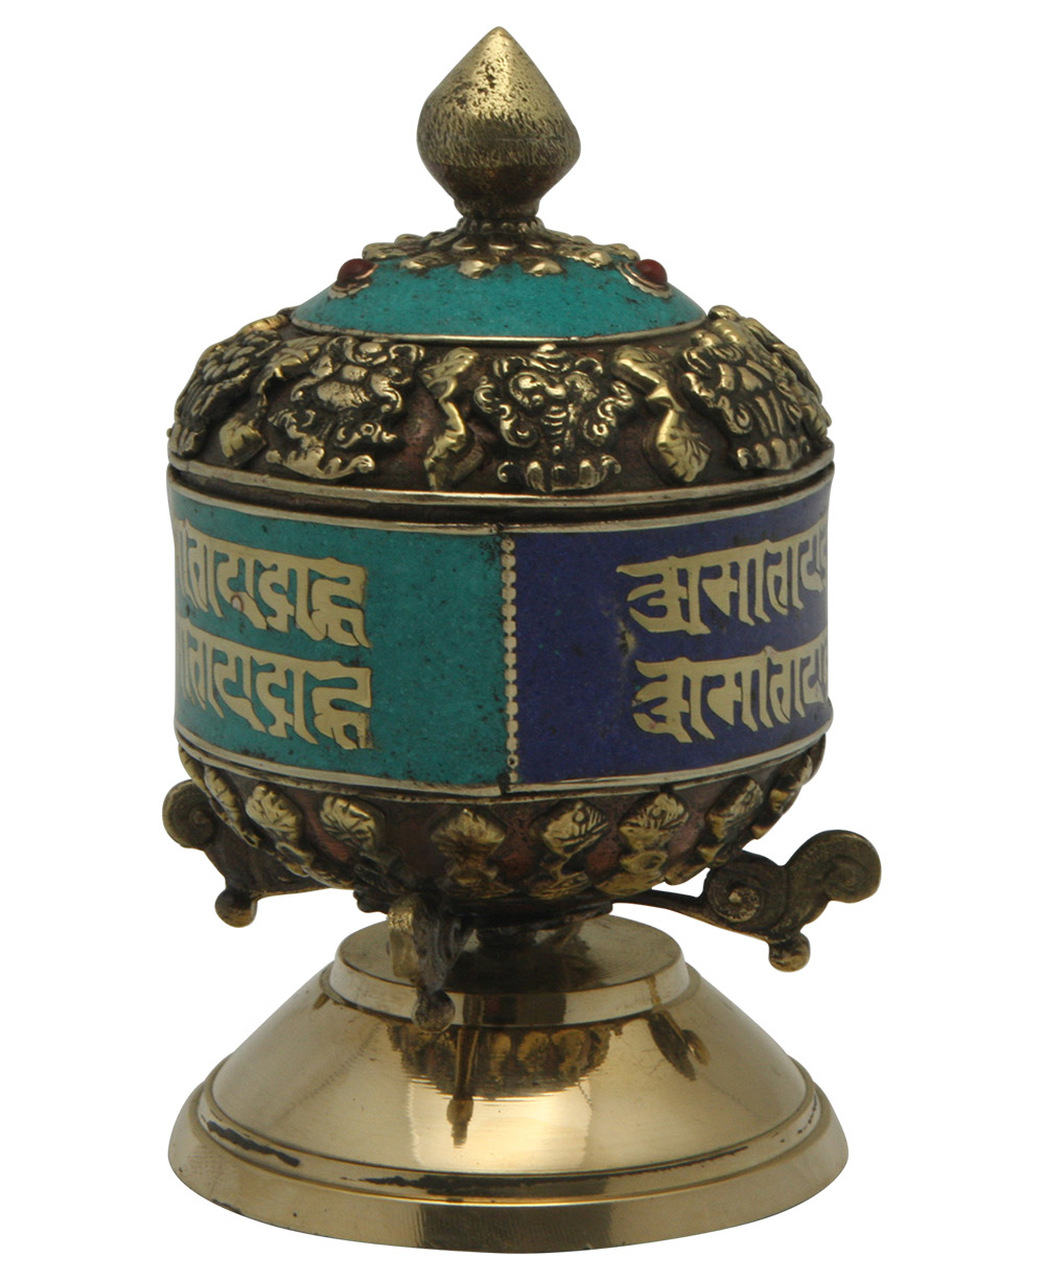
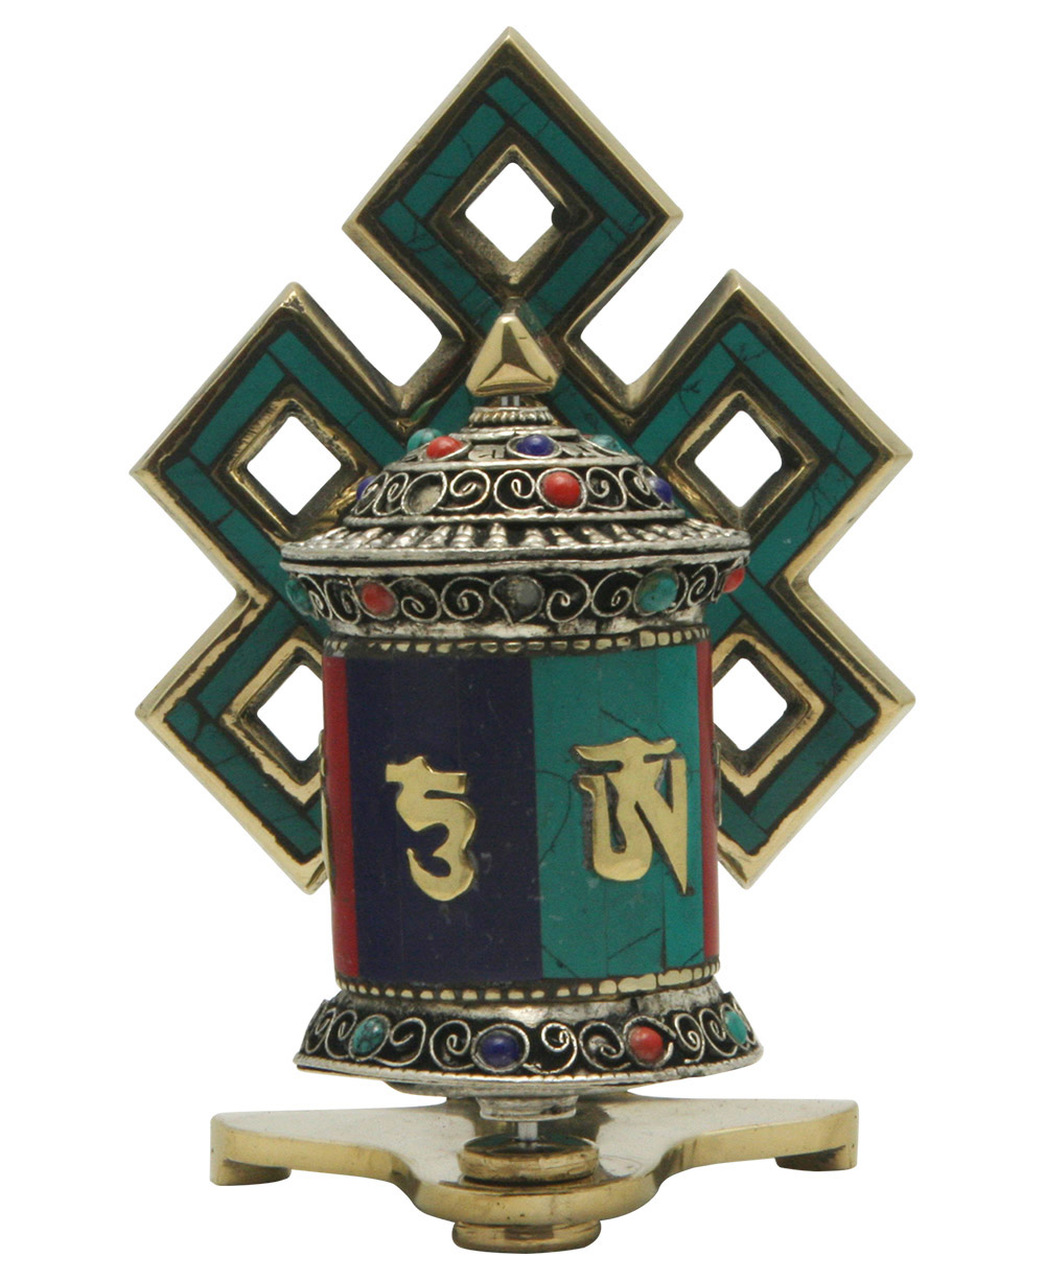
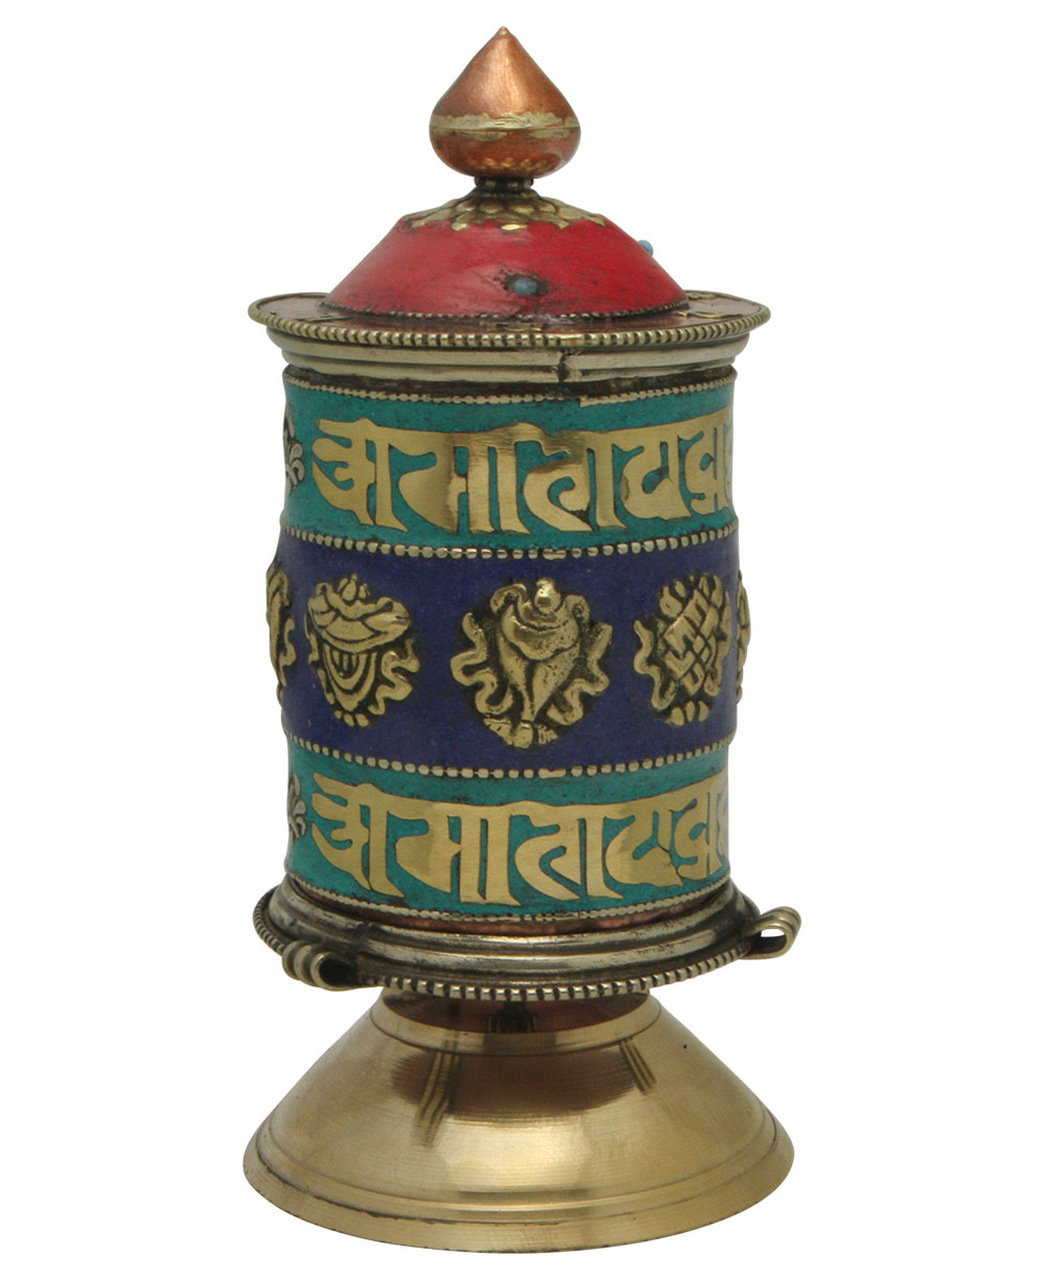
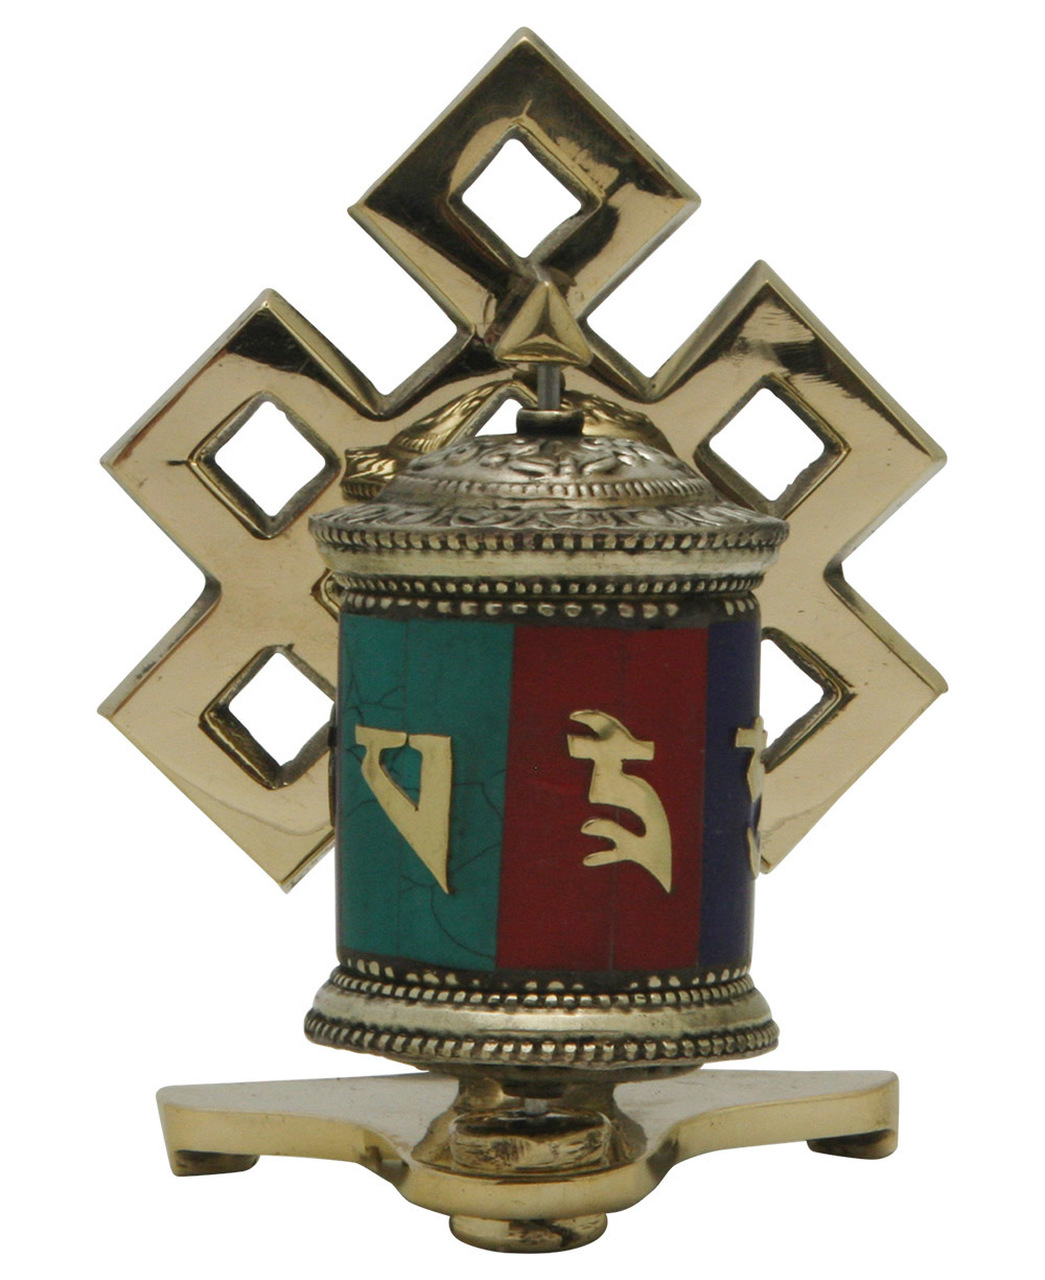
Prayer Wheels
Enjoy viewing Buddhagroove’s alluring collection of Buddhist Prayer Wheels, which you can access by following this link.


Gifts
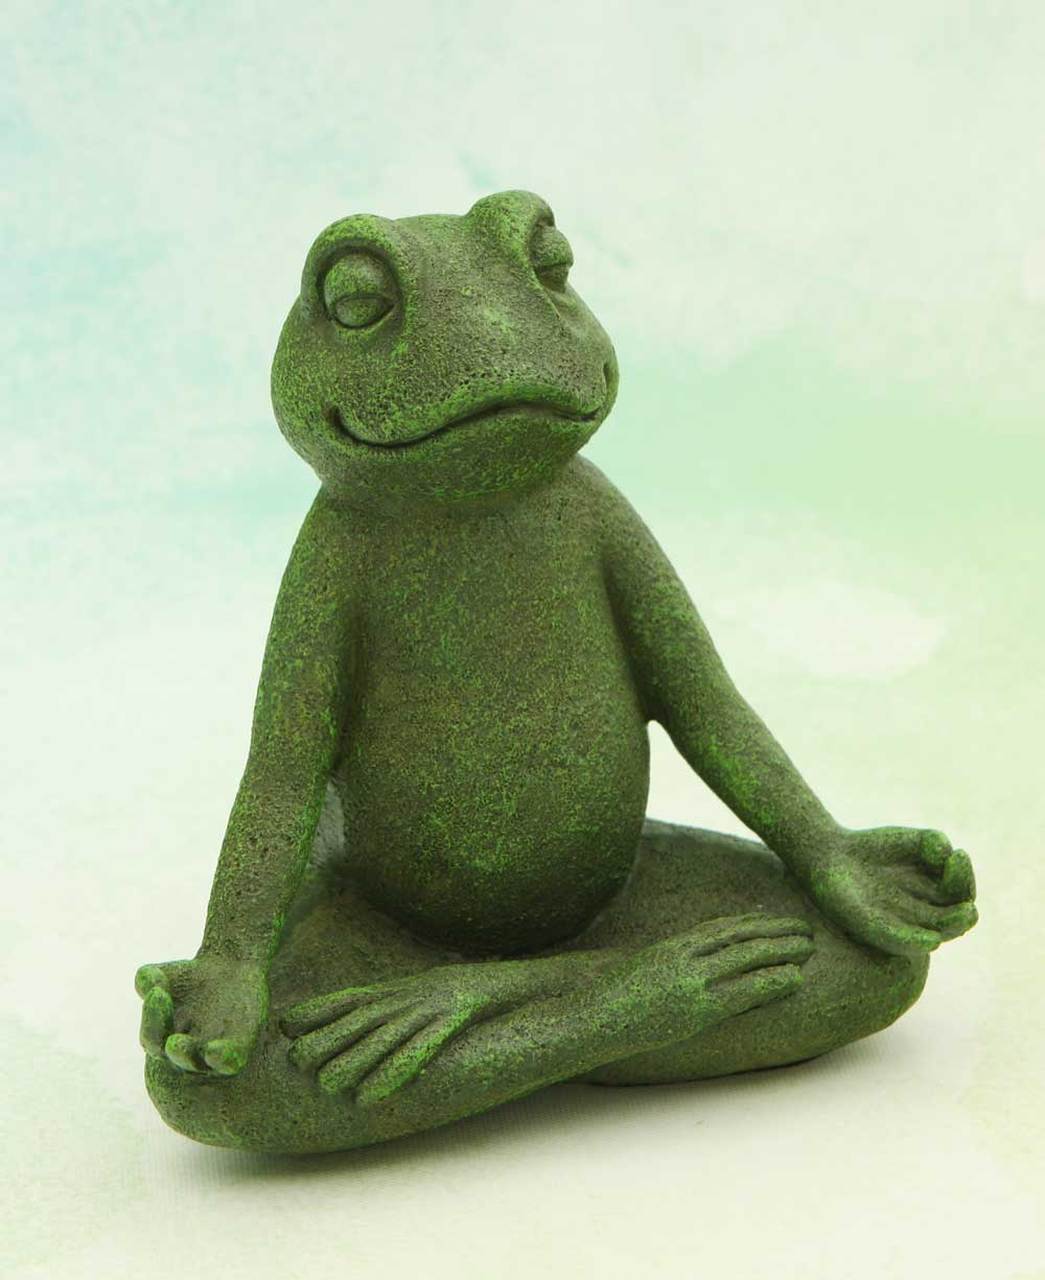
Buddhagroove has such a large choice of gift ideas that I really found it difficult to stop adding more and more pictures to this gallery. You’ll see for yourself when you visit the Gifts section.
Here are some of my favourites. I can guarantee my little nephews will want the frog to live in their garden! (See image no 18.)


Clothes and Accessories
The store also has an Apparel section, where I spotted these ‘Messenger Style Monk Bags’ in traditional monastic colours, which brought back memories of my time in Dharamsala and MacLeod Ganj.
Simple yet practical, the bags are made of 100% cotton, have interior and exterior pockets, and a practical zip-up closing.
You can find them in the section Accessories.

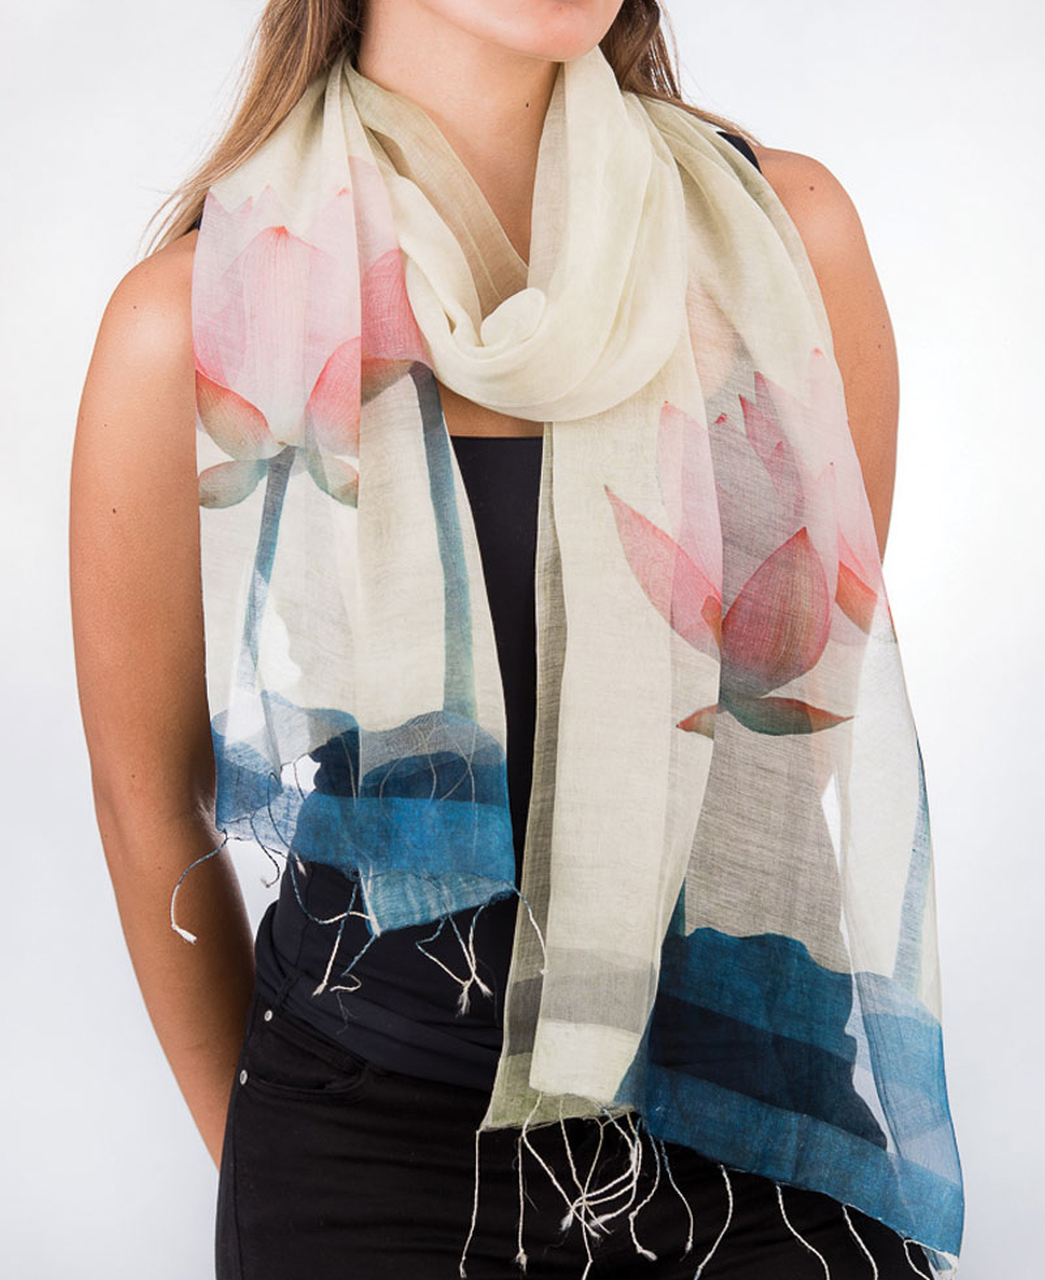
The lovely ‘Fair Trade Sheer Lotus Scarf’ from the same section has also caught my attention. I think it would go very well together with some Rose Quartz jewellery. I love wearing natural fibres, and this scarf is made of 60% cotton and 40% silk, so that’s yet another item on my wish list, I’m afraid..!

Recommended Sections
Here is an overview of my favorite sections of Buddha Groove, so you can see everything in one place. It also covers sections I couldn’t include this article for capacity reasons, so this should ensure you won’t miss anything. Clicking on these icons will get you to the relevant section in the store.
Conclusion
Apart from a small number of items which have not resonated with me, Buddhagroove offers such a huge choice of high-quality, thoughtful products, that it’s already become one of my favourite online stores.
I have two reasons for saying this:
It is a true haven for finding deeply personal and meaningful gifts for everyone (myself included), and it fills me with pure delight of simply looking at beautiful things.
I hope you’ll find visiting Buddha Groove as uplifting and inspiring as I have.


A Note for Customers Outside USA and Canada
Buddha Groove are a USA based company and offer free shipping within USA & Canada. If you are an international customer, you may find that once you get to the check out, you can only select from those two countries. That’s what happended to me, causing my heart to sink for a few moments, until I found out that, fortunately, Buddhagroove accepts international orders as well. They’re just handled on ‘order by order basis’, i.e. by email.
The best way is to place an international order is as follows:
– Place your items in the shopping cart
– Copy the product’s title and item code from your cart (as shown in the screenshot)

– Email the customer service at cs@buddhagroove.com
– Let them know your products’ selection, delivery address, and your phone number.
They will then respond with the shipping charges and you’ll be able to place the order. (Hooray!)

Any questions or comments are very welcome – just leave a message in the comment section below!

BY LUCIE DUN
This site has been built with DIVI, by Elegant Themes.

RECOMMENDED SECTIONS:


Disclaimer: This page contains affiliate links. This means that if you decide to make a purchase through my links, I will earn a small commission at no extra cost to you. (The full Affiliate Disclosure can be read here.) If you’d like to learn more about affiliate marketing, e.g. how to earn extra income from blogging and promoting products you like and would recommend to others, which is what I do, check out Wealthy Affiliate, my favourite platform for online marketers. You can create a free account, which will enable you to make your own website in a few simple steps, and host it with them – free of charge – for as long as you like. You can test it right now by trying their free website builder SiteRubix. Thank you for visiting!

Let’s keep in touch:

in alliance with


")